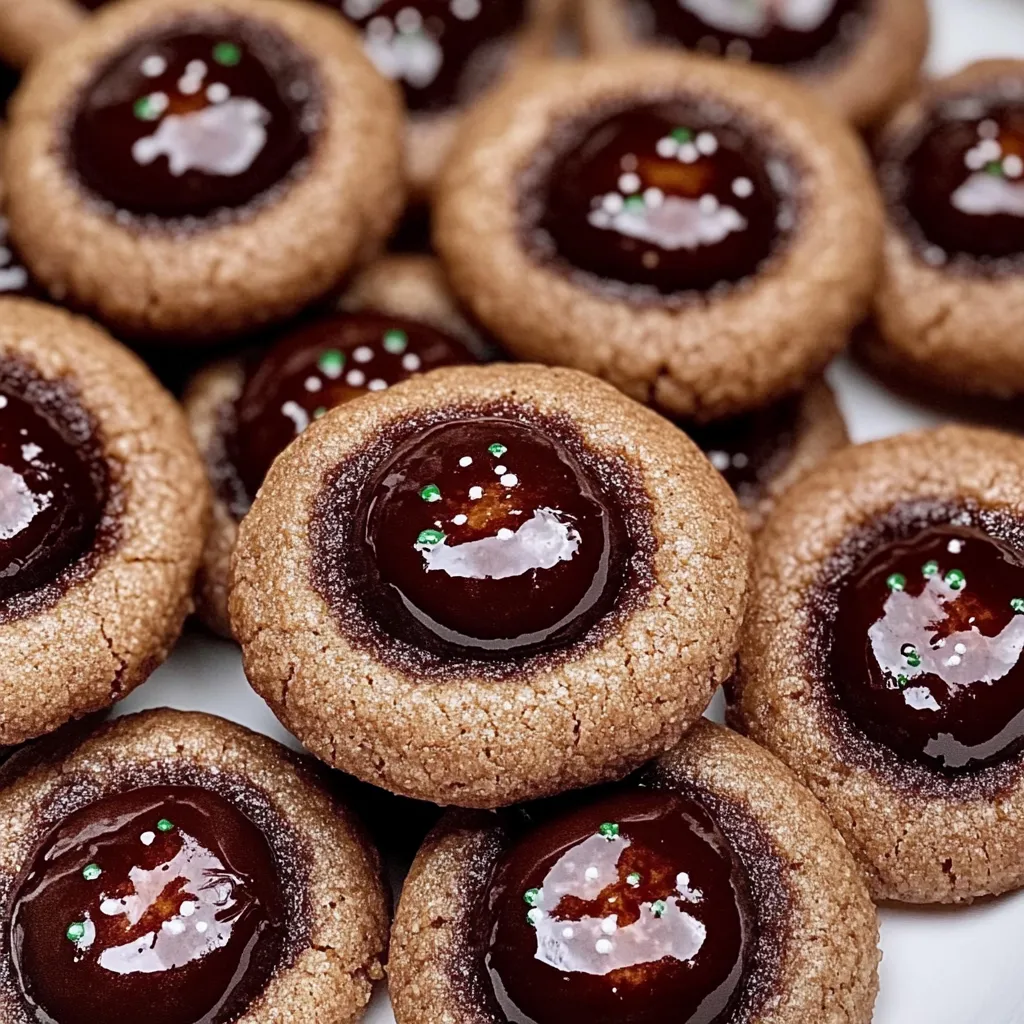
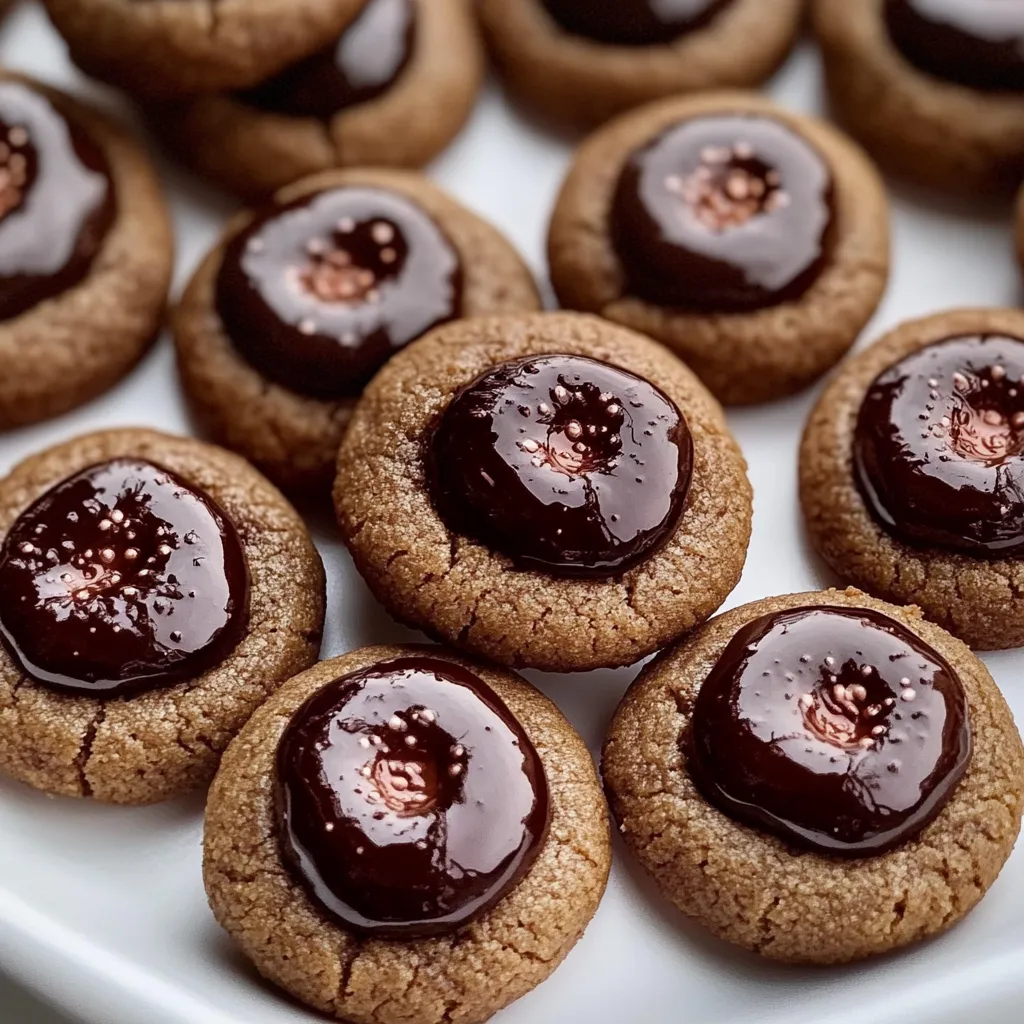
Is there anything better than a cookie that looks as good as it tastes? I think not! These Chocolate Thumbprint Cookies are my ultimate go-to when I need a sweet treat that’s both stunning and sinfully delicious. They’re the perfect little package: a buttery, melt-in-your-mouth shortbread cookie cradling a rich, shiny pool of dark chocolate ganache. They’re surprisingly simple to make, but they’ll have everyone thinking you’re a professional pastry chef. Whether it’s for a holiday cookie swap, a weekend baking project with the kids, or just because, this recipe is a guaranteed crowd-pleaser.
Why You’ll Love These Chocolate Thumbprint Cookies
- Simple & Elegant: With a short ingredient list and a straightforward process, these cookies are deceptively easy but look incredibly fancy.
- The Perfect Texture: That buttery, crumbly cookie base combined with the smooth, creamy chocolate center is a textural dream come true.
- Make-Ahead Magic: You can bake the cookie shells ahead of time and fill them later, making them perfect for busy schedules.
- Endlessly Customizable: Swap the dark chocolate for milk chocolate, white chocolate, or even a dollop of your favorite jam
Ultimate Chocolate Thumbprint Cookie Recipe

Discover the ultimate chocolate thumbprint cookie recipe pro chefs tips techniques for perfect rich and decadent treats that impress everyone
- Prep Time: 20 minutes
- Cook Time: 12 minutes
- Total Time: 32 minutes
- Yield: 30 cookies 1x
- Category: Dessert
- Cuisine: American
Ingredients
- 1 cup (2 sticks) unsalted butter, softened
- 2/3 cup granulated sugar
- 2 large egg yolks
- 1 teaspoon vanilla extract
- 2 cups all-purpose flour
- 1/4 teaspoon salt
- 4 oz semi-sweet or dark chocolate, finely chopped
- 2 tablespoons heavy cream
Instructions
- Preheat your oven to 350°F (175°C) and line two baking sheets with parchment paper.
- In a large bowl, use your mixer to cream together the softened butter and sugar until the mixture is light and fluffy. This usually takes about 2-3 minutes.
- Beat in the egg yolks and vanilla extract until everything is just combined.
- Gradually add the flour and salt to the wet ingredients, mixing on low speed until a soft dough forms. Don’t overmix!
- Roll the dough into 1-inch balls and place them about 2 inches apart on your prepared baking sheets.
- Now for the fun part: use your thumb (or the back of a small measuring spoon) to gently press an indentation into the center of each dough ball.
- Bake for 10-12 minutes, or until the edges of the cookies are just starting to turn a light golden brown.
- As soon as the cookies come out of the oven, use the spoon again to redefine the indentations if they’ve puffed up during baking. Let the cookies cool completely on the baking sheet.
- While the cookies cool, make the ganache. Place the chopped chocolate in a heatproof bowl. Heat the heavy cream in a small saucepan until it just begins to simmer, then pour it over the chocolate. Let it sit for one minute, then whisk until smooth and glossy.
- Once the cookies are completely cool, spoon a small amount of the chocolate ganache into each thumbprint. Let the chocolate set before serving. Enjoy!
Notes
Easy and elegant Chocolate Thumbprint Cookies featuring a buttery shortbread base filled with rich dark chocolate ganache. A simple, crowd-pleasing treat perfect for any occasion.
Nutrition
- Serving Size: 30 cookies
- Calories: 120 kcal
- Sugar: 6 g
- Fat: 7 g
- Carbohydrates: 12 g
- Protein: 1 g
Ingredients
Let’s gather our simple yet magical ingredients. I bet you have most of these in your pantry right now!
- 1 cup (2 sticks) unsalted butter, softened
- 2/3 cup granulated sugar
- 2 large egg yolks
- 1 teaspoon vanilla extract
- 2 cups all-purpose flour
- 1/4 teaspoon salt
- 4 oz semi-sweet or dark chocolate, finely chopped
- 2 tablespoons heavy cream
Equipment
- Stand mixer or hand mixer
- Mixing bowls
- Baking sheets
- Parchment paper
- Small saucepan or microwave-safe bowl
How to Make Chocolate Thumbprint Cookies
- Preheat your oven to 350°F (175°C) and line two baking sheets with parchment paper.
- In a large bowl, use your mixer to cream together the softened butter and sugar until the mixture is light and fluffy. This usually takes about 2-3 minutes.
- Beat in the egg yolks and vanilla extract until everything is just combined.
- Gradually add the flour and salt to the wet ingredients, mixing on low speed until a soft dough forms. Don’t overmix!
- Roll the dough into 1-inch balls and place them about 2 inches apart on your prepared baking sheets.
- Now for the fun part: use your thumb (or the back of a small measuring spoon) to gently press an indentation into the center of each dough ball.
- Bake for 10-12 minutes, or until the edges of the cookies are just starting to turn a light golden brown.
- As soon as the cookies come out of the oven, use the spoon again to redefine the indentations if they’ve puffed up during baking. Let the cookies cool completely on the baking sheet.
- While the cookies cool, make the ganache. Place the chopped chocolate in a heatproof bowl. Heat the heavy cream in a small saucepan until it just begins to simmer, then pour it over the chocolate. Let it sit for one minute, then whisk until smooth and glossy.
- Once the cookies are completely cool, spoon a small amount of the chocolate ganache into each thumbprint. Let the chocolate set before serving. Enjoy!
Tips for Perfect Cookies Every Time
I’ve made a batch or ten of these in my day, and here’s what I’ve learned. First, make sure your butter is truly softened. It should be cool to the touch but leave a slight indentation when you press it. This is the secret to that perfect, melt-in-your-mouth texture. Second, don’t skip the step of re-pressing the thumbprints right when the cookies come out of the oven—it’s a little trick that makes a big difference! And finally, be patient and let the cookies cool completely before adding the chocolate. If they’re even slightly warm, the ganache will melt everywhere and lose its beautiful sheen.
Serving Suggestions
These cookies are fabulous all on their own with a cold glass of milk or a hot cup of coffee. For a real showstopper dessert platter, arrange them alongside some Classic Lemon Bars and Chewy Ginger Molasses Cookies. The variety of flavors and textures is absolutely divine. They also make a wonderful homemade gift; just package them in a cute box or tin!
Nutrition Information*
*This is an estimate provided for informational purposes only.
Calories: 120kcal | Carbohydrates: 12g | Protein: 1g | Fat: 7g | Saturated Fat: 4g | Cholesterol: 25mg | Sodium: 20mg | Sugar: 6g
Making these cookies always reminds me of the first time I brought them to my daughter’s school bake sale. They were the first treat to disappear, and I’ve been getting requests for the recipe ever since! There’s something so special about a homemade cookie, and this recipe is one I know you’ll return to again and again. It’s a simple joy, a little project of love that ends in a delicious reward.
Chocolate Thumbprint Cookie FAQs
Can I use something other than chocolate for the filling?
Absolutely! This is a wonderfully versatile recipe. You can fill the thumbprints with a small spoonful of raspberry jam, caramel sauce, or even peppermint-flavored frosting for a holiday twist. Just add the jam before baking and bake as directed.
How should I store these cookies?
Once the chocolate has fully set, you can store these cookies in an airtight container at room temperature for up to 4 days. For longer storage, they freeze beautifully for up to 3 months. Just thaw at room temperature before serving.
My dough is too crumbly. What did I do wrong?
If your dough isn’t coming together, it might be a bit too dry. This can happen if you measured the flour by scooping it directly from the bag with the measuring cup, which packs it down. The best way to measure flour is to spoon it into the measuring cup and level it off. If your dough is still crumbly, you can try adding a teaspoon of cold water at a time until it comes together.
Can I make these cookies gluten-free?
Yes, you can! I’ve had great success simply substituting a 1:1 gluten-free all-purpose flour blend for the regular flour in this recipe. The texture comes out just right.