Ever stare longingly at a freshly baked loaf of bread, dreaming of that first warm slice slathered in butter, only to remember that gluten and you are no longer on speaking terms? I’ve been there. As someone who believes that the smell of baking bread is one of life’s greatest simple joys, I refused to let a dietary restriction stand in my way. That’s how this magical No Knead Gluten Free Bread was born in my kitchen. It’s about to become your new best friend.
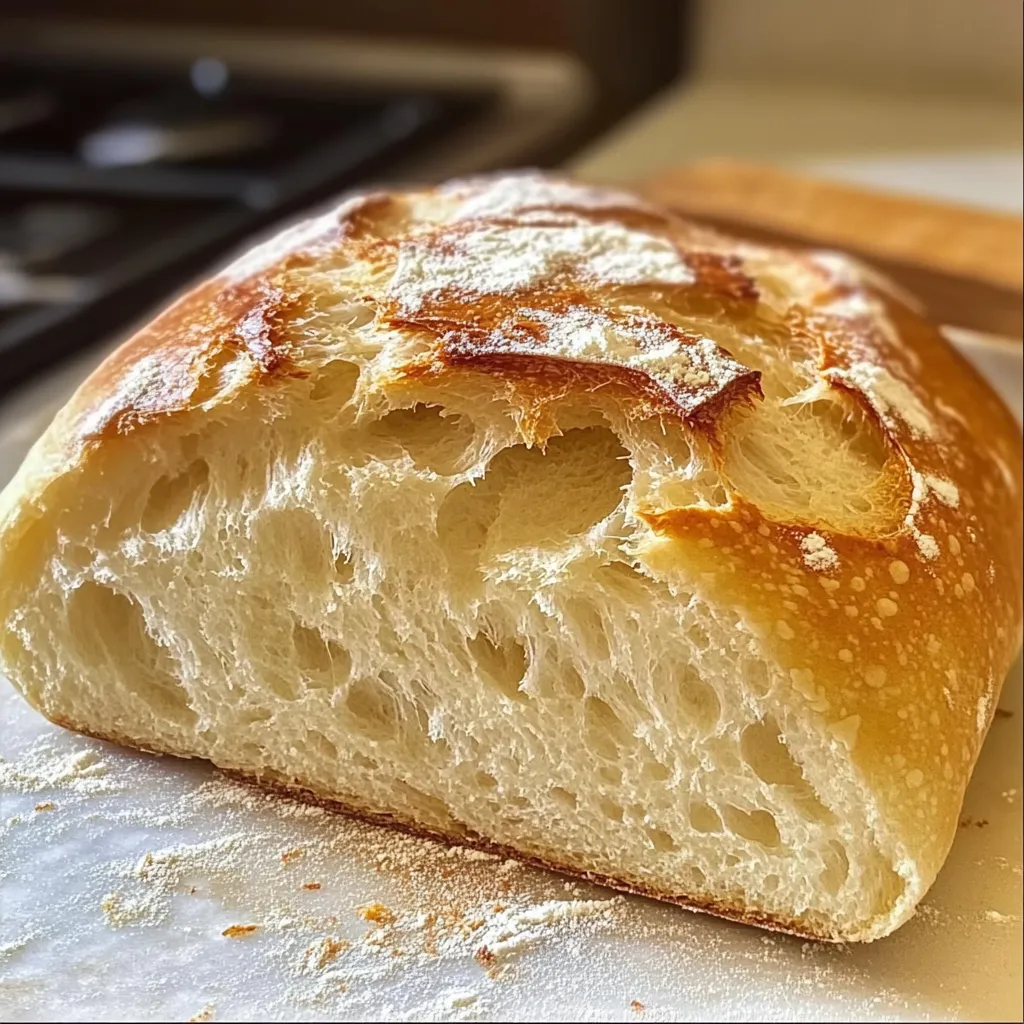
This recipe is a game-changer for busy weeknights or lazy Sunday afternoons. It requires minimal effort, forgiving ingredients, and absolutely no fancy kneading skills. The result? A beautiful, crusty-on-the-outside, soft-on-the-inside loaf that will make your entire house smell like a professional bakery. Get ready to fall in love with homemade bread all over again.
Why You’ll Love This No Knead Gluten Free Bread
- It’s Seriously Simple: Just mix, let it rise, and bake. No complicated steps or kitchen gymnastics required.
- Totally Forgiving: Gluten-free baking can be finicky, but this dough is incredibly adaptable and hard to mess up.
- No Special Equipment Needed: You don’t need a stand mixer or a bread machine—just a bowl and a Dutch oven.
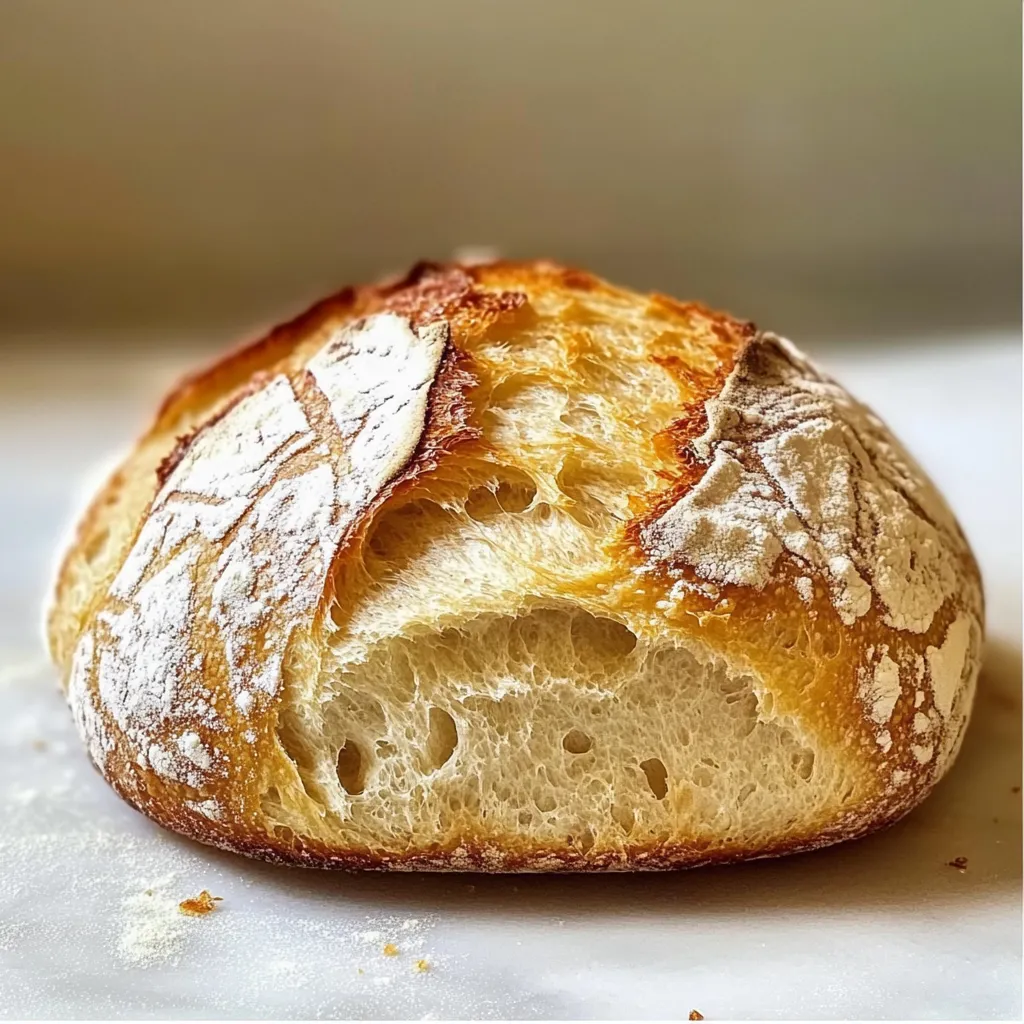
- Heavenly Texture: Achieve that coveted crackly crust and a tender, airy crumb that’s often missing from store-bought GF loaves.
Gather Your Ingredients
Here’s what you’ll need to create this masterpiece. The beauty of this recipe is in its simplicity.
- 3 cups gluten-free all-purpose flour blend (I recommend one with xanthan gum already added)
- 1 ½ teaspoons salt
- 1 teaspoon instant yeast
- 1 ½ cups warm water (about 100°F)
- 1 tablespoon olive oil
- 1 tablespoon honey or maple syrup
No Knead Gluten Free Bread Recipe

Discover easy No Knead Gluten Free Bread Recipe yields a perfect homemade loaf with a crisp crust soft interior Guaranteed results
- Prep Time: 15 minutes
- Cook Time: 50 minutes
- Total Time: 2 hours 45 minutes
- Yield: 1 loaf 1x
- Category: Bread
- Cuisine: Gluten-Free
Ingredients
- 3 cups gluten-free all-purpose flour blend
- 1 ½ teaspoons salt
- 1 teaspoon instant yeast
- 1 ½ cups warm water (about 100°F)
- 1 tablespoon olive oil
- 1 tablespoon honey
Instructions
- In a large mixing bowl, whisk together the gluten-free flour, salt, and instant yeast.
- Pour in the warm water, olive oil, and honey. Stir with a wooden spoon until a shaggy, sticky dough forms.
- Cover the bowl tightly with plastic wrap and let it sit at room temperature for 1 to 1.5 hours.
- Lightly wet your hands and gently scoop the dough out onto a piece of parchment paper. Form it into a round, boule shape.
- Use the parchment paper to lift the dough and place it back into the bowl. Cover it again and let it rest for another 30-45 minutes.
- While it rests, preheat your oven to 450°F (230°C) with a Dutch oven inside.
- Carefully remove the hot Dutch oven. Use the parchment paper as a sling to lower the dough into the pot.
- Score the top of the loaf with a sharp knife. Cover with the lid and bake for 30 minutes.
- Remove the lid and bake for another 15-20 minutes until deeply golden brown.
- Let the bread cool completely on a wire rack before slicing.
Notes
An incredibly simple, no-knead recipe for gluten-free bread that yields a crusty-on-the-outside, soft-on-the-inside loaf with minimal effort.
Nutrition
- Serving Size: 1 loaf
- Calories: 150 calories
- Sugar: 2 g
- Fat: 3 g
- Carbohydrates: 28 g
- Fiber: 3 g
- Protein: 4 g
How to Make No Knead Gluten Free Bread
- Mix the Dough: In a large mixing bowl, whisk together the gluten-free flour, salt, and instant yeast. Pour in the warm water, olive oil, and honey. Stir with a wooden spoon until a shaggy, sticky dough forms. This is not a smooth, elastic dough like its gluten-filled cousin, and that’s perfectly okay!
- First Rise: Cover the bowl tightly with plastic wrap and let it sit at room temperature for 1 to 1.5 hours. The dough will puff up slightly, but it won’t necessarily double in size.
- Shape the Loaf: Lightly wet your hands to prevent sticking. Gently scoop the dough out onto a piece of parchment paper and form it into a round, boule shape. Don’t overwork it! Just a quick tuck of the edges is all it needs.
- Second Rise: Use the parchment paper to lift the dough and place it back into the bowl. Cover it again and let it rest for another 30-45 minutes. While it rests, preheat your oven to 450°F (230°C) with a Dutch oven inside.
- Score and Bake: Carefully remove the screaming hot Dutch oven. Use the parchment paper as a sling to lower the dough into the pot. Score the top of the loaf with a sharp knife. Cover with the lid and bake for 30 minutes. Remove the lid and bake for another 15-20 minutes until deeply golden brown.
- Cool (The Hardest Part!): Let the bread cool completely on a wire rack before slicing. I know, the wait is torture, but it’s crucial for the texture!
My Go-To Baking Tools
You don’t need much, but a few key pieces make all the difference. A good Dutch oven is the superstar here, trapping steam to create that perfect crust. You’ll also need a sturdy mixing bowl, some parchment paper for easy lifting, and a sharp lame or knife for scoring.
Tips for the Best Gluten-Free Bread
Gluten-free baking is a science, but it doesn’t have to be scary. Here are my secrets for success:
- Flour is Key: Not all gluten-free flour blends are created equal. I’ve had the best luck with Bob’s Red Mill 1:1 Baking Flour or King Arthur Measure for Measure. Using the right blend is the first step to a great loaf.
- Resist the urge to add more flour, even if the dough seems wetter than you’re used to. That moisture is what creates the steam and lovely crumb.
- Let it cool! I’ll say it again because it’s that important. Slicing into a warm loaf will give you a gummy texture. Let it cool for at least 2 hours for the best results.
- For a crispier crust, leave the loaf in the turned-off oven with the door cracked open for another 10 minutes after baking.
The Perfect Pairings
This bread is a superstar on its own, but it also plays well with others. Slice it thick for the ultimate gluten-free avocado toast, dunk it into a warm bowl of tomato soup, or use it to build a formidable sandwich. For a real treat, try it with my favorite whipped honey butter—it’s a match made in heaven.
Your Gluten Free Bread Questions, Answered
Can I make this bread dairy-free or vegan?
Absolutely! This recipe is naturally dairy-free. To make it vegan, simply swap the honey for an equal amount of maple syrup. It works like a charm.
How should I store leftovers?
Once completely cool, store the bread in a paper or plastic bag at room temperature for up to 2 days. For longer storage, I highly recommend slicing it and freezing it. You can pop frozen slices straight into the toaster—no thawing needed!
My dough didn’t rise much. Did I do something wrong?
Don’t worry! Gluten-free dough behaves differently than traditional wheat dough. It relies more on the chemical leavening than on trapped gas for its rise. It will puff up, but it likely won’t double. Trust the process—it will still bake up beautifully.
Can I use a different type of flour?
I highly recommend sticking with a trusted all-purpose gluten-free blend for the best results. If you’re feeling adventurous and want to try a different grain, my guide on working with alternative gluten-free flours can help you experiment successfully.
More Easy Gluten-Free Favorites
If you loved how simple and delicious this bread was, you have to try my One-Bowl Gluten Free Banana Bread. It’s another no-fuss, crowd-pleasing recipe that proves gluten-free baking doesn’t have to be complicated. For a savory option, my Gluten Free Skillet Cornbread is a family favorite that’s ready in under 30 minutes.
There you have it—the easiest path to a glorious, homemade loaf of No Knead Gluten Free Bread. It’s the kind of recipe that brings a little bit of magic back to the kitchen, proving that a dietary restriction is just an opportunity to get more creative. I hope this bread finds its way to your table and becomes a cherished staple, just like it has in my home. Now, go forth and bake!