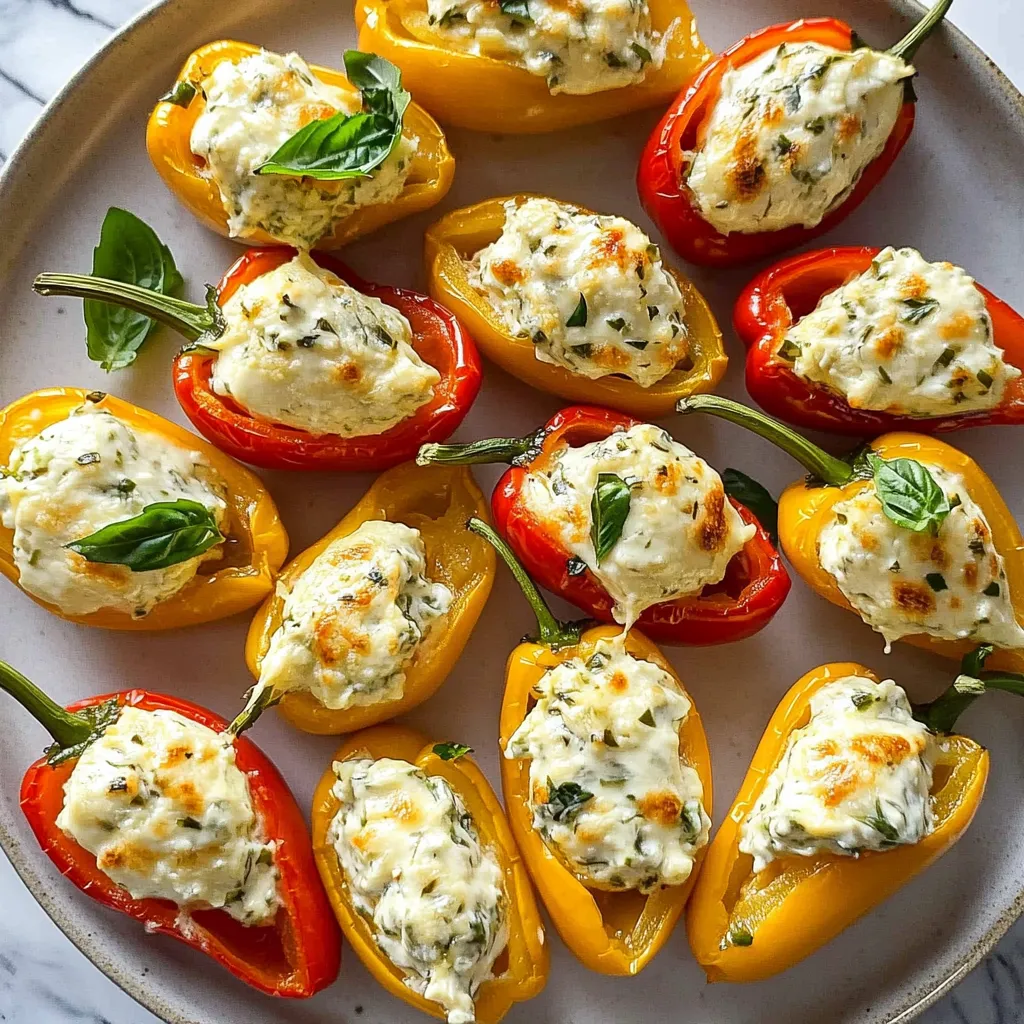
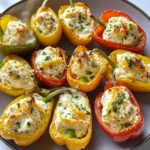
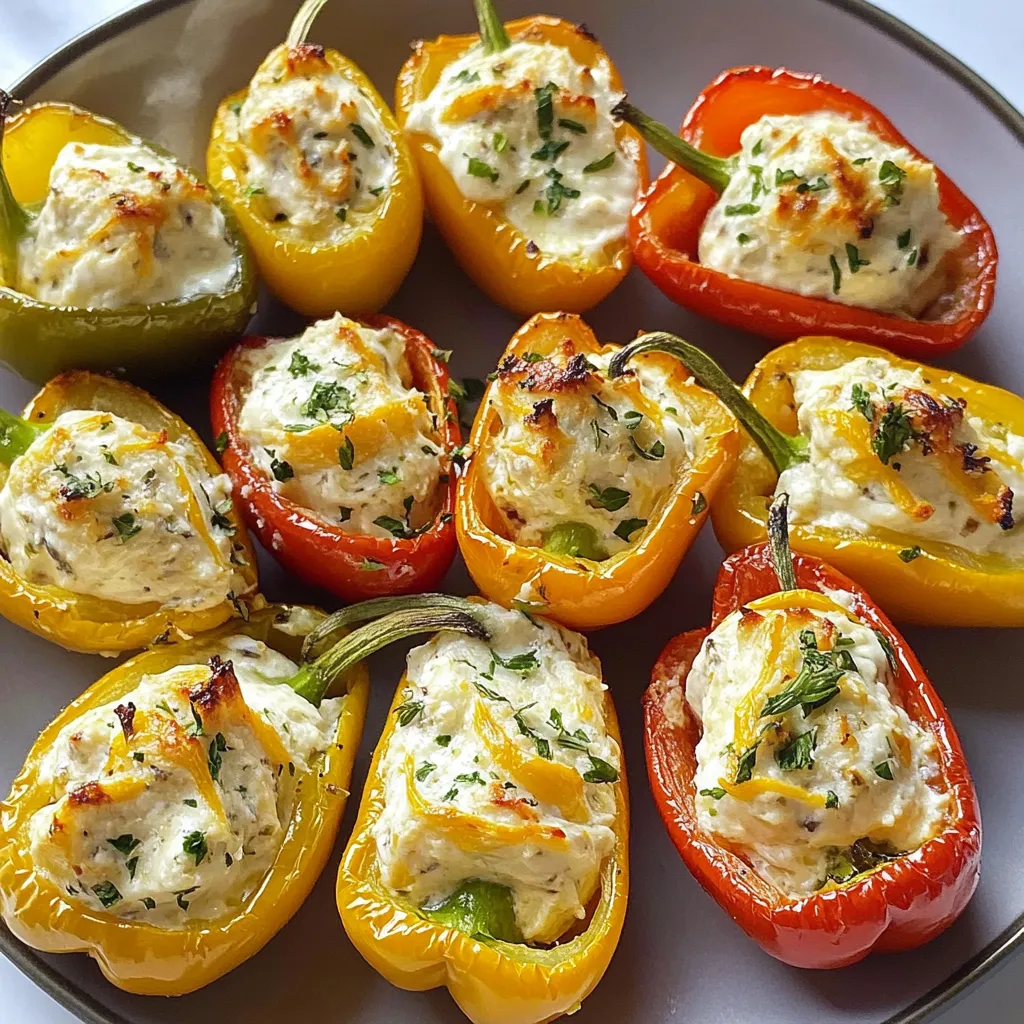
You know those party appetizers that disappear from the platter in a heartbeat? The ones that make your guests hover by the kitchen door, hoping for another batch? That’s exactly what these Gluten-Free Cream Cheese Stuffed Mini Peppers are. Imagine the sweet crunch of a crisp mini pepper, filled with a lusciously creamy, tangy, and herby cheese mixture, and then baked until just tender enough to melt in your mouth. They’re a burst of color and flavor that looks like you fussed for hours, but I’m here to let you in on a secret: they couldn’t be simpler.
Why You’ll Love This Gluten-Free Appetizer
Let’s be real, life is busy. Whether you’re wrangling kids, juggling work deadlines, or just trying to remember what day it is, you need recipes that work with you, not against you. This one is a total team player.
- Seriously Simple: Only 10 minutes of hands-on prep. If you can slice and stir, you’ve got this.
- Crowd-Pleasing Magic: These little gems are a universal hit. I’ve served them to everyone from my gluten-free friends to my most skeptical uncle, and they always get rave reviews.
- Naturally Gluten-Free & Customizable: Using simple, whole ingredients means they’re naturally gluten-free. And that filling? It’s a perfect canvas for your favorite herbs and spices.
- Perfect for Any Occasion: Game day, book club, a fancy-ish dinner party starter, or just because it’s Tuesday—they fit right in.
Ingredients You’ll Need
PrintGluten-Free Cream Cheese Stuffed Mini Peppers
Try this gluten-free appetizer! Our stuffed mini peppers recipe features a rich cream cheese filling. Quick, easy party tech.
- Prep Time: 10 minutes
- Cook Time: 15 minutes
- Total Time: 25 minutes
- Yield: 36–40 pieces 1x
- Category: Appetizer
- Cuisine: American
Ingredients
Instructions
Notes
A simple and delicious gluten-free appetizer featuring sweet mini peppers stuffed with a creamy, herby cheese mixture and baked until tender. Perfect for parties or a quick snack.
Nutrition
- Serving Size: 36-40 pieces
- Calories: 45 kcal
- Sugar: 1 g
- Fat: 3.5 g
- Carbohydrates: 2 g
- Fiber: 0.5 g
- Protein: 2 g
Here’s your short and sweet shopping list. The beauty is in the customization, so don’t be afraid to make it your own
- 1 lb mini sweet peppers (about 18-20 peppers)
- 8 oz cream cheese, softened to room temperature
- 1 cup shredded sharp cheddar cheese
- 1/4 cup finely grated Parmesan cheese
- 2 cloves garlic, minced
- 2 tbsp fresh chives, finely chopped (plus more for garnish)
- 1 tsp smoked paprika
- 1/2 tsp onion powder
- 1/4 tsp black pepper
- Pinch of salt (taste after mixing, as the cheeses are salty)
- Optional for garnish: crumbled cooked bacon, everything bagel seasoning, or a drizzle of hot honey.
How To Make Cream Cheese Stuffed Mini Peppers
Let’s get these beauties ready for the oven! It’s a straightforward process that’s almost as fun as eating them.
- Prep the Peppers: Preheat your oven to 400°F (200°C). Line a large baking sheet with parchment paper. Carefully slice each mini pepper in half lengthwise. Use a small spoon or your fingers to scoop out the seeds and white membranes. Arrange them on your prepared baking sheet, cut-side up.
- Make the Dreamy Filling: In a medium bowl, combine the softened cream cheese, cheddar, Parmesan, minced garlic, chives, smoked paprika, onion powder, and black pepper. Use a hand mixer or a sturdy spatula to beat everything together until it’s smooth and well-combined. Give it a taste—this is the chef’s privilege!—and add a pinch of salt if needed.
- Stuff ‘Em: Using a small spoon, a piping bag, or just a butter knife, generously fill each pepper half with the cheese mixture. Don’t be shy! A little mound on top is perfect. For an extra touch, you can sprinkle a tiny bit more cheddar or paprika on top.
- Bake to Perfection: Bake for 12-15 minutes, or until the peppers are tender-crisp and the filling is hot, bubbly, and just starting to get golden in spots. If you want more color, you can pop them under the broiler for 30-60 seconds at the end—just watch them like a hawk!
- Serve & Enjoy: Let them cool for about 5 minutes (the filling is molten lava hot right out of the oven!). Garnish with extra chives, bacon, or your favorite topping. Serve warm and watch them vanish.
Tips & Tasty Variations
This recipe is wonderfully forgiving and adaptable. Here’s how to make it work for you:
- Cheese Swaps: Not a cheddar fan? Try pepper jack for a kick, gouda for smokiness, or even a bit of feta for extra tang. For a lighter version, swap half the cream cheese for goat cheese—it’s divine!
- Spice It Up: Add a pinch of cayenne to the filling, or top the finished peppers with a drizzle of hot honey for that sweet-heat combo.
- Meaty Addition: Stir in 1/4 cup of finely chopped cooked bacon, sausage, or chorizo into the filling for a hearty twist.
- Ahead of Time: You can absolutely prep these ahead! Stuff the peppers, cover the baking sheet tightly with plastic wrap, and refrigerate for up to 24 hours. Bake straight from the fridge, adding a minute or two to the baking time.
A little kitchen confession: The first time I made these, I may have over-stuffed a few peppers to the point of comical cheesiness. My family didn’t complain one bit—they just fought over the extra-cheesy ones! So embrace the mess. It’s part of the fun.
What to Serve With Your Stuffed Peppers
These peppers are fantastic all on their own, but they also play well with others! For a full appetizer spread, pair them with some crispy Air Fryer Buffalo Cauliflower Bites or a refreshing, simple crudité platter. If you’re turning them into a light meal, serve them alongside a big, leafy green salad or a bowl of cozy soup. They’re the perfect starter for my favorite Slow Cooker Herb Roasted Chicken for a stress-free dinner party menu.
Your Gluten-Free Stuffed Pepper Questions, Answered
Can I make these dairy-free?
You can certainly try! Use your favorite dairy-free cream cheese and shreddable cheese alternatives. The flavor and melt will be a bit different, but it’s a great option for dietary needs. Be sure to check that all your brands are certified gluten-free if that’s a concern.
How do I store and reheat leftovers?
Store any cooled leftovers in an airtight container in the fridge for up to 3 days. To reheat, place them on a baking sheet and warm in a 350°F oven for about 10 minutes, or until heated through. The microwave works in a pinch, but the oven will keep the peppers from getting soggy.
Can I use a different type of pepper?
Mini bell peppers are ideal for their sweet flavor and perfect bite-size shape. You could use larger jalapeños for a spiny version (just wear gloves when prepping!), or even hollow out some sweet mini peppers for a different presentation. The baking time may need adjusting for thicker-walled peppers.
Are these served hot or cold?
Definitely serve them warm! The magic happens when the cheese filling is soft, creamy, and slightly bubbly. They’re good at room temperature, but they’re truly at their best fresh from the oven.
A Final Word on These Easy Party Starters
At the end of a long day, or in the middle of party-prep chaos, you deserve a recipe that feels like a hug. These Gluten-Free Cream Cheese Stuffed Mini Peppers are exactly that—a little bite of joy that’s easy to make and even easier to love. They prove that the most delicious things in life often come in small, colorful packages. So go ahead, whip up a batch, and get ready for the compliments to roll in. Don’t forget to snap a picture and share your creation—I love seeing what you make in your kitchen! Happy cooking!