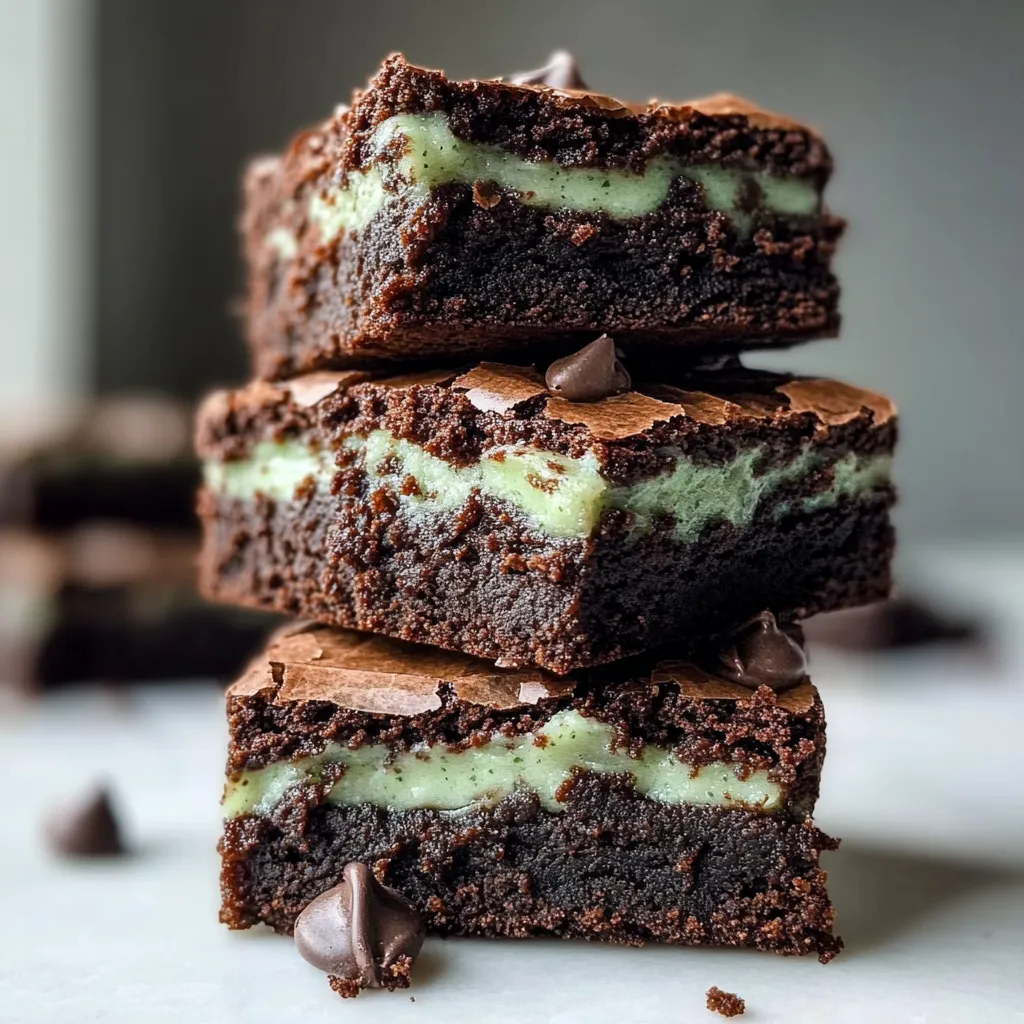
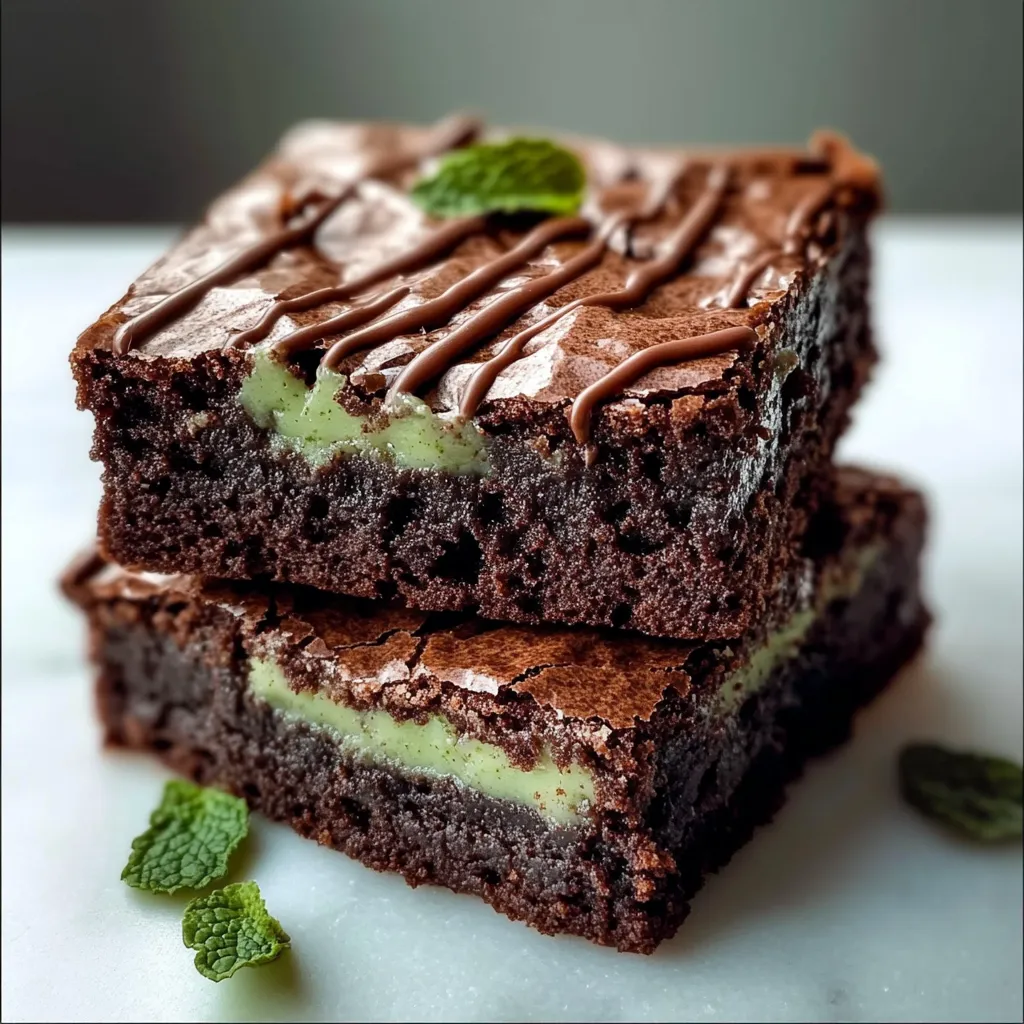
There’s something magical about a brownie that’s so rich and fudgy it practically melts in your mouth. Now, imagine that delightful treat kissed with the cool, refreshing flavor of mint and completely gluten-free. That’s exactly what you get with these Gluten-Free Mint Brownies. They are the perfect dessert for when you want to indulge without a hint of guilt, whether you’re catering to dietary needs or just looking for a show-stopping treat. One bite, and you’ll be transported to dessert heaven.
I first whipped up a batch of these for a friend’s birthday who had recently gone gluten-free. I wanted to prove that “free-from” doesn’t mean “free-from-flavor.” The moment she took a bite, her face lit up. They were an instant hit, and now they’re my secret weapon for potlucks and parties. They’re so decadent, no one ever suspects they’re gluten-free.
Why You’ll Love These Gluten-Free Mint Brownies
- Irresistible Flavor Combo: The rich chocolate and cool mint are a match made in dessert heaven.
- Surprisingly Simple: You don’t need to be a pastry chef to create this impressive treat.
- Dietary Friendly: Perfect for those with gluten sensitivities, but delicious enough for everyone.
- Crowd-Pleasing: These brownies will disappear fast from any dessert table.
Ingredients
PrintGluten-Free Mint Brownies

baking tech. This decadent recipe yields rich, fudgy brownies topped w/ a refreshing mint layer. Perfect treat!
- Cook Time: 30 minutes
- Total Time: 2 hours 30 minutes
- Yield: 16 brownies
- Category: Dessert
- Cuisine: American
Ingredients
Instructions
Notes
Rich, fudgy gluten-free brownies with a cool mint layer and a smooth chocolate topping. This easy dessert is perfect for parties and anyone with gluten sensitivities.
Nutrition
- Serving Size: 16 brownies
- Calories: 320 kcal
- Sugar: 32 g
- Fat: 18 g
- Carbohydrates: 40 g
- Fiber: 2 g
- Protein: 3 g
For the Brownies:
- 1 cup gluten-free all-purpose flour blend (I love using one with xanthan gum included)
- ¾ cup unsweetened cocoa powder
- ½ tsp salt
- 1 cup unsalted butter, melted
- 2 cups granulated sugar
- 4 large eggs
- 2 tsp vanilla extract
For the Mint Layer:
- ½ cup unsalted butter, softened
- 2 cups powdered sugar
- 2 tbsp milk (or non-dairy alternative)
- 1 ½ tsp peppermint extract
- Green food coloring (optional)
For the Chocolate Topping:
- 1 cup semi-sweet chocolate chips
- 6 tbsp unsalted butter
Equipment You’ll Need
- 8×8 inch baking pan
- Parchment paper
- Medium and large mixing bowls
- Hand mixer or stand mixer
- Double boiler or microwave-safe bowl
Step-by-Step Instructions
1. Make the Brownie Base
Preheat your oven to 350°F (175°C). Line your 8×8 baking pan with parchment paper, leaving some overhang for easy removal later. In a medium bowl, whisk together your gluten-free flour, cocoa powder, and salt. Set this aside.
In a large bowl, combine the melted butter and granulated sugar. Mix it well until it’s smooth and shiny. Beat in the eggs, one at a time, followed by the vanilla extract. Gradually add the dry flour mixture to the wet ingredients, stirring until just combined. Be careful not to overmix!
Pour the thick, luxurious batter into your prepared pan and spread it evenly. Bake for 25-30 minutes, or until a toothpick inserted into the center comes out with a few moist crumbs. Let the brownies cool completely in the pan on a wire rack. Patience is key here—if the brownies are warm, the mint layer will melt!
2. Whip Up the Mint Layer
While the brownies are cooling, make the mint filling. In a medium bowl, beat the softened butter with a hand mixer until it’s light and fluffy. Gradually beat in the powdered sugar. It might get a bit dusty, so go slow! Add the milk and peppermint extract, and beat until the mixture is smooth and spreadable. Add a drop or two of green food coloring if you want that classic minty look.
Once the brownies are completely cool, spread the mint layer evenly over the top. Pop the pan into the refrigerator for about 30 minutes to let the mint layer set. This makes it so much easier to add the final chocolate topping without everything swirling together.
3. Create the Chocolate Topping
For the grand finale, it’s time for the chocolate glaze. You can melt the chocolate and butter together using a double boiler or in the microwave. If using a microwave, heat them in a microwave-safe bowl in 30-second bursts, stirring each time, until smooth.
Carefully pour the melted chocolate over the chilled mint layer. Use a spatula to spread it into a beautiful, even coating. Return the pan to the refrigerator for at least one hour, or until the chocolate topping is fully set.
4. Slice and Serve
Once everything is set, use the parchment paper to lift the entire block of brownies out of the pan. Place it on a cutting board and slice into squares. For super clean cuts, you can warm your knife under hot water and dry it before each slice.
Tips & Variations
Let’s talk about making these brownies your own! For a richer chocolate experience, try using Dutch-process cocoa powder. If you’re out of peppermint extract, a splash of crème de menthe can work in a pinch (just know the alcohol won’t cook out). If you’re a fan of texture, feel free to fold a handful of chocolate chips or chopped nuts into the brownie batter before baking.
Storing these is a breeze. Keep them in an airtight container in the fridge for up to a week. They also freeze beautifully for up to three months. Just thaw them in the fridge overnight before serving.
Serving Suggestions
These brownies are incredible all on their own, but a little extra never hurt! Serve them with a cold glass of milk, a scoop of vanilla ice cream, or even a dollop of whipped cream. They’re the perfect ending to any meal, from a casual weeknight dinner to a fancy holiday feast. For another decadent gluten-free dessert option, you have to try my Gluten-Free Chocolate Cake.
Nutrition Facts
Approximate values per serving (1 brownie): Calories: 320 | Total Fat: 18g | Saturated Fat: 11g | Cholesterol: 70mg | Sodium: 85mg | Total Carbohydrates: 40g | Sugar: 32g | Protein: 3g
There you have it! A dessert that’s indulgent, festive, and completely gluten-free. These brownies are proof that you don’t have to sacrifice flavor for dietary needs. They’re the perfect project for a weekend baking session and are guaranteed to bring smiles to everyone who tries them. So, preheat that oven and get ready to bake up some joy!
Frequently Asked Questions
Can I make these brownies dairy-free as well?
Absolutely! You can easily make these dairy-free by using plant-based butter and a non-dairy milk (like almond or oat milk) in both the mint layer and the brownie base. For the chocolate topping, just make sure to use dairy-free chocolate chips.
My mint layer is too runny. What happened?
This usually happens if the butter was too soft or the brownie base wasn’t completely cool. The mint frosting needs a firm, cool base to set properly. If it’s a little soft, just pop the pan back in the fridge for a bit longer until it firms up before adding the chocolate topping.
What’s the best gluten-free flour to use for this recipe?
I recommend a 1:1 gluten-free all-purpose baking blend that includes xanthan gum. This helps mimic the structure that gluten normally provides, giving you that perfect fudgy brownie texture without any guesswork.
Can I freeze the assembled brownies?
You sure can! These brownies freeze wonderfully. After the chocolate top has set, slice them, then place them in a single layer on a baking sheet to freeze solid. Once frozen, transfer them to an airtight container or freezer bag. They’ll keep for up to 3 months.