Ever found yourself torn between a fudgy brownie and a chewy chocolate chip cookie? I have, too, especially on those days when a sweet treat feels less like an indulgence and more like a necessary act of self-care. That’s the magic of Gluten Free Brookies—a dessert mashup that’s so genius, it feels like it solved a problem you didn’t even know you had. Whether you’re baking for a crowd of picky eaters, whipping up a special dessert for a friend who eats gluten-free, or just treating your own sweet tooth, this recipe is your new kitchen champion.
Why You’ll Love These Gluten Free Brookies
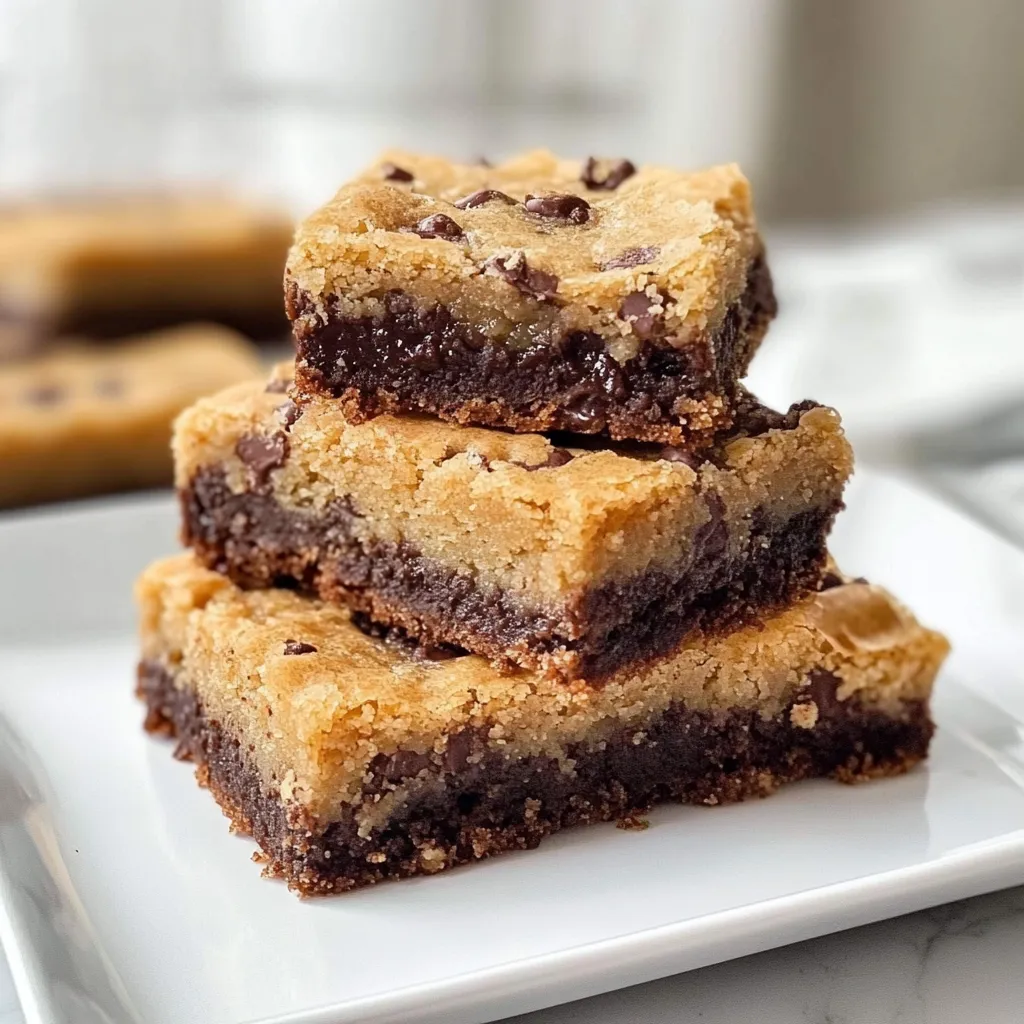
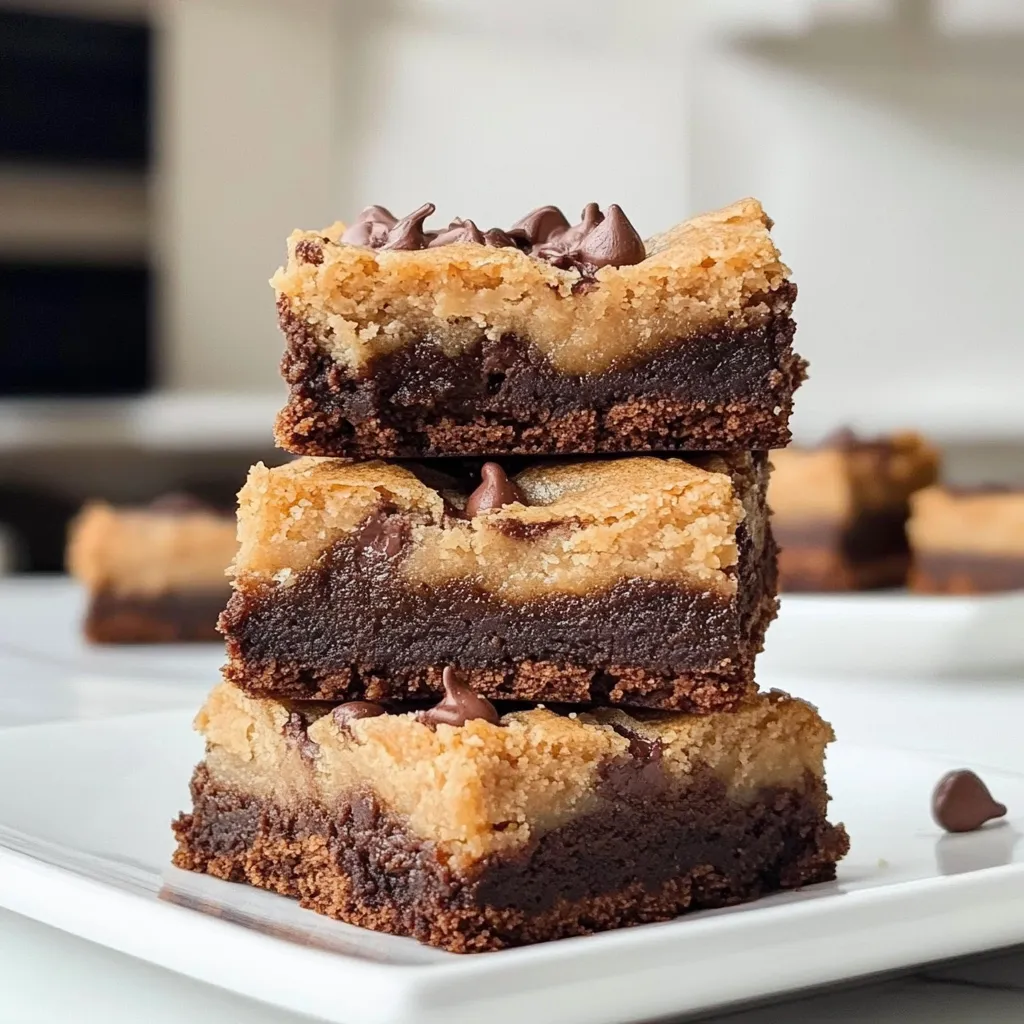
- No Compromise on Flavor or Texture: This is not a “good for gluten-free” dessert. It’s a spectacular dessert that happens to be gluten-free, with layers of chewy cookie and fudgy brownie.
- One-Pan, No-Fuss Wonder: Minimal dishwashing is my kind of baking victory. You mix up two simple batters and layer them right in the same pan.
- Crowd-Pleasing Superhero: Serves a group easily and makes everyone happy, regardless of dietary needs. It’s the ultimate peacekeeper for parties and potlucks.
- Freezer-Friendly Magic: Bake a batch, stash squares in the freezer, and have a perfect single-serving dessert ready at a moment’s notice. Future you will be so grateful.
What You’ll Need
Let’s gather our ingredients! The beauty here is in using reliable gluten-free blends. I promise, no weird, hard-to-find items are required.
PrintMaster Gluten-Free Brookies: Easy Recipe & Pro Tips

Gluten-free brookies recipe: Fudgy brownie & chewy cookie combo. Easy homemade dessert. Dairy-free & vegan options. Step-by-step guide.
- Prep Time: 20 minutes
- Cook Time: 40 minutes
- Total Time: 2 hours
- Yield: 16 squares 1x
- Category: Dessert
- Cuisine: American
Ingredients
Instructions
Notes
Indulge in the ultimate dessert mashup with these Gluten Free Brookies. Layers of chewy chocolate chip cookie and fudgy brownie are baked together in one pan for a spectacular, no-compromise treat that’s perfect for crowds and easily made gluten-free.
Nutrition
- Serving Size: 16 squares
- Calories: 280 calories
- Sugar: 25 g
- Fat: 15 g
- Carbohydrates: 35 g
- Fiber: 2 g
- Protein: 4 g
For the Cookie Layer:
- 1 cup (125g) gluten-free 1-to-1 flour blend (like Bob’s Red Mill or King Arthur)
- 1/2 tsp baking soda
- 1/4 tsp salt
- 1/2 cup (1 stick / 113g) unsalted butter, softened
- 1/2 cup (100g) granulated sugar
- 1/4 cup (50g) packed light brown sugar
- 1 large egg, at room temperature
- 1 tsp pure vanilla extract
- 1 cup (170g) semi-sweet chocolate chips
For the Brownie Layer:
- 1/2 cup (1 stick / 113g) unsalted butter, melted
- 3/4 cup (150g) granulated sugar
- 2 large eggs, at room temperature
- 1 tsp pure vanilla extract
- 1/2 cup (50g) unsweetened cocoa powder (I prefer Dutch-processed for a richer flavor)
- 1/2 cup (63g) gluten-free 1-to-1 flour blend
- 1/4 tsp baking powder
- 1/4 tsp salt
How to Make Gluten Free Brookies, Step-by-Step
- Prep and Preheat: Preheat your oven to 350°F (175°C). Grease an 8×8-inch baking pan and line it with parchment paper, leaving an overhang on two sides for easy lifting later. This little trick is a game-changer for clean cuts.
- Make the Cookie Dough: In a medium bowl, whisk together the gluten-free flour, baking soda, and salt for the cookie layer. In a separate large bowl, use a hand mixer to cream the softened butter, granulated sugar, and brown sugar until light and fluffy, about 2 minutes. Beat in the egg and vanilla until combined. Gradually add the dry ingredients, mixing on low until just combined. Fold in the chocolate chips with a spatula. Set this bowl aside—don’t sneak too much dough!
- Make the Brownie Batter: In another large bowl, whisk the melted butter and granulated sugar together. Add the eggs and vanilla, whisking vigorously until the mixture is smooth and slightly shiny. Sift in the cocoa powder, gluten-free flour, baking powder, and salt. Gently fold everything together until you have a smooth, thick, and glorious brownie batter.
- Layer and Swirl: Here’s the fun part! Drop spoonfuls of the cookie dough evenly across the bottom of your prepared pan. Use slightly damp fingers to gently press and pat the dough into an even, though not perfect, layer. Next, carefully pour the brownie batter over the cookie layer. Use an offset spatula or the back of a spoon to gently spread it to cover the cookie dough completely. For a marbled effect, drag a butter knife or skewer through the two layers a few times in a swirling motion.
- Bake to Perfection: Place the pan in the center of your preheated oven. Bake for 35-40 minutes. The top should be set, and a toothpick inserted into the brownie-centric areas will come out with a few moist crumbs (not wet batter). Remember, the cookie layer underneath means the center will stay wonderfully fudgy.
- Cool Completely (The Hardest Step!): This is crucial, my friends. Let the brookies cool in the pan on a wire rack for at least 1 hour. Then, use the parchment paper overhang to lift the whole slab out. Let it cool completely on the rack before slicing into squares with a sharp knife. The patience pays off in clean, beautiful layers.
My Favorite Tips for Brookie Success
I learned a lot from my first few brookie experiments (let’s just say some were more “lava cake” than intended). Here’s how to nail it every time:
- Room Temperature is Key: For both the cookie and brownie layers, using room-temperature eggs and softened butter makes for a smoother batter and better texture. It makes a real difference!
- Don’t Overmix the Brownies: Once you add the dry ingredients, fold gently until the flour disappears. Overmixing can lead to a cakey, rather than fudgy, brownie layer.
- Customize Your Chips: Swap the semi-sweet chips for milk chocolate, dark chocolate, or even a mix of chocolate and peanut butter chips. It’s your kitchen, your rules!
- Storage Smarts: Keep leftovers (if you have any!) in an airtight container at room temperature for 3 days. For longer storage, I freeze them in a single layer on a baking sheet before transferring to a freezer bag. They thaw in minutes.
Serving Suggestions
These brookies are absolute stars all on their own. But if you want to push the boat out, serve them slightly warm with a scoop of vanilla ice cream and a drizzle of homemade salted caramel sauce. The contrast of warm, cold, sweet, and salty is pure bliss. They also pair wonderfully with a cold glass of milk or, for the adults, a nice cup of coffee.
Your Gluten Free Brookies Questions, Answered
Can I make these dairy-free as well?
Absolutely! For a dairy-free version, use a plant-based butter stick (like Earth Balance) in both layers and be sure to choose dairy-free chocolate chips. The recipe works beautifully with these swaps.
What’s the best gluten-free flour to use?
I always recommend a trusted 1-to-1 gluten-free baking flour that contains xanthan gum. Brands like Bob’s Red Mill or King Arthur Measure for Measure are tested and reliable. Using a blend meant for direct substitution saves you from needing to add extra binders.
How do I know when they are done baking?
The top will look set and have a slight sheen. The edges might just begin to pull away from the pan. The most reliable test is the toothpick: insert it into a section that looks more like brownie than cookie. It should come out with a few sticky crumbs attached, not coated in wet batter.
Can I double this recipe?
Yes! Double all ingredients and bake it in a 9×13-inch pan. You may need to add 5-10 minutes to the baking time. Keep an eye on it and use the toothpick test for doneness.
A Sweet Farewell
There you have it—the dessert that ends the “brownie or cookie?” debate forever. These Gluten Free Brookies are more than just a treat; they’re a little piece of baking joy, proof that you don’t have to choose between two great things. I love how this recipe brings smiles to so many faces, and I have a feeling it’s going to become a regular in your rotation, just like it is in mine. If you’re looking for another fantastic gluten-free dessert to try next, you have to check out my classic fudgy gluten-free brownies. Now, go preheat that oven and get ready for the compliments to roll in. Happy baking