Are you dreaming of a dessert that’s a pure escape to a tropical island? Something sticky, sweet, with that deep, toasty coconut flavor that feels like a warm hug? Pull up a chair, friend, because I’m about to share a recipe that does all that and is gloriously gluten-free. This Indonesian Sticky Coconut Cake, or Kue Lumpur, is my new favorite way to satisfy a sweet tooth without any fuss. It’s the kind of simple, magical treat that proves the most incredible desserts often come from the humblest kitchens—and this one happens to be free of gluten. Whether you’re hosting a book club or just need a little sweet something for your afternoon tea, this cake is your answer.
Why You’ll Love This Gluten-Free Indonesian Sticky Coconut Cake
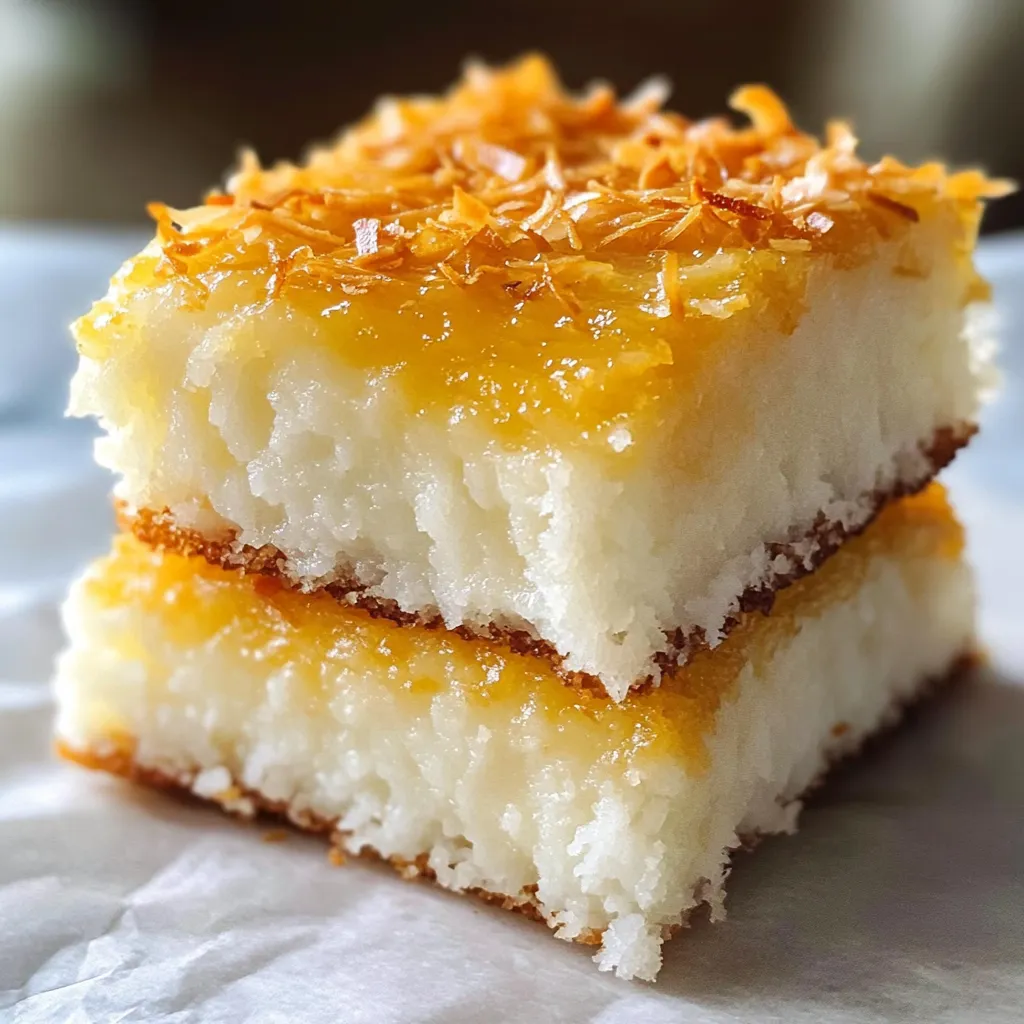
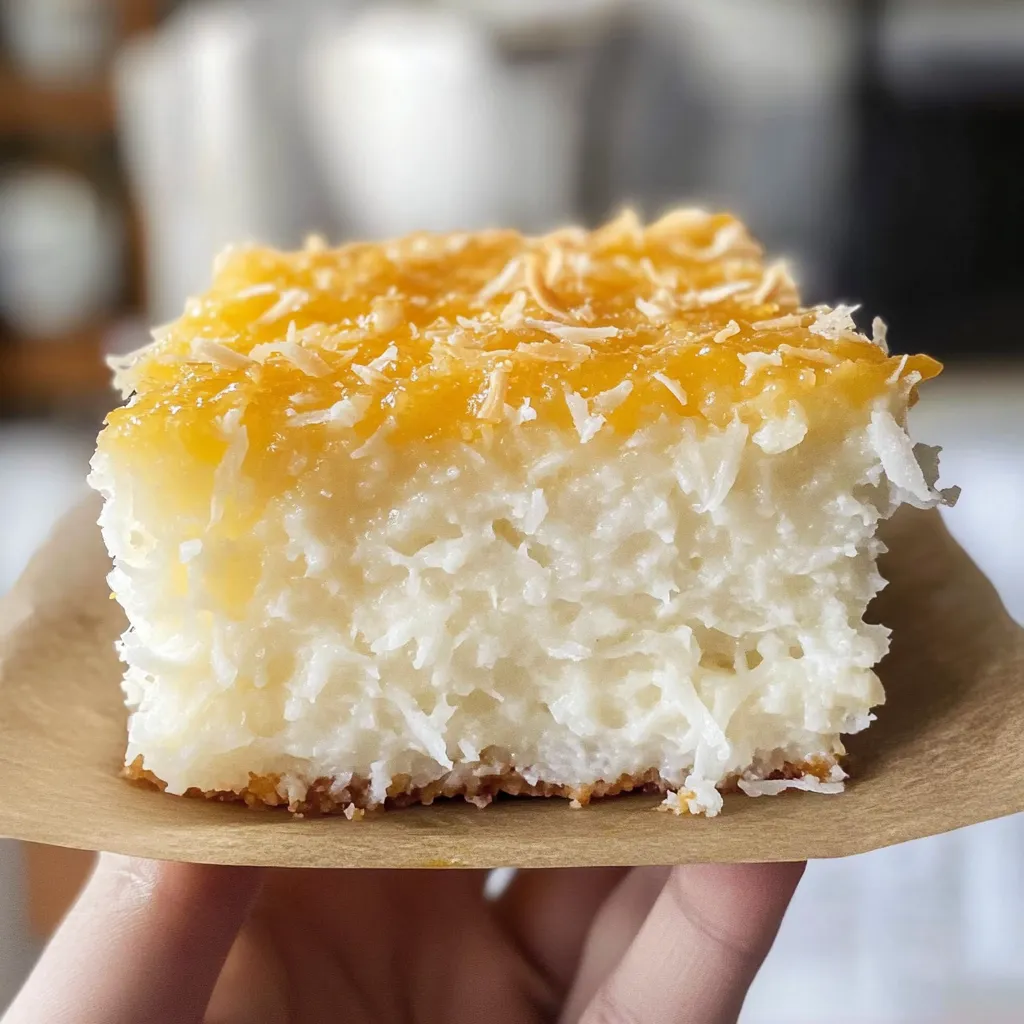
- Irresistibly Chewy & Sticky: It has that perfect, slightly gooey texture that makes every bite a delight.
- Naturally Gluten-Free: Made with rice flour, it’s a safe and delicious option for anyone avoiding gluten, no fancy blends needed!
- One-Bowl Wonder: Seriously, minimal dishes are the best kind of kitchen magic. You’ll mix everything in one saucepan.
- Travels Like a Dream: This cake is sturdy and perfect for potlucks, picnics, or sending home with happy friends.
Ingredients You’ll Need
Here’s what to grab from your pantry. The beauty is in its simplicity
PrintGluten-Free Indonesian Sticky Coconut Cake

Sweet gluten-free cake recipe. Learn to make ketan & coconut dessert with pro tips. No wheat.
- Prep Time: 15 minutes
- Cook Time: 60 minutes
- Total Time: 1 hour 45 minutes
- Yield: 9 servings 1x
- Category: Dessert
- Cuisine: Indonesian
Ingredients
- 1 1/2 cups (300g) granulated sugar
- 1 can (13.5 oz) full-fat coconut milk
- 3/4 cup (180ml) water
- 1 1/2 cups (210g) white rice flour
- 1/4 teaspoon salt
- 3 large eggs
- 1/2 cup (50g) unsweetened shredded coconut
- 1 teaspoon vanilla extract
- Butter or oil for greasing the pan
Instructions
- Prep and Preheat: Grease an 8×8 inch square baking pan and line it with parchment paper, leaving an overhang on two sides. Preheat your oven to 350°F (175°C).
- Create the Coconut Base: In a medium saucepan, combine the sugar, coconut milk, and water. Warm it over medium heat, stirring just until the sugar dissolves. Do not boil.
- Mix the Batter: Remove the saucepan from the heat. Whisk in the rice flour and salt until you have a smooth mixture with no lumps.
- Incorporate the Eggs: Let the mixture cool for about 5 minutes. Then, whisk in the eggs, one at a time, ensuring each is fully incorporated.
- Final Flavor Touches: Stir in the 1/2 cup of shredded coconut and the vanilla extract.
- Bake to Perfection: Pour the batter into the prepared pan. Sprinkle the top with extra shredded coconut. Bake for 50-60 minutes, or until the top is a deep golden brown and a toothpick inserted into the center comes out clean.
- Cool Completely: Let the cake cool in the pan on a wire rack. Once cool, use the parchment paper to lift it out and slice into squares.
Notes
A gluten-free Indonesian Sticky Coconut Cake (Kue Lumpur) with an irresistibly chewy and sticky texture. This simple, one-bowl dessert is made with rice flour and full of toasty coconut flavor, perfect for any occasion.
Nutrition
- Serving Size: 9 servings
- Calories: 320 calories
- Sugar: 34 g
- Fat: 14 g
- Carbohydrates: 47 g
- Fiber: 1 g
- Protein: 4 g
- 1 1/2 cups (300g) granulated sugar
- 1 (13.5 oz) can full-fat coconut milk
- 3/4 cup (180ml) water
- 1 1/2 cups (210g) white rice flour
- 1/4 teaspoon salt
- 3 large eggs
- 1/2 cup (50g) unsweetened shredded coconut, plus more for topping
- 1 teaspoon vanilla extract
- Butter or oil for greasing the pan
How to Make Gluten-Free Sticky Coconut Cake
- Prep and Preheat: Start by greasing an 8×8 inch square baking pan and lining it with parchment paper, leaving an overhang on two sides. This will be your lifeline for pulling the cake out later! Preheat your oven to 350°F (175°C).
- Create the Coconut Base: In a medium saucepan, combine the sugar, coconut milk, and water. Warm it over medium heat, stirring just until the sugar dissolves. You don’t need to boil it—just get it nice and warm. This step helps the sugar blend seamlessly and intensifies the coconut flavor.
- Mix the Batter: Remove the saucepan from the heat. Whisk in the rice flour and salt until you have a smooth mixture with no lumps. It will thicken up nicely.
- Incorporate the Eggs: Let the mixture cool for about 5 minutes so you don’t scramble the eggs! Then, whisk in the eggs, one at a time, making sure each is fully incorporated before adding the next.
- Final Flavor Touches: Stir in the 1/2 cup of shredded coconut and the vanilla extract. Your batter will be thin, almost like a crepe batter, and that’s exactly what you want.
- Bake to Perfection: Pour the batter into your prepared pan. Sprinkle the top with a little extra shredded coconut for that beautiful golden finish. Bake for 50-60 minutes, or until the top is a deep golden brown and a toothpick inserted into the center comes out clean.
- Cool Completely (The Hardest Part!): Let the cake cool in the pan on a wire rack. I know, the aroma will be torture. But this cake needs to set fully to achieve its signature sticky, dense texture. Once cool, use the parchment paper overhangs to lift it out and slice into squares.
My Go-To Kitchen Equipment
You don’t need anything special! Just a trusty medium saucepan, a good whisk, an 8×8 inch baking pan, and some parchment paper. A wire cooling rack is also super helpful for getting that perfect texture.
Tips, Tricks, and How to Make It Your Own
Here’s where we get personal. The first time I made a version of this, I was so impatient I cut it warm. It was delicious, but a glorious, sticky mess! Waiting pays off, I promise.
- For a Richer Taste: Substitute 1/4 cup of the water with coconut cream for an even more intense flavor.
- Texture Check: Don’t be alarmed if the edges get quite dark; that caramelization adds to the flavor. If it’s browning too quickly, tent it loosely with foil.
- Storage: Keep it covered at room temperature for up to 3 days. It gets even stickier and better the next day! For longer storage, it freezes beautifully. Wrap squares individually and thaw at room temperature.
- Make it a Feast: This cake pairs wonderfully with a cup of strong coffee or, for a truly special treat, a scoop of vanilla bean ice cream to balance the sweetness.
Your Gluten-Free Sticky Coconut Cake Questions, Answered
Can I use a different type of flour?
For this specific traditional texture, white rice flour is key. It’s naturally gluten-free and gives the cake its characteristic chew. I don’t recommend substituting all-purpose or almond flour, as they will change the structure completely.
How do I know when the cake is done baking?
The top will be a uniform golden brown, and the edges will start to pull away slightly from the pan. The real test is the toothpick: it should come out clean when inserted into the center. Because of its sticky nature, it might still look a little moist, but it shouldn’t have wet batter on it.
My batter seems very thin. Did I do something wrong?
Nope, you’re right on track! The batter is supposed to be thin, almost like a heavy cream consistency. The rice flour absorbs the liquid as it bakes, creating that perfect dense and sticky crumb.
Can I make this dairy-free as well?
It already is! Just be sure to use a vegan-friendly sugar if needed (some refined sugars use bone char). This cake is a fantastic option for those with multiple dietary needs.
So there you have it—a little piece of Southeast Asia that you can whip up in your own kitchen, no passport required. This Indonesian Sticky Coconut Cake is more than just a gluten-free dessert; it’s a conversation starter, a memory maker, and proof that simple ingredients can create something extraordinary. I love how it brings a touch of exotic warmth to any table. Give it a try, and I have a feeling it might just become a staple in your recipe box, too. Don’t forget to share your creation with me—now, go bake up some joy!