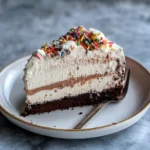
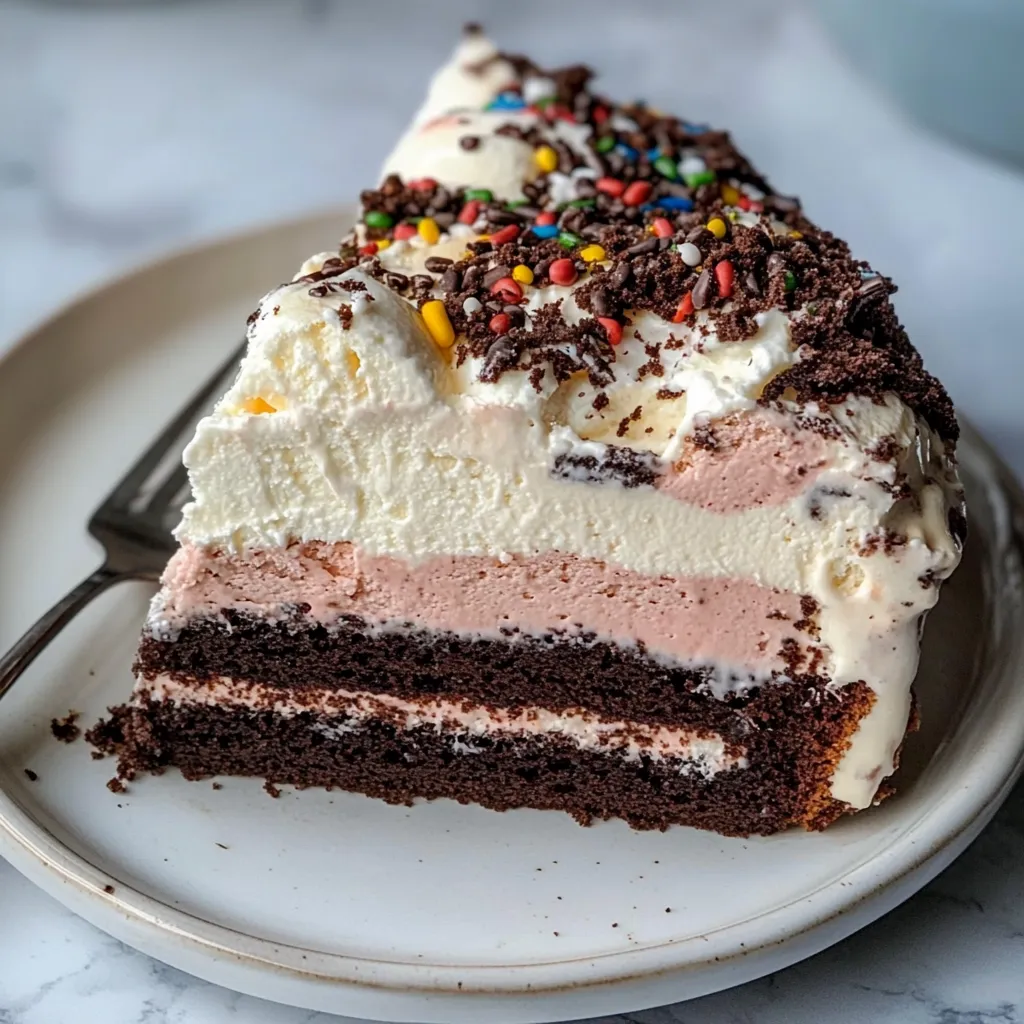
Raise your hand if you’ve ever stared at a birthday invitation and felt a tiny pang of dessert panic. Whether you’re hosting a celebration, navigating food sensitivities, or just craving something spectacularly simple, this No-Bake Gluten Free Ice Cream Cake is your new secret weapon. Imagine layers of fudgy brownie, creamy ice cream, and crunchy chocolate shell—all coming together without ever turning on your oven. It’s the kind of treat that looks like you spent all day in the kitchen, but I promise, our secret is safe.
Why You’ll Love This Gluten Free Ice Cream Cake
This dessert isn’t just a recipe; it’s a solution. Here’s why it’s about to become a staple in your freezer:
- Incredibly Easy: No baking, no fuss. It’s mostly assembly, which is my favorite kind of kitchen project.
- Naturally gluten-free with simple swaps, so everyone can enjoy a slice.
- Make-Ahead Magic: Prepare it days in advance, freeing you up to enjoy your own party.
- Endlessly customizable with your favorite ice cream flavors and mix-ins.
Gathering Your Ingredients
Here’s what you’ll need to create this frozen masterpiece. The beauty lies in the simplicity
PrintGluten Free Ice Cream Cake
Indulge in gluten-free ice cream cake mastery. Learn expert techniques to craft a homemade frozen dessert with dairy-free options. Simple, no-bake recipe.
- Prep Time: 45 minutes
- Cook Time: 30 minutes
- Total Time: 7 hours 15 minutes
- Yield: 12 servings 1x
- Category: Dessert
- Cuisine: American
Ingredients
Instructions
Notes
A dreamy, crowd-pleasing dessert featuring layers of fudgy gluten-free brownie, creamy ice cream, and crunchy toppings. This no-bake ice cream cake is incredibly easy to make, naturally gluten-free, and perfect for making ahead for any celebration.
Nutrition
- Serving Size: 12 servings
- Calories: 480 calories
- Sugar: 42 grams
- Fat: 25 grams
- Carbohydrates: 58 grams
- Fiber: 3 grams
- Protein: 9 grams
For the Brownie Base Layer:
- 1 box (approx. 18 oz) gluten-free brownie mix (plus the oil, egg, and water it calls for)
- Or, for a from-scratch option, use your favorite gluten-free brownie recipe baked in a 9-inch springform pan.
For the Ice Cream & Topping Layers:
- 1/2 gallon (approx. 2 liters) vanilla ice cream, slightly softened
- 1 cup hot fudge sauce, divided
- 1 cup creamy peanut butter (or sunflower seed butter for a nut-free version)
- 1 cup salted peanuts, roughly chopped (optional, for crunch)
- 1 (8 oz) container frozen whipped topping (like Cool Whip), thawed
- Magic Shell chocolate topping, for serving
Let’s Build This Cake!
Follow these simple steps for a stunning, layered dessert. I like to do this in stages while watching my favorite show—multitasking at its finest.
- Bake the Base: Prepare the brownie mix according to package directions. Pour the batter into a greased 9-inch springform pan and bake as directed. Let it cool completely in the pan on a wire rack. This is your foundation, so patience here is key!
- Create the Fudgy Layer: In a small microwave-safe bowl, warm 1/2 cup of the hot fudge sauce for about 30 seconds, just until it’s spreadable. Carefully spread it over the completely cooled brownie layer.
- Add the Ice Cream: Scoop the slightly softened vanilla ice cream over the fudge layer. Use a spatula or the back of a spoon to press and spread it into a smooth, even layer. Pop the whole pan into the freezer for at least 1 hour to firm up.
- Layer on the Peanut Butter: Warm the peanut butter in the microwave for 20-30 seconds to make it easier to drizzle. Remove the pan from the freezer and drizzle the warmed peanut butter over the ice cream layer. Sprinkle with chopped peanuts if using. Return to the freezer for another 30 minutes.
- Finish with Fluff: Gently spread the thawed whipped topping over the peanut butter layer, sealing it all the way to the edges. Freeze for at least 4-6 hours, or preferably overnight, until completely firm.
Tools You’ll Need
- 9-inch springform pan (this is non-negotiable for easy release!)
- Mixing bowls and utensils
- Microwave-safe bowls
- Spatula and spoons for spreading
- Wire rack for cooling
Tips, Tricks, and Flavor Twists
This recipe is a fantastic blueprint for creativity. Here’s how to make it your own:
- Speed It Up: Use a store-bought gluten-free brownie from the bakery section for an even quicker start.
- Flavor Adventure: Swap the vanilla ice cream for chocolate, cookies and cream, or strawberry. The peanut butter can become caramel sauce or raspberry jam.
- Perfect Slices: For clean slices, run a sharp knife under hot water and wipe it dry between each cut.
- A Personal Note: This cake was my daughter’s “aha!” moment at a family reunion where we had several gluten-free guests. Seeing everyone share the same decadent dessert, with zero compromise on taste, was pure joy. It’s proof that inclusive eating can be the most delicious kind.
How to Serve Your Masterpiece
When you’re ready to serve, remove the cake from the freezer and carefully run a knife around the edge of the springform pan before releasing the sides. Drizzle individual slices generously with Magic Shell topping—it will crackle delightfully on the cold ice cream. For a fun presentation, add a dollop of extra whipped cream and a cherry on top. It pairs wonderfully with a cup of coffee or, in my house, a tall glass of homemade chocolate milk for the kids.
Your Gluten Free Ice Cream Cake Questions, Answered
Can I make this dairy-free as well?
Absolutely! Use your favorite dairy-free ice cream, a vegan whipped topping, and ensure your brownie mix and chocolate toppings are dairy-free. It transforms beautifully into a vegan ice cream cake.
How far in advance can I make this?
You can make this entire cake up to one week in advance. Just wrap the fully assembled cake tightly in plastic wrap once the whipped topping layer is firm. It’s the ultimate make-ahead dessert for stress-free entertaining.
What can I use instead of a springform pan?
While a springform pan is ideal, you can use a deep 9-inch cake pan lined with parchment paper strips for lifting. Removal will just require a bit more careful maneuvering.
How do I store leftovers?
Cover any leftover slices tightly with plastic wrap or store the whole cake, covered, in the freezer for up to a week. The textures hold up really well!
Can I use homemade whipped cream instead of whipped topping?
You can, but stabilized whipped cream is better for freezing. Whipped topping holds its texture in the freezer longer. If you prefer homemade, check out a guide on how to make stabilized whipped cream from a trusted source like King Arthur Baking.
More Easy & Delicious Desserts to Try
If you loved how simple and impressive this dessert was, you’ll adore these other no-fuss favorites. For another fantastic no-bake treat, my Simple Apple Crisp is my go-to.
There you have it—a showstopping Gluten Free Ice Cream Cake that’s all about ease, flavor, and bringing people together. It’s the dessert that says “I care” without saying “I’m exhausted.” So go ahead, take the compliments, and enjoy every last bite of your creamy, crunchy, chocolatey creation. Happy baking (or rather, happy no-baking)!