
Hey there, fellow food lovers! Do you ever crave a sweet treat that’s not only delicious but also good for you? Well, I totally get it. That’s why I’m beyond excited to share my recipe for Gluten Free Strawberry Smoothie Popsicles. These popsicles are the perfect answer to those hot summer days, a quick snack for the kids, or even a delightful dessert you can feel good about. They’re so simple to make, you’ll wonder why you haven’t tried them sooner! I always find myself turning to recipes like this when I’m short on time but still want something amazing.
It’s all about creating simple, joyful moments in the kitchen, and these popsicles do just that. They taste like a burst of sunshine, and the best part? They’re gluten-free! That means more friends and family can enjoy them without a worry. Plus, they’re wonderfully customizable. Want to know more? Let’s dive in.
Why You’ll Love These Gluten Free Strawberry Smoothie Popsicles
Quick & Easy: Ready in minutes, perfect for busy days.
Family-Friendly: A hit with kids & adults alike.
Healthy & Refreshing: Packed with the goodness of strawberries and other healthy ingredients.
Customizable: Easily adapt to your taste preferences.
Ingredients
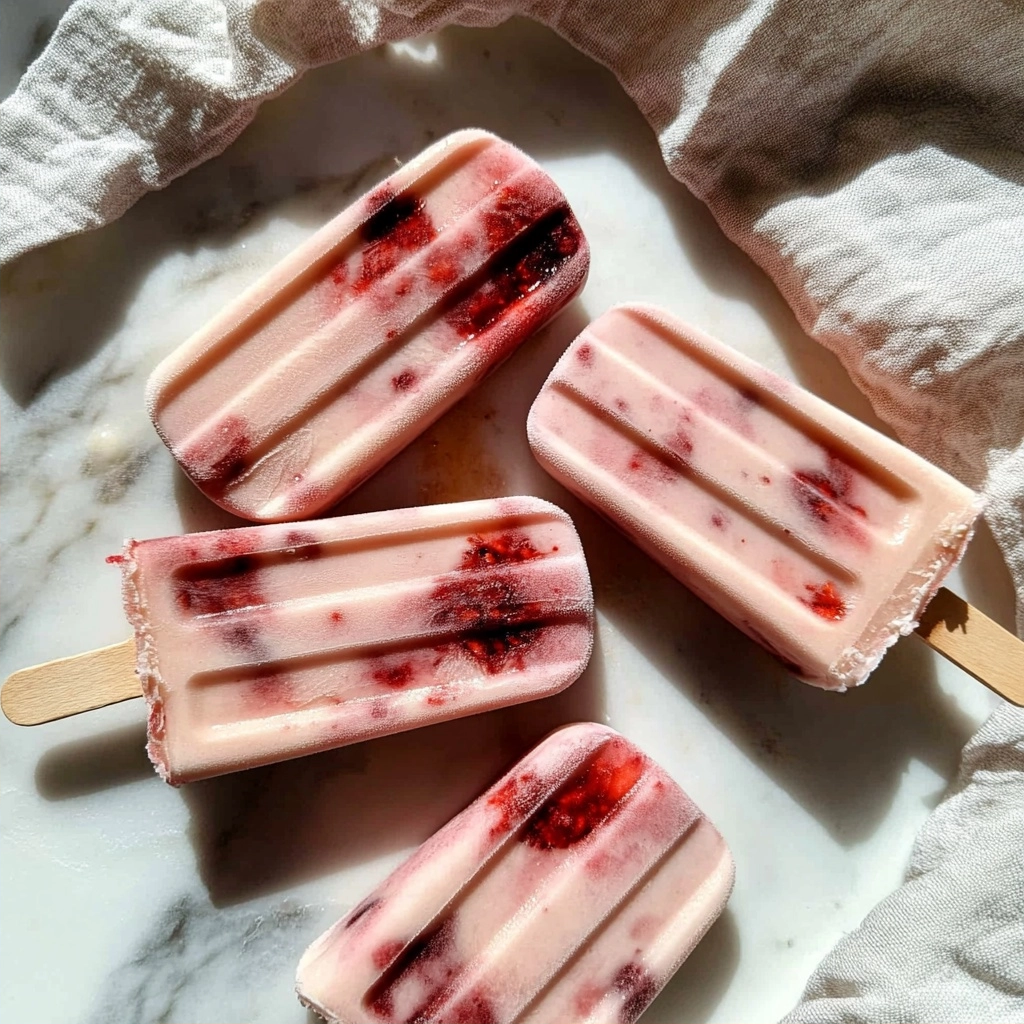
PrintGluten-Free Strawberry Smoothie Popsicles: A Creamy Refreshing Treat
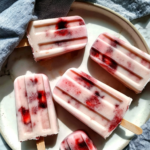
These gluten-free strawberry popsicles are a quick, healthy frozen treat perfect for summer days or a post-dinner dessert. Combining the natural sweetness of strawberries with a smooth, creamy texture from milk and Weet-Bix™, they’re customizable and loved by all ages.
- Prep Time: 5
- Cook Time: 240
- Total Time: 245
- Yield: 10 popsicles 1x
- Category: Gluten-Free
- Method: Freezing
- Diet: Vegetarian
Ingredients
3 Weet-Bix™ Gluten Free biscuits
2 cups milk, or So Good Soy or Almond Milk
1 punnet strawberries (divided in half)
2 tsp maple syrup (optional)
Instructions
Crumble the Weet-Bix™ biscuits into a blender.
Add milk (or soy/almond milk) to the blender.
Add half the strawberries.
Blend in maple syrup (if using).
Blend until smooth and creamy.
Taste and adjust sweetness if needed.
Pour the mixture into popsicle molds.
Place the remaining strawberries into the molds.
Freeze for 4-8 hours until solid.
Run molds under warm water to release before serving.
Notes
Use ripe strawberries for maximum sweetness.
Swap strawberries with other fruits like bananas or blueberries.
For an alcohol-free treat, use maple syrup or agave nectar.
Eggless and vegan-friendly with non-dairy milk.
Nutrition
- Serving Size: 1 popsicle
- Calories: 40
- Sugar: 12g
- Sodium: 100mg
- Fat: 1g
- Saturated Fat: 0.5g
- Carbohydrates: 10g
- Fiber: 0.5g
- Protein: 2g
- Cholesterol: 30mg
3 Weet-Bix™ Gluten Free biscuits
2 cups milk, or So Good Soy or Almond Milk
1 punnet strawberries, divided in half
2 tsp maple syrup (optional)
Step-by-Step Instructions
Prepare the Weet-Bix™: Crumble the Weet-Bix™ biscuits into a blender.
Add Liquid: Pour in the milk (soy or almond milk) to the blender.
Add Strawberries: Add half of the strawberries to the blender.
Sweeten (Optional): If you like, add maple syrup for extra sweetness.
Blend: Blend everything until smooth and creamy.
Taste: Have a quick taste and adjust sweetness as needed.
Pour into Molds: Pour the mixture into your popsicle molds.
Add Strawberry Pieces: Gently place the remaining half of the strawberries into the molds.
Freeze: Freeze for at least 4 hours, or preferably overnight, until completely solid.
Serve: To remove the popsicles, run the molds under warm water for a few seconds. Enjoy
And that’s it! See? Super easy, right? This recipe is a staple in my kitchen because it’s always a winner. It’s also a great way to get the kids involved – they love helping to put the berries into the molds. For another fun, easy frozen treat for the little ones, check out my recipe for Easy Banana Nice Cream.
Equipment
Blender
Popsicle molds
Tips & Variations
Feel free to experiment with different types of milk, such as coconut milk for a tropical twist. You can also add other fruits like bananas or raspberries. If you prefer, add a touch of vanilla extract for extra flavor. As a heads up, the exact freezing time may vary depending on your freezer. And there’s no need to overthink it; cooking is meant to be fun!
Want more delicious, easy recipes? Explore my website for more family favorites, like my One Pan Lemon Herb Roasted Chicken and Vegetables – it’s another simple dish that will bring smiles to your table.
Serving Suggestions
These popsicles are perfect on their own, but if you want to make them fancy, serve them with a dollop of whipped cream or a sprinkle of shredded coconut. They’re also a great addition to a summer party or a fun treat after a picnic. Have you considered setting up a little popsicle bar at your next gathering? Your guests will love it!
Nutrition Facts
(Nutrition information will vary depending on ingredients used and serving size. A quick online nutrition calculator can help!)
Frequently Asked Questions
Can I use frozen strawberries? Absolutely! Frozen strawberries will work perfectly and make the popsicles even colder.
Can I substitute other fruits? Yes, try raspberries, blueberries, or even a mix of your favorites!
How long do these popsicles last in the freezer? They should last for up to a month if stored properly in an airtight container or freezer bags.
Can I adjust the sweetness? Yes! Adjust the maple syrup to your preferred sweetness level. Taste as you go.
How can you avoid icy popsicles? Use a blender to ensure all ingredients are well combined, and be sure to freeze the popsicles completely.
That said, remember that a healthy, tasty treat doesn’t have to be complicated! Making these Gluten Free Strawberry Smoothie Popsicles will become a new favorite way to brighten your day. I hope you enjoy these as much as my family and I do. Don’t forget to save this recipe and share it with your friends and family! Happy blending!