I’m so glad you’re here. I’m the cook, food lover, and everyday kitchen experimenter behind this blog. bestdisheasy.com is my little corner of the internet where I share the joy of creating simple, delicious recipes that bring comfort and smiles to your table. Cooking didn’t always come naturally to me. It became a passion over time—something that grew as I started feeding my family and realizing how much food connects us. What started as a necessity became my favorite way to unwind, get creative, and show love. This Homemade Apple Crisp recipe is a perfect example of that warmth and connection.
The Irresistible Allure of Homemade Apple Crisp
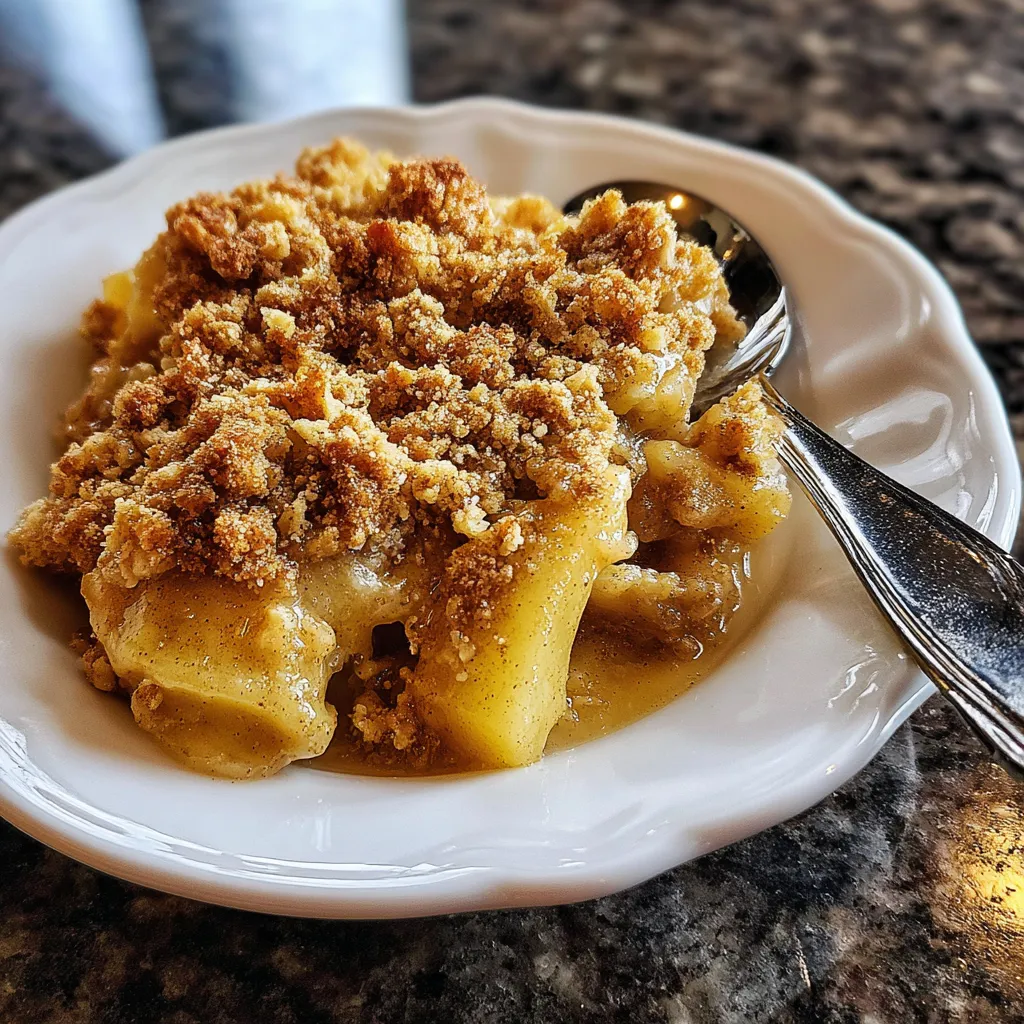
There’s just something about a homemade apple crisp that instantly transports you back to simpler times. I remember autumn afternoons at my grandmother’s house; the scent of cinnamon and warm apples would waft through the air, promising a treat that always delivered. Her secret was always using fresh, local apples, and she insisted that a good apple crisp wasn’t just a dessert; it was a feeling. This particular homemade apple crisp recipe aims to capture that exact magic, making it a staple in your kitchen, just as it became in mine. It’s truly a dish that speaks volumes of comfort and joy.
PrintAmazing Homemade Apple Crisp Recipe Easy Delicious

Amazing homemade apple crisp Easy delicious recipe Warm spiced apples w golden oat topping Perfect dessert for any occasion
- Prep Time: 20 minutes
- Cook Time: 50 minutes
- Total Time: 1 hour 10 minutes
- Yield: 8 servings 1x
- Category: Dessert
- Cuisine: American
Ingredients
Instructions
Nutrition
- Calories: 350 calories
- Sugar: 35g
- Fat: 15g
- Carbohydrates: 55g
- Fiber: 5g
- Protein: 3g
Why Homemade Apple Crisp is a Timeless Classic
Homemade apple crisp consistently ranks as a beloved dessert for good reason. It offers the perfect balance of tender, spiced fruit and a crunchy, buttery topping. Unlike a pie, it’s far less intimidating to prepare, yet it delivers all the comforting flavors you crave. This easy-to-follow recipe ensures even novice bakers can achieve a show-stopping result. We embrace traditions here, and few things are as comforting as a warm apple dessert like this one.
The Comfort and Joy of Baking with Apples
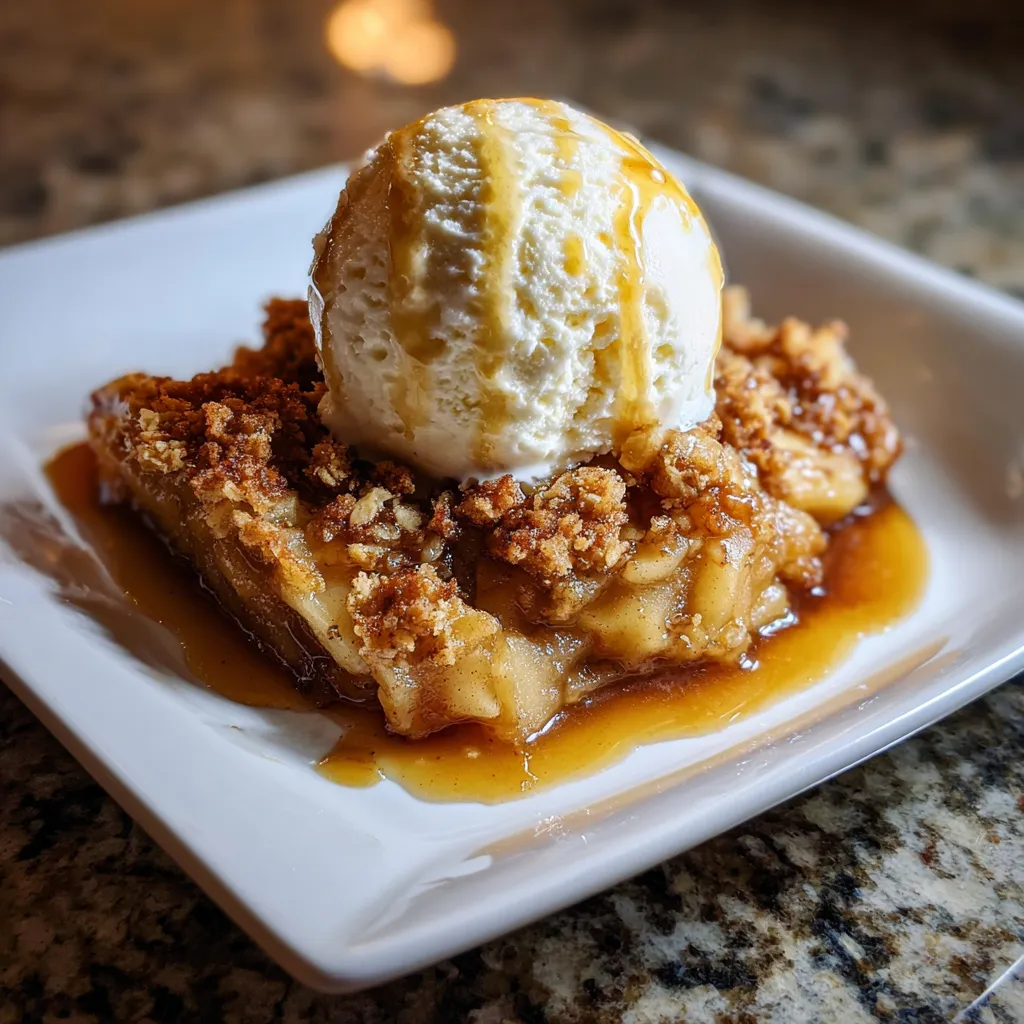
Baking with apples during the fall, or any season, fills your home with an aroma that’s pure coziness. The act of peeling, coring, and slicing apples somehow feels therapeutic. Then, mixing them with spices and seeing them transform into a bubbling, golden masterpiece is incredibly satisfying. A hot homemade apple crisp straight from the oven, perhaps with a scoop of vanilla ice cream, defines a perfect ending to any meal. This dessert brings genuine joy.
Selecting the Best Apples for Your Crisp
Choosing the right apples makes all the difference for a truly spectacular apple crisp. You need apples that hold their shape during baking, offering a pleasant texture rather than turning into a mushy applesauce. Furthermore, a good balance of sweet and tart flavors elevates the entire dessert. My grandmother always combined different varieties, and that’s a tip I’ve carried forward in my own cooking. Learning to identify the best apples for recipes like this one can truly transform your baking.
Top Apple Varieties for Perfect Texture and Flavor
For the ideal homemade apple crisp, I often recommend a mix of varieties. Granny Smith apples provide that essential tartness and firm texture that prevents the filling from becoming too soft. Fuji apples or Honeycrisp contribute natural sweetness and a delightful crunch. Braeburn and Gala apples also work beautifully, lending their own unique flavor profiles. Combining these ensures a complex, vibrant taste in your homemade apple crisp. You can find more tips on fruit selection in our “Seasonal Fruit Guide” on bestdisheasy.com.
How to Prepare Your Apples for Baking
Once you select your apples, proper preparation is key. Begin by washing them thoroughly. Then, peel, core, and slice them into uniform pieces, about half an inch thick. Consistency in size ensures even cooking throughout your homemade apple crisp. Some people toss the apple slices with a little lemon juice to prevent browning, though I find that if you work quickly, it’s not always necessary. This simple step leads to a beautifully cooked filling.
Crafting the Irresistible Topping and Flavorful Filling
The magic of a homemade apple crisp truly lies in both its tender, spiced apple filling and its golden, crunchy topping. Each component plays a crucial role in delivering that signature taste and satisfying texture. Achieving the right balance of sweetness and spice in the filling, combined with a perfectly crumbly yet crisp topping, elevates this dessert from good to absolutely unforgettable. This section guides you through perfecting both elements to create an apple crisp that will surely impress.
Secrets to a Perfectly Spiced Apple Filling
A truly great apple crisp starts with an incredibly flavorful filling. Beyond the apples, a thoughtful blend of spices creates depth. Cinnamon is non-negotiable; it’s the heart of apple desserts. I also love to add hints of nutmeg and a pinch of allspice to complement the apples’ natural sweetness. A touch of brown sugar and a small amount of flour or cornstarch, to thicken the juices, ensures the filling has a beautiful, jammy consistency, making every spoonful of your homemade apple crisp delightful. For other comforting desserts, check out our “Classic Dessert Recipes” available on bestdisheasy.com.
Achieving the Ultimate Crumbly, Golden Topping
The crowning glory of any homemade apple crisp is its topping. For that irresistible golden crunch, you need a mixture of flour, sugar (both white and brown), cold butter, and rolled oats. The key is to cut the cold butter into the dry ingredients until the mixture resembles coarse crumbs. This technique creates pockets of butter that melt and steam during baking, leading to an incredibly crispy and flavorful streusel. I often add a sprinkle of extra cinnamon or a pinch of salt to enhance those rich, buttery notes, ensuring a truly mouthwatering finish.
Baking, Serving, and Storing Your Homemade Apple Crisp
Baking your homemade apple crisp to perfection involves a few key steps that guarantee a golden, bubbly result. Once it emerges from the oven, serving it warm is absolute bliss. However, understanding how to best enjoy and store any leftovers ensures you can savor this comforting dessert for days. This final section covers baking tips, creative serving suggestions, and practical storage advice, making sure your apple crisp experience is delightful from start to finish. We are always striving for practical solutions in the kitchen, and these tips will help you enjoy every bit of your culinary creation.
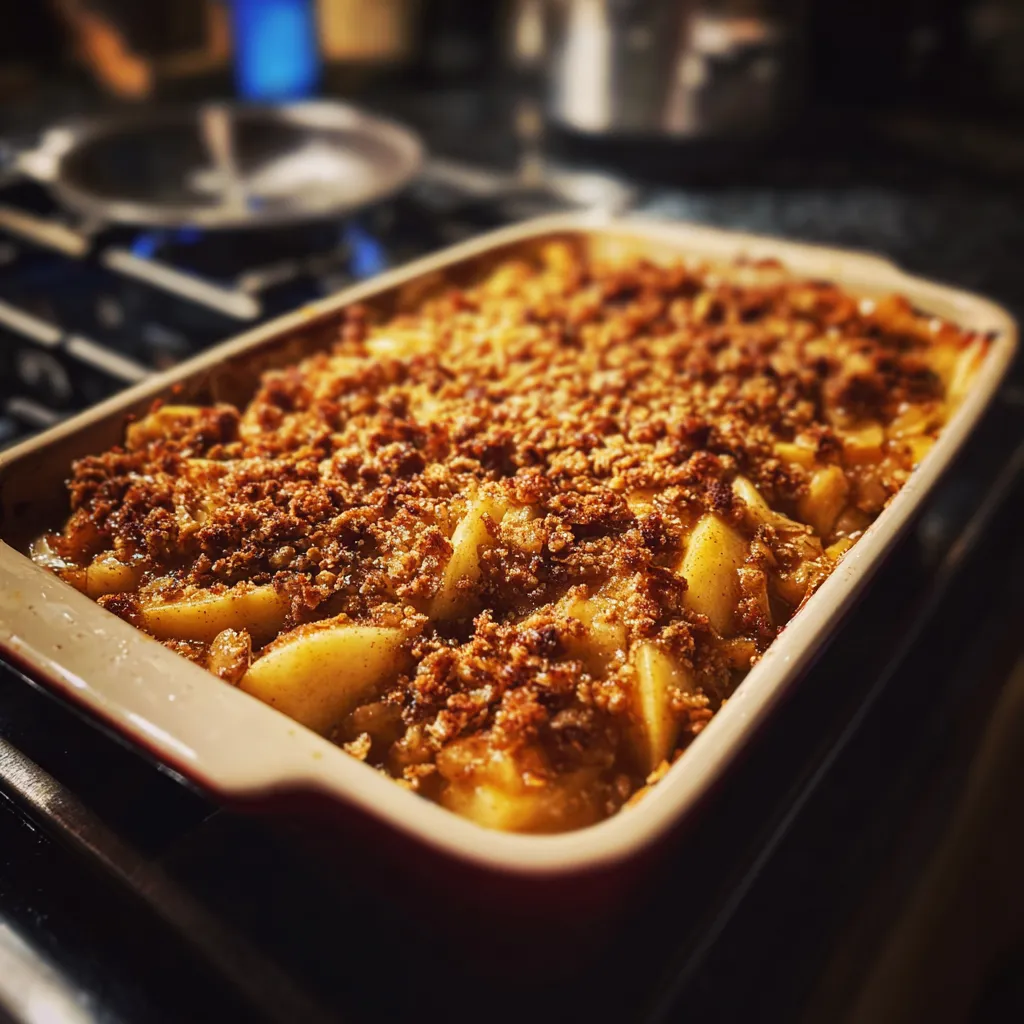
Baking Your Apple Crisp to Golden Perfection
Baking your homemade apple crisp correctly ensures both the apples are tender and the topping is beautifully golden and crisp. Preheat your oven to the recommended temperature, typically around 375°F (190°C). Place the crisp on a baking sheet to catch any potential drips. Bake until the topping is deeply golden brown and the apple filling is bubbling generously around the edges, usually 45-60 minutes. If the topping browns too quickly, you can loosely tent it with foil. This patience results in a perfectly baked homemade apple crisp. For other baking essentials, explore our “Baking Fundamentals” articles on bestdisheasy.com.
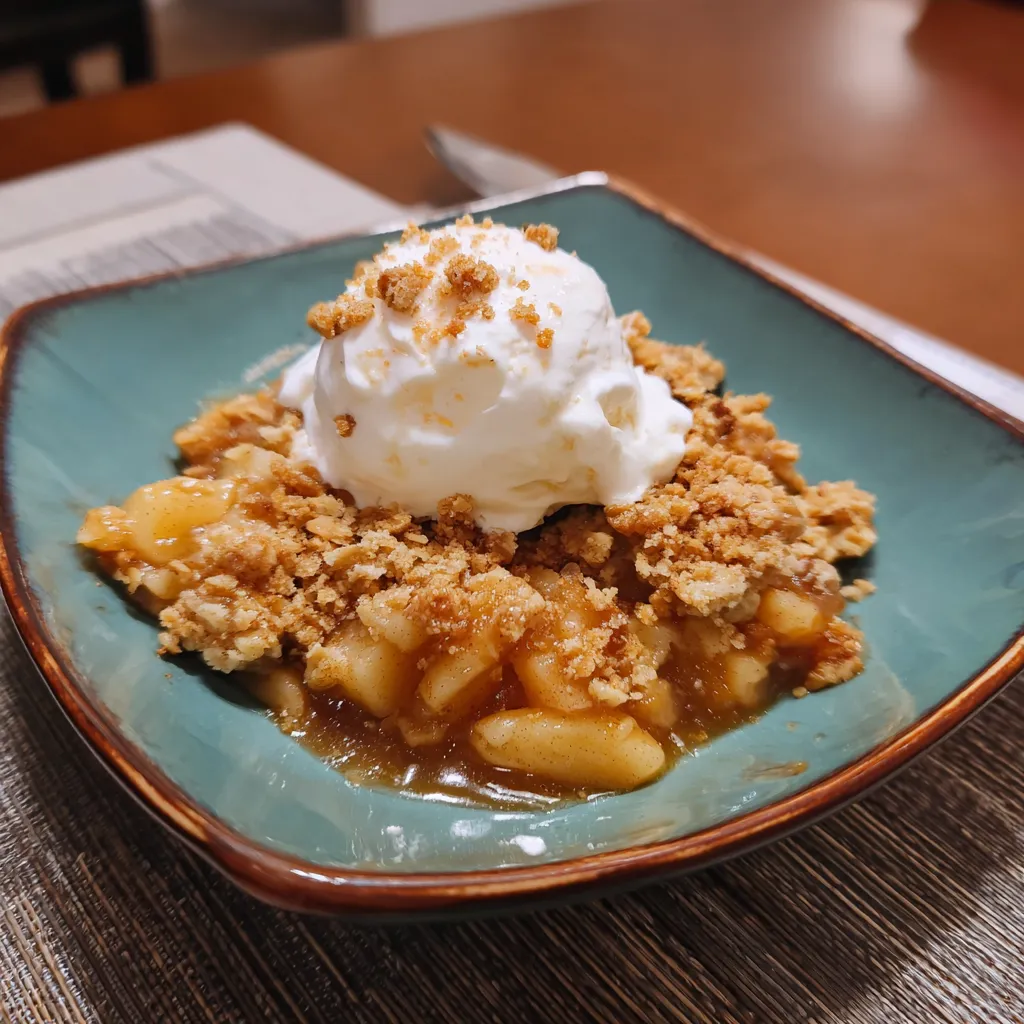
Creative Serving Suggestions and Pairings
While homemade apple crisp is divine on its own, a few additions can elevate it even further. A scoop of vanilla bean ice cream melting into the warm crisp is a classic pairing that’s hard to beat. A dollop of freshly whipped cream also adds a lovely touch of richness and lightness. For a fall-themed treat, consider a drizzle of caramel sauce or a sprinkle of toasted pecans. Don’t be afraid to experiment with different toppings and pairings; for example, a dash of bourbon in the apple filling can add an unexpected depth of flavor, perfect for adult palates.
Storing and Reheating Leftover Apple Crisp
Proper storage helps you enjoy your homemade apple crisp long after it comes out of the oven. Once cooled, cover any leftover crisp tightly with plastic wrap or aluminum foil and refrigerate it for up to 3-4 days. For longer storage, you can freeze individual portions in airtight containers for up to 3 months. When you’re ready to enjoy it again, reheat chilled crisp in a preheated oven at 350°F (175°C) for about 15-20 minutes, or until warmed through, to regain some of that lovely crispness. Frozen portions should be thawed in the refrigerator overnight before reheating.
Frequently Asked Questions About Homemade Apple Crisp
What kind of apples are best for apple crisp?
For the best homemade apple crisp, use a mix of apples that hold their shape and offer a balance of sweet and tart flavors. Granny Smith is excellent for tartness and firm texture, while Honeycrisp or Fuji add sweetness. Braeburn or Gala can also work well.
Can I make apple crisp ahead of time?
Yes, you can prepare the apple crisp ahead of time. You can assemble the entire crisp and refrigerate it unbaked for up to 24 hours. Alternatively, you can bake it completely, let it cool, and then refrigerate it. Reheat in the oven before serving. The topping may lose some crispness but will still be delicious.
How do I prevent my apple crisp from becoming soggy?
To prevent a soggy apple crisp, ensure you use a good amount of thickener like flour or cornstarch in your apple filling to absorb excess moisture. Also, don’t overcrowd the baking dish, as this can trap steam and make the apples release too much liquid. Baking thoroughly until the filling bubbles ensures the liquid has reduced sufficiently.
Can I use gluten-free ingredients for apple crisp?
Absolutely! To make a gluten-free homemade apple crisp, simply substitute the all-purpose flour in both the filling and the topping with a 1:1 gluten-free baking blend. Ensure your oats are certified gluten-free as well. The taste and texture will remain wonderfully similar.