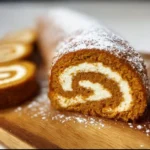
There’s something truly magical about a pumpkin roll that signals the arrival of cozy sweaters, crisp air, and the joy of the holidays. This iconic dessert, with its swirls of spicy cake and creamy filling, is a showstopper that seems complicated but is absolutely achievable in any home kitchen. We’re going to walk through everything you need to know, from selecting the best ingredients to the secrets of a flawless roll that won’t crack. Get ready to create a stunning pumpkin roll that will become your new favorite autumn tradition.
The Irresistible Charm of a Homemade Pumpkin Roll
I can still vividly remember the first time I successfully made a pumpkin roll. It was a chilly November afternoon, and my grandmother’s handwritten recipe card was splattered with years of batter and love. I was terrified. The idea of rolling a delicate cake felt like a high-stakes culinary gamble. But as the warm, spiced scent of pumpkin and cinnamon filled my kitchen, I felt a connection to every baker who had attempted this classic dessert before me. When I finally unrolled that towel to reveal a perfectly spiraled masterpiece without a single crack, the pride was immense. That first successful pumpkin roll wasn’t just a dessert; it was a rite of passage.
PrintMaster Pumpkin Roll Recipe Easy Baking Technique Tips
Master pumpkin roll recipe with pro baking tech tips Learn to create the perfect rolled dessert with our easy stepbystep guide for fall
- Prep Time: 30 minutes
- Cooling/Chilling Time: 1 hour 15 minutes
- Cook Time: 15 minutes
- Total Time: 2 hours
- Yield: 1 roll (approximately 10 slices) 1x
- Category: Dessert
- Cuisine: American
Ingredients
Instructions
Nutrition
- Calories: 320 kcal
- Sugar: 35 g
- Fat: 12 g
- Carbohydrates: 48 g
- Fiber: 1 g
- Protein: 5 g
This experience taught me that the heart of a great pumpkin roll lies in its simplicity and the joy of sharing. It’s a dessert that impresses at every potluck and brings families together around the table. The process itself is part of the charm, a little bit of kitchen alchemy that results in a beautiful and delicious creation. Whether you’re a seasoned baker or a beginner, mastering the pumpkin roll is a rewarding journey worth taking.

Gathering Your Pumpkin Roll Ingredients
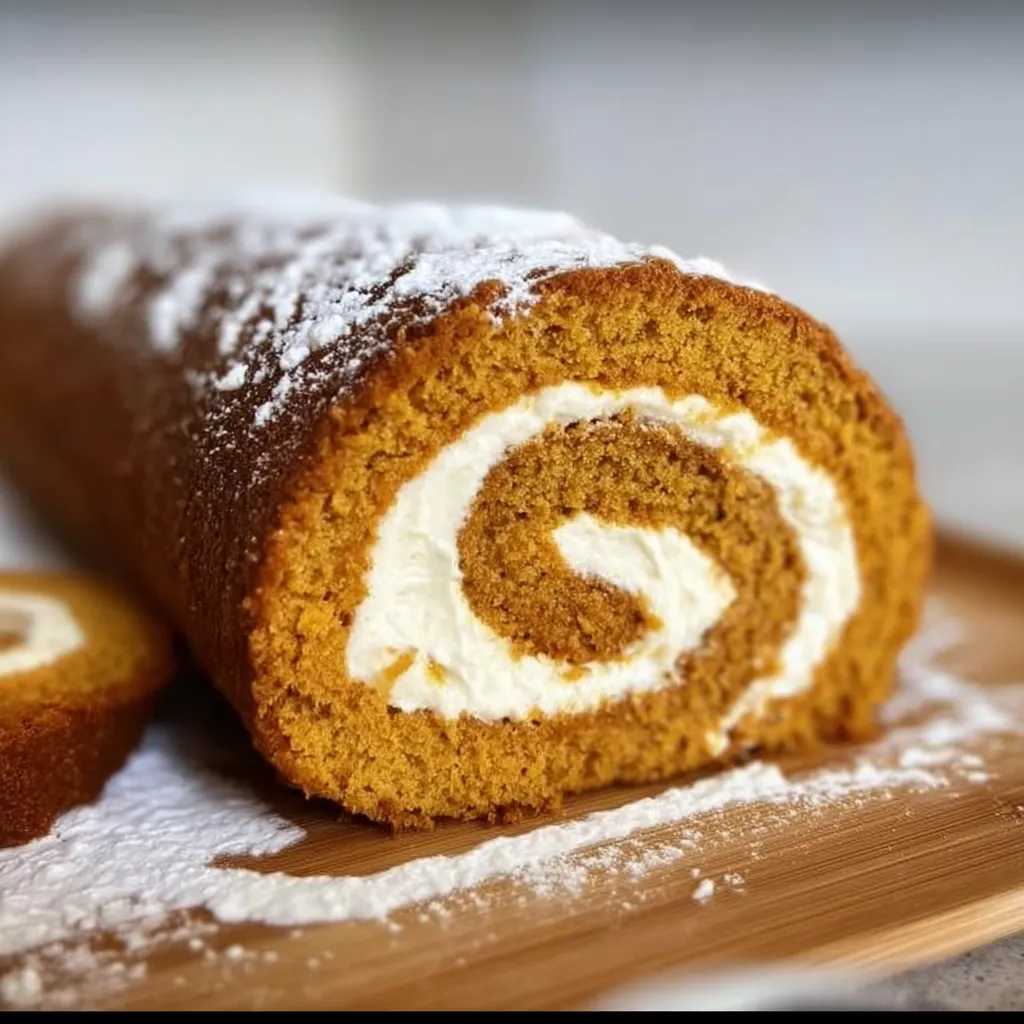
Creating the perfect pumpkin roll starts with quality ingredients. For the cake, you’ll need all-purpose flour, baking powder and soda, a blend of warm spices like cinnamon, ginger, and nutmeg, eggs, granulated sugar, and of course, pure pumpkin puree. It is crucial to use pure pumpkin, not pumpkin pie filling, which contains added sugars and spices. The filling is a simple yet luxurious combination of cream cheese, softened butter, powdered sugar, and a touch of vanilla extract. Using full-fat cream cheese ensures a rich, stable filling that won’t become runny.
The Essential Tools for the Job
You don’t need any fancy equipment to make a fantastic pumpkin roll. A standard baking sheet (approximately 10×15 inches) is your best friend here. Lining it with parchment paper is non-negotiable for easy removal. You’ll also need a clean, thin kitchen towel and a generous dusting of powdered sugar to prevent the warm cake from sticking during its initial roll. A good stand mixer or hand mixer will make light work of whipping the eggs and sugar to the right volume and creating a smooth, lump-free cream cheese frosting for the filling.
Crafting Your Pumpkin Roll Step-by-Step
The key to a stress-free baking experience is organization. Begin by preheating your oven and preparing your pan with parchment paper. Whisk together your dry ingredients in one bowl to ensure the spices and leaveners are evenly distributed. In another larger bowl, beat the eggs and sugar together until they become thick and pale yellow. This step incorporates air, which gives the cake its light texture. Gently fold in the pumpkin puree, then the dry ingredients, taking care not to overmix the batter.
Baking and the Critical First Roll
Spread the batter evenly into your prepared pan and bake until the top springs back lightly when touched. The most important step happens immediately out of the oven. Quickly loosen the cake edges, then invert it onto a towel that you’ve generously dusted with powdered sugar. Carefully peel off the parchment paper. While the cake is still hot, start at one short end and roll it up—towel and all—into a log. This sets the shape and prevents cracking later as the cake cools. Let it cool completely rolled up in the towel on a wire rack.
Creating the Perfect Cream Cheese Filling
While your cake roll cools, prepare the luscious filling. The quality of your cream cheese filling can make or break your pumpkin roll. Ensure your cream cheese and butter are fully at room temperature; this is the secret to a silky-smooth filling without any lumps. Beat them together until perfectly combined and creamy. Gradually add the sifted powdered sugar and vanilla extract, beating on low speed initially to avoid a sugar cloud, then on high until the frosting is light and fluffy.
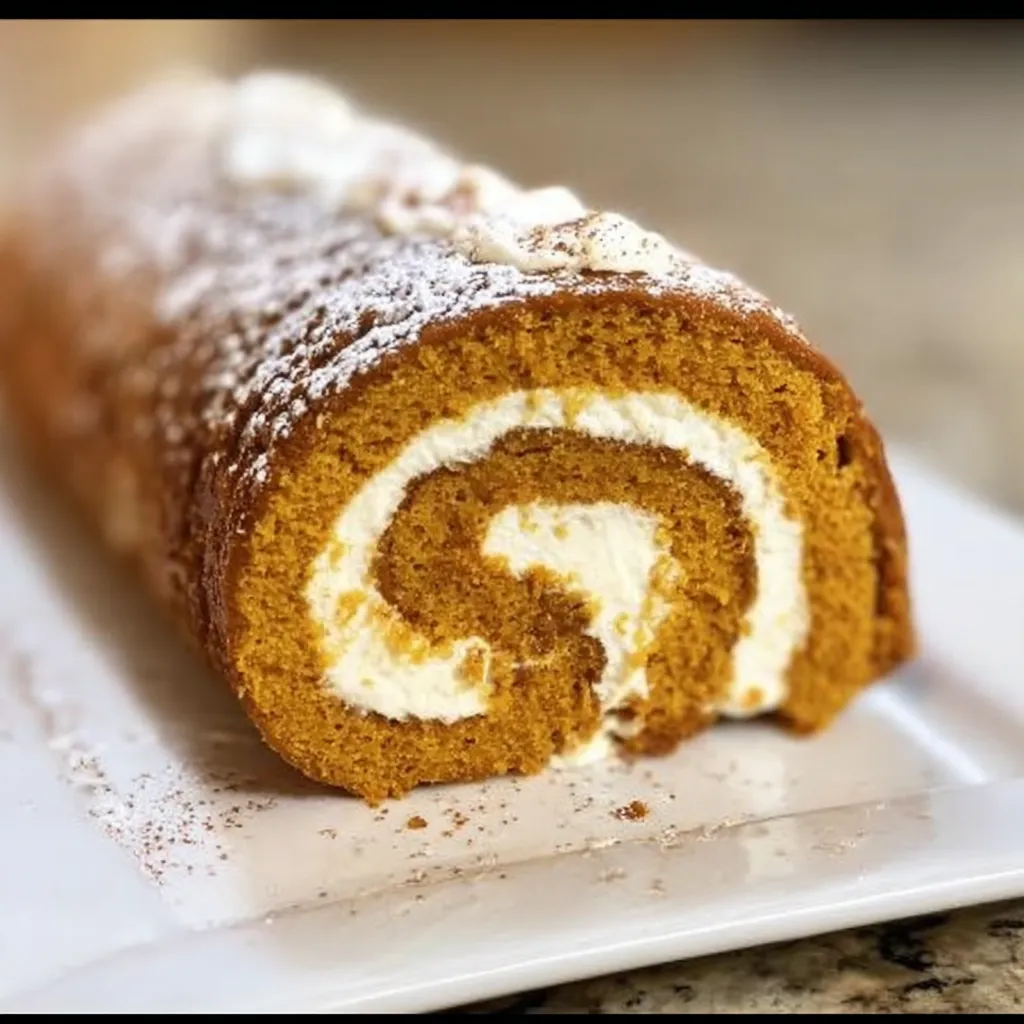
Assembling Your Masterpiece
Once the cake is completely cool, carefully unroll it. It will lie flat, already trained into a spiral shape. Spread the cream cheese filling evenly over the surface, leaving a small border on all sides to prevent squishing when you roll it back up. Using the towel to help guide you, gently but firmly re-roll the cake, this time without the towel inside. Don’t worry if it’s not perfect; a little crack can add character! Wrap the finished roll tightly in plastic wrap and refrigerate for at least an hour. This chills the filling, sets the shape, and makes slicing clean and easy.
Pro Tips for a Flawless Pumpkin Roll Every Time
Even with a great recipe, a few expert tips can elevate your pumpkin roll from good to extraordinary. First, do not overbake your cake. An overbaked cake is a dry cake, and a dry cake will crack. Check it a minute or two before the timer goes off. Secondly, roll the cake while it is as hot as you can handle it. The heat makes the cake pliable, and the powdered sugar-coated towel provides a non-stick surface that teaches the cake its new shape without sticking.
Storing, Serving, and Making Ahead
To serve, unwrap your chilled pumpkin roll and dust the top with a final shower of powdered sugar for a beautiful, snowy effect. Use a sharp serrated knife to slice it into elegant pinwheels. Store any leftovers tightly wrapped in the refrigerator for up to three days. For longer storage, a pumpkin roll freezes beautifully. Wrap the whole roll or individual slices tightly in plastic wrap and then in foil. It will keep in the freezer for up to two months. Thaw overnight in the refrigerator before serving.
Frequently Asked Questions About Pumpkin Roll
Why did my pumpkin roll crack?
Cracking usually happens if the cake was overbaked and dried out, or if it was rolled for the first time when it was already too cool. The initial roll must happen while the cake is still very warm and pliable to set the shape properly.
Can I make a pumpkin roll ahead of time?
Absolutely! In fact, making it a day ahead is highly recommended. The chilling time allows the flavors to meld together beautifully and makes the roll much easier to slice neatly. Just keep it tightly wrapped in the refrigerator.
Do I have to use a towel to roll the cake?
While a towel dusted with powdered sugar is traditional, you can also use a large piece of parchment paper. The goal is to have a flexible, non-stick surface that helps you roll the cake without it sticking to itself.
Can I freeze a pumpkin roll?
Yes, a pumpkin roll freezes exceptionally well. Wrap the completed, chilled roll tightly in plastic wrap and then in aluminum foil. Freeze for up to two months. Thaw in the refrigerator overnight before serving.
What’s the difference between pumpkin puree and pumpkin pie filling?
Pure pumpkin puree is just cooked, mashed pumpkin. Pumpkin pie filling is pre-sweetened and pre-spiced. For this recipe, you must use 100% pure pumpkin puree to have control over the sugar and spice levels.