Is there anything more magical than a Christmas treat that’s both stunning and simple? I’m Emma from tastydwell.com, and these Christmas Meringue Kisses are my absolute favorite way to sprinkle a little edible joy onto any holiday gathering. Light as air, sweet as can be, and endlessly customizable, these bites of cloud-like sweetness are guaranteed to make your dessert table sparkle. They’re the perfect project for a cozy afternoon, whether you’re baking with little helpers or just need a moment of peaceful, whisking therapy. Let’s whip up some happiness together.
Table
Table
Why You’ll Love These Christmas Meringue Kisses
- Seriously Simple: With just a handful of pantry staples, you can create an impressive treat that looks like it came from a fancy bakery.
- Make-Ahead Magic: These kisses hold up beautifully, so you can bake them days before your party and still get loads of compliments.
- Total Crowd-Pleaser: Their delicate texture and sweet flavor are a hit with both kids and adults. They’re also naturally gluten-free!
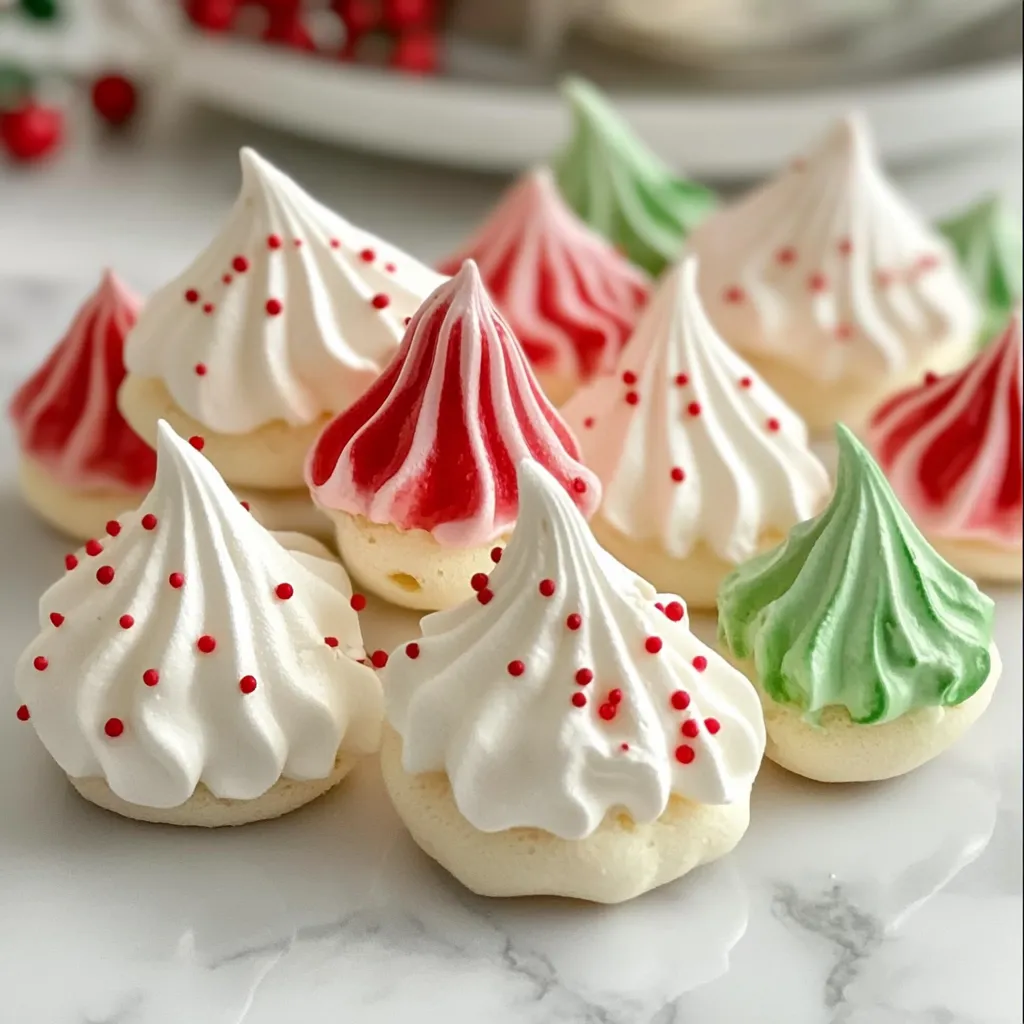
- Your Canvas: Get creative with food coloring and sprinkles to match any holiday color scheme. It’s a great way to get everyone in the festive spirit.
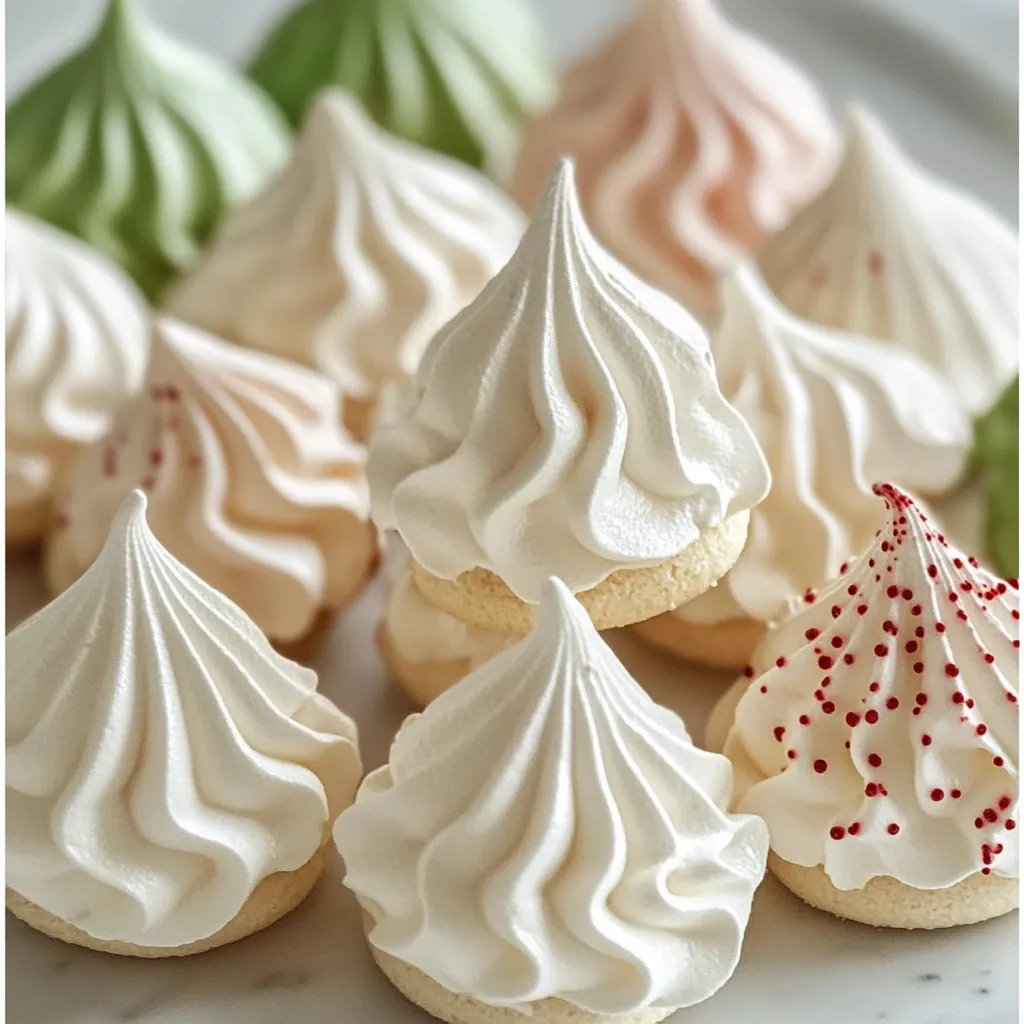
Ingredients for Christmas Meringue Kisses
Print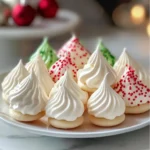
IChristmas Meringue Kisses Recipe
- Total Time: 95 minutes
- Yield: Approximately 40 kisses 1x
Description
Easy meringue technique for festive cookies Quick recipe for light airy Christmas treats Perfect for holiday dessert gifts
Ingredients
- 3 large egg whites
- 3/4 cup granulated sugar
- 1/4 teaspoon cream of tartar
- 1 teaspoon vanilla extract
- Gel food coloring
- Sprinkles for decorating
Instructions
- Preheat your oven to 200°F (90°C). This low and slow heat is the secret to perfectly dry, crisp meringues.
- In the squeaky-clean bowl of your stand mixer, combine the egg whites and cream of tartar. Using the whisk attachment, beat on medium-high speed until soft peaks form.
- With the mixer running, gradually add the sugar, about a tablespoon at a time. Once all the sugar is added, continue to whip on high speed until the mixture is glossy and stiff peaks form.
- Beat in the vanilla extract until just combined. If you’re using food coloring, now’s the time to add a few drops and gently fold it through until you achieve your desired color. Be careful not to over-mix.
- Transfer the meringue to your prepared piping bag. Pipe small, kiss-shaped mounds onto the parchment-lined baking sheets, spacing them about an inch apart. Add sprinkles now if using.
- Bake for 60-75 minutes. The meringues are done when they are firm to the touch and you can easily lift one off the parchment paper. Let them cool completely in the turned-off oven with the door slightly ajar.
Notes
A simple and festive recipe for light, airy, and sweet Christmas Meringue Kisses. Perfect for holiday gatherings, these gluten-free treats are easily customizable with colors and sprinkles.
- Prep Time: 20 minutes
- Cook Time: 75 minutes
- Category: Dessert
- Cuisine: American
Nutrition
- Serving Size: Approximately 40 kisses
- Calories: 15 kcal
- Sugar: 3.5 g
- Fat: 0 g
- Carbohydrates: 3.5 g
- Fiber: 0 g
- Protein: 0.3 g
- 3 large egg whites, at room temperature
- 3/4 cup granulated sugar
- 1/4 tsp cream of tartar
- 1 tsp vanilla extract (or other extract like peppermint or almond)
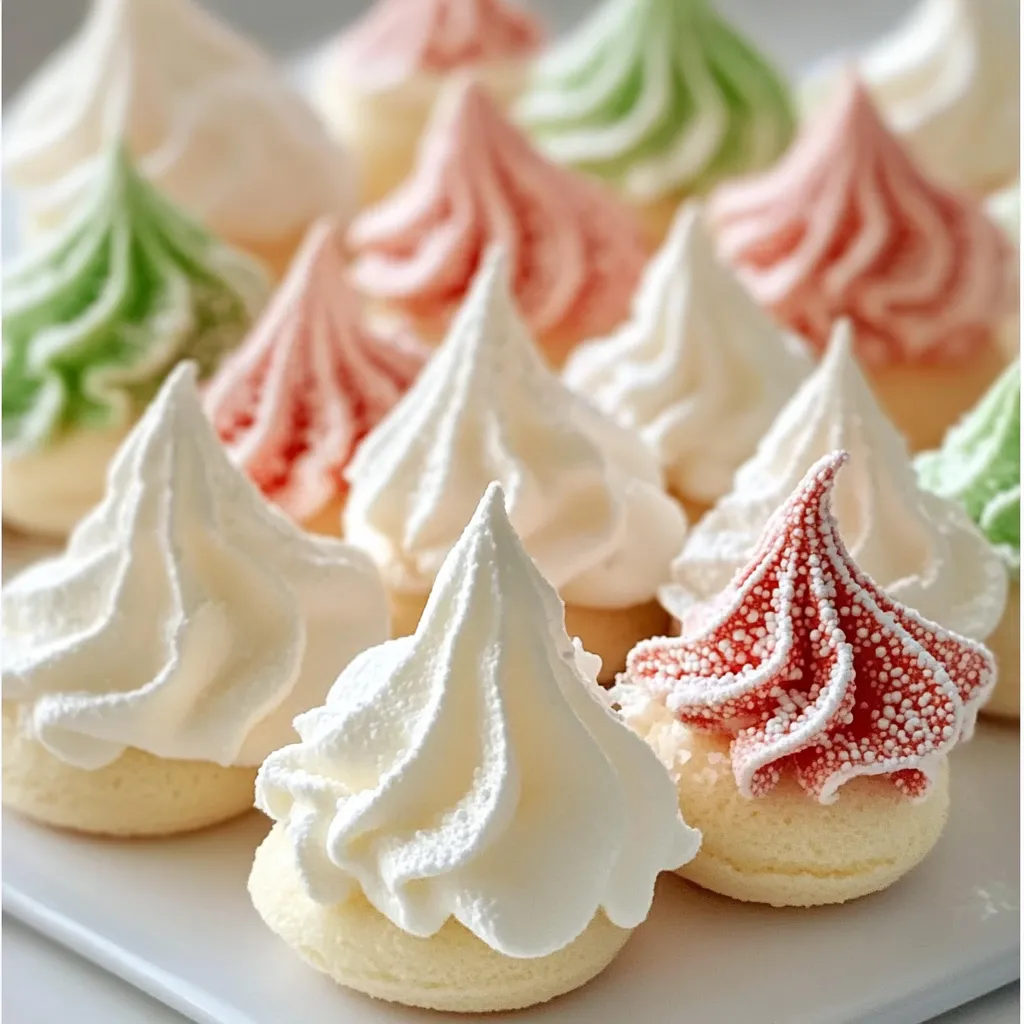
- Gel food coloring (red and green are classic!)
- Sprinkles for decorating (optional)
Equipment You’ll Need
You don’t need anything too fancy for this recipe! A stand mixer or a hand mixer will make the whipping process a breeze. You’ll also need a piping bag fitted with a large star tip and two baking sheets lined with parchment paper.
How to Make Christmas Meringue Kisses: Step-by-Step
- Preheat your oven to 200°F (90°C). This low and slow heat is the secret to perfectly dry, crisp meringues.
- In the squeaky-clean bowl of your stand mixer, combine the egg whites and cream of tartar. Using the whisk attachment, beat on medium-high speed until soft peaks form.
- With the mixer running, gradually add the sugar, about a tablespoon at a time. Once all the sugar is added, continue to whip on high speed until the mixture is glossy and stiff peaks form. This means when you lift the whisk, the peak should stand straight up without flopping over.
- Beat in the vanilla extract until just combined. If you’re using food coloring, now’s the time to add a few drops and gently fold it through until you achieve your desired color. Be careful not to over-mix and deflate the meringue.
- Transfer the meringue to your prepared piping bag. Pipe small, kiss-shaped mounds onto the parchment-lined baking sheets, spacing them about an inch apart. If you’re using sprinkles, add them now so they stick to the wet meringue.
- Bake for 60-75 minutes. The meringues are done when they are firm to the touch and you can easily lift one off the parchment paper. The key is to let them cool completely in the turned-off oven with the door slightly ajar. This patience prevents them from cracking or becoming chewy.
Tips for the Best Holiday Meringues
My number one tip? Make sure your bowl and whisk are completely free of any grease, as even a tiny bit of fat can prevent the egg whites from whipping up properly. To be safe, I give mine a quick wipe with a little lemon juice or vinegar before I start. Also, resist the urge to open the oven door while they’re baking! A sudden drop in temperature can cause them to collapse. If you’re looking for more tips on perfecting egg-based desserts, check out our guide on avoiding kitchen frustrations.
A fun twist for the holidays is to add a tiny drop of peppermint extract along with the vanilla for a cool, festive flavor. And don’t worry if your first few piping attempts aren’t perfect—each one will have its own charming character!
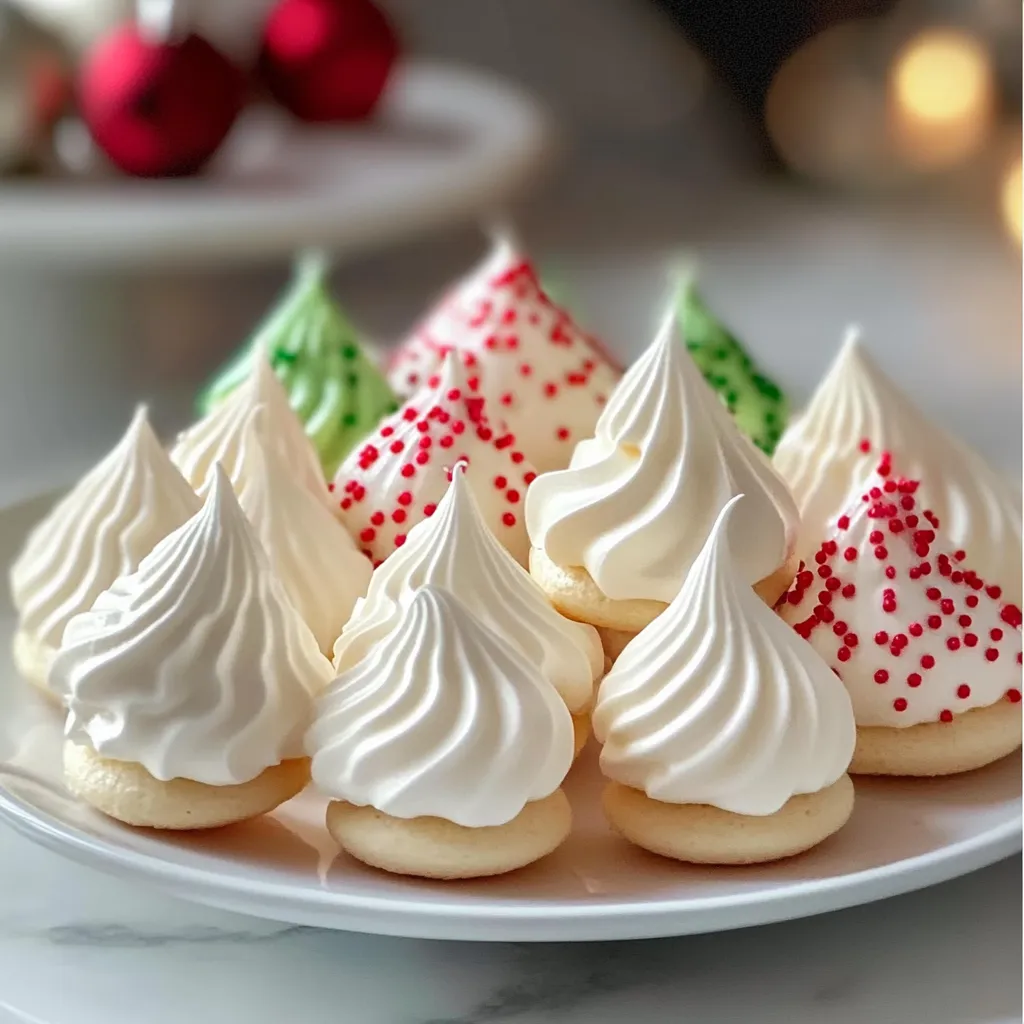
Serving Your Sweet Creations
These delicate kisses are perfect piled high on a festive platter as a standalone treat. They also make a gorgeous topping for a holiday chocolate peppermint tart or a simple cup of hot cocoa. For a truly show-stopping dessert, try sandwiching two together with a dab of chocolate ganache.
Storing Your Meringue Kisses
The best part about these little guys is that they store wonderfully. Once completely cooled, keep them in an airtight container at room temperature for up to two weeks. Do not store them in the fridge, as the humidity will make them soft and sticky. For longer storage, you can freeze them in a single layer before transferring to a freezer bag for up to a month.
Frequently Asked Questions
Can I make these without a piping tip?
Absolutely! If you don’t have a piping bag, you can use a zip-top bag with a corner snipped off. For a more rustic look, you can simply drop spoonfuls of the meringue onto the baking sheet. They’ll taste just as delicious.
Why did my meringues turn out chewy?
Chewy meringues are usually a sign of under-baking or humidity. Make sure you bake them long enough until they are completely dry and crisp, and always let them cool slowly in the off oven. Humid days can be tricky for meringues, so it’s best to make them when the weather is dry.
Can I use liquid food coloring?
I highly recommend using gel food coloring. Liquid food coloring can add too much moisture to your meringue mixture, which might prevent it from reaching those beautiful stiff peaks. Gel colors are more concentrated, so you need less and they won’t water down your mix.
What can I do with leftover egg yolks?
Don’t let them go to waste! Those golden yolks are perfect for creating a rich and creamy custard sauce, a batch of homemade ice cream, or adding extra richness to your morning scramble.
There you have it! A simple, festive recipe for Christmas Meringue Kisses that’s sure to become a new holiday tradition in your home. From my kitchen to yours, I hope these sweet little bites bring as much joy to your celebrations as they do to mine. Happy baking!