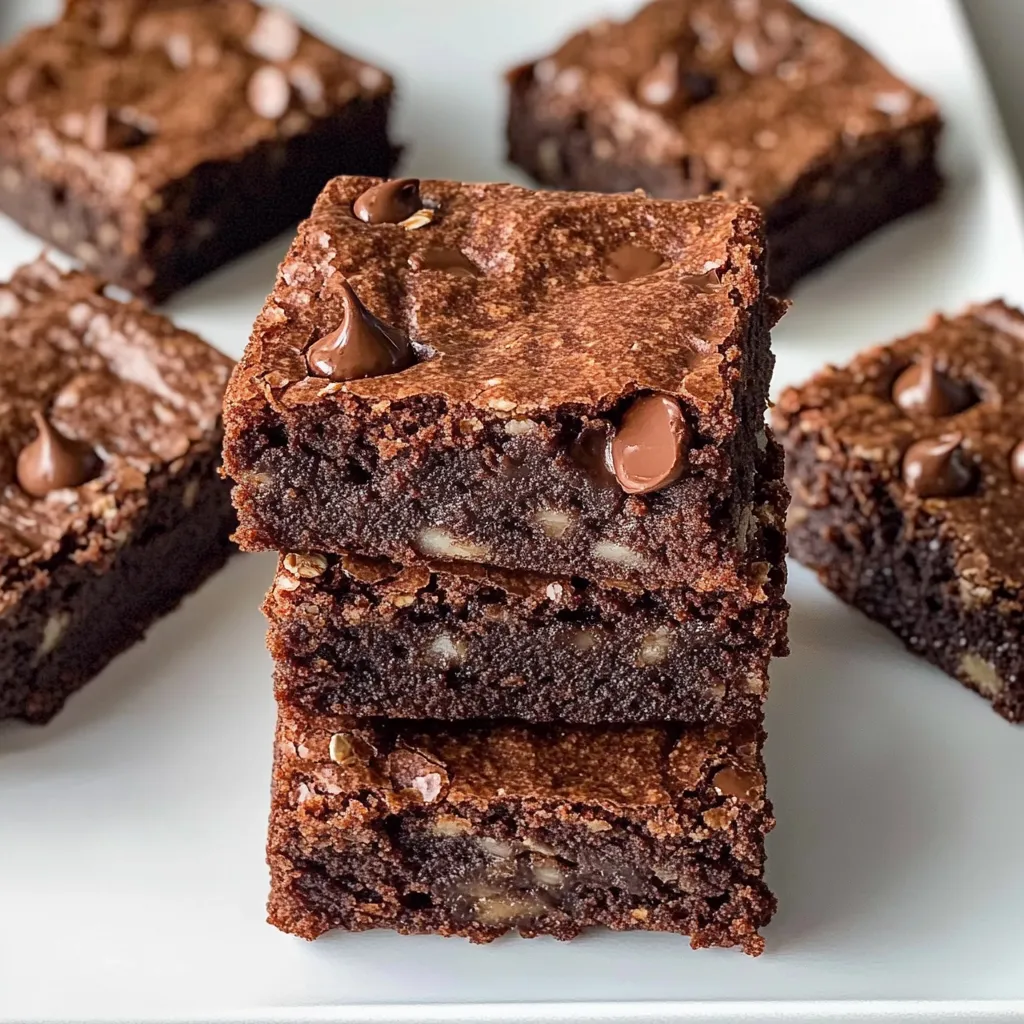
You know that feeling when a serious chocolate craving hits, but you’re trying to be a little bit good? I’ve been there more times than I can count. That’s exactly why I set out on a mission to create the perfect oat flour brownies. These aren’t just any rich, and decadent treat you’ve been dreaming of, and they just so happen to be a naturally gluten-free dessert. They’re the hero for weeknight treats, last-minute potlucks, and those “I need chocolate NOW” moments. Forget complicated recipes and weird ingredients—this one is all about simplicity and that incredible, crackly-top result.
Table of Contents
Table of Contents
Why You’ll Love These Oat Flour Brownies
If you need a little more convincing to preheat that oven, let me break it down for you.
- Insanely Fudgy: We’re achieving that classic chewy, fudgy brownie texture without any gluten.
- Pantry-Friendly: The star ingredient is just oats whizzed into flour! No need for special store runs.
- One-Bowl Wonder: Minimal cleanup is a beautiful thing, my friend.
- Family-Approved: My kids go absolutely wild for these, and they have no idea they’re eating a treat made with a sneaky-good ingredient.
Gathering Your Brownie Ingredients
This is where the magic starts. You probably have most of this hanging out in your pantry already
PrintUltimate Oat Flour Brownies | Easy Gluten-Free Dessert Bars Recipe
Gluten-free brownie recipe using oat flour. Enjoy easy dessert bars with rich chocolate flavor. Naturally gf & delicious.
- Prep Time: 15 minutes
- Cook Time: 30 minutes
- Total Time: 45 minutes
- Yield: 16 brownies 1x
- Category: Dessert
- Cuisine: American
Ingredients
Instructions
Notes
The perfect rich, fudgy, and decadent gluten-free brownies made with simple oat flour. A one-bowl wonder that’s pantry-friendly and family-approved.
Nutrition
- Serving Size: 16 brownies
- Calories: 220 calories
- Sugar: 22 grams
- Fat: 10 grams
- Carbohydrates: 32 grams
- Fiber: 2 grams
- Protein: 3 grams
- 1 ½ cups oat flour (make sure it’s certified gluten-free if needed)
- ¾ cup unsweetened cocoa powder
- 1 cup granulated sugar
- ½ cup packed brown sugar
- ½ teaspoon salt
- ½ teaspoon baking powder
- 2 large eggs, at room temperature
- ½ cup melted coconut oil (or neutral oil like avocado)
- ⅓ cup water or cooled coffee (coffee makes the chocolate flavor pop!)
- 1 teaspoon vanilla extract
- ¾ cup chocolate chips, plus more for sprinkling on top
How to Make Your Gluten-Free Brownies
Let’s get down to business! This process is so straightforward, you barely need me to guide you.
- Preheat your oven to 350°F (175°C). Line an 8×8 inch baking pan with parchment paper, leaving some overhang on the sides for easy removal. This is my best tip for perfect brownie squares!
- In a large bowl, whisk together the oat flour, cocoa powder, granulated sugar, brown sugar, salt, and baking powder. Make sure there are no lumps.
- Add the eggs, melted oil, water (or coffee), and vanilla extract to the dry ingredients. Stir with a spatula until you have a thick, glossy batter. Try not to overmix—just until everything is combined.
- Fold in the chocolate chips, saving a few to sprinkle on top because we eat with our eyes first.
- Pour the batter into your prepared pan and spread it into an even layer. Top with the reserved chocolate chips.
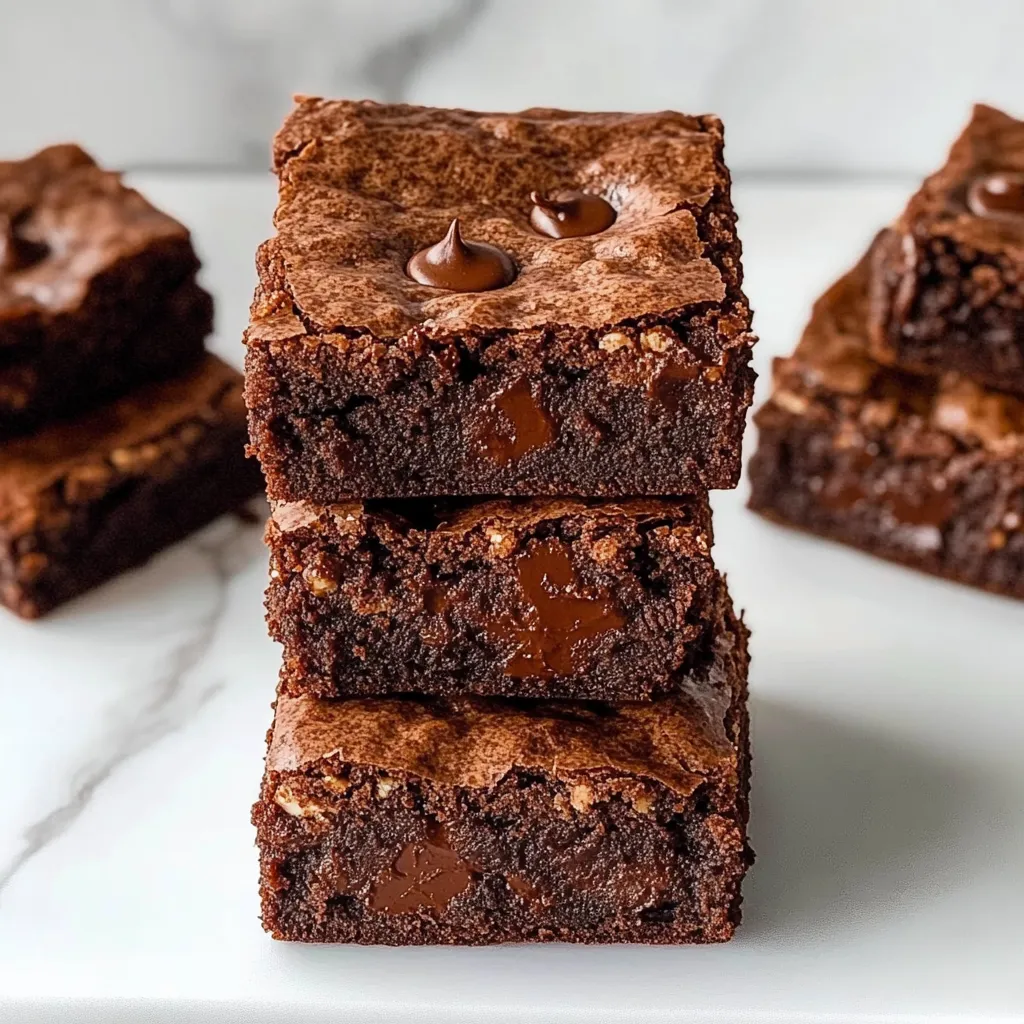
- Bake for 25-30 minutes. You’ll know they’re done when the top is set and shiny, and a toothpick inserted into the center comes out with a few moist crumbs (not wet batter).
- This is the hardest part: let them cool completely in the pan before slicing. I know, the wait is torture, but it’s what gives you those clean, beautiful slices.
My Favorite Kitchen Tools for the Job
You don’t need anything fancy, but a few trusty tools make it even easier.
- 8×8 inch baking pan
- Parchment paper
- Large mixing bowl
- Whisk and spatula
- Measuring cups and spoons
Tips, Tricks, and Delicious Variations
I’ve made these brownies more times than I can count, and here’s everything I’ve learned along the way.
- Make Your Own Oat Flour: It’s so easy! Simply add old-fashioned or quick oats to a high-powered blender or food processor and blitz until it looks like a fine powder. One cup of oats yields about one cup of flour.
- Don’t Overbake: The key to that fudgy texture is pulling them out of the oven when they’re just set. They will continue to set up as they cool.
- Add-Ins Galore: Feel free to stir in a handful of walnuts, pecans, or even a swirl of peanut butter before baking.
- Storage: Keep these gluten-free dessert bars in an airtight container at room temperature for up to 4 days. They also freeze beautifully for up to 3 months.
How to Serve These Decadent Bars
While they are absolutely sublime all on their own, a little flair never hurt anybody. I love serving a warm square with a scoop of vanilla ice cream melting over the top. For a true dessert experience, drizzle them with a little easy homemade caramel sauce. If you’re looking for more gluten-free dessert inspiration, my Gluten-Free Banana Bread is another reader favorite!
Oat Flour Brownies Nutrition Facts
While these are definitely a treat, it’s nice to know what’s inside. Based on a standard serving, these brownies provide a good source of energy and are a wonderful gluten-free option. For more details on the benefits of oats, the American Heart Association has great resources on whole grains.
There you have it! My go-to recipe for satisfying that chocolate itch without any fuss. It’s a recipe that proves that sometimes, the simplest ingredients create the most memorable moments. I hope these brownies become a staple in your kitchen, bringing as much joy to your home as they do to mine.
Your Oat Flour Brownie Questions, Answered
Can I use a different type of flour?
This recipe was specifically developed for oat flour, which gives it that signature fudgy yet sturdy texture. I don’t recommend substituting it with almond or coconut flour, as they behave very differently and would require a complete recipe overhaul.
How do I know when the brownies are done baking?
Look for a set top with that classic crackly surface. The most reliable test is the toothpick test: a few moist crumbs clinging to the toothpick is perfect. If it comes out clean, they might be a tad overbaked and more on the cakey side.
Can I make these dairy-free as well?
Absolutely! These brownies are naturally dairy-free if you use dairy-free chocolate chips. Always check the labels on your chocolate chips to be sure.
Why did my brownies turn out cakey?
A cakey texture usually means the batter was overmixed or the brownies were left in the oven a minute or two too long. Remember, we’re going for a stir-until-just-combined technique for that dense, fudgy result.