Is there anything more classic and comforting than a Boston Cream Pie? That tender cake, the silky custard, the glossy chocolate glaze… it’s a dessert that feels like a warm hug. But if you or someone you love follows a gluten-free diet, it can feel like a dessert dream that’s just out of reach. Well, not anymore! I’m so excited to share this recipe for a Gluten Free Boston Cream Pie that is every bit as decadent, dreamy, and delicious as the original.
This recipe is my go-to when I want to make a dessert that feels incredibly special without requiring a culinary degree to pull off. It’s perfect for birthdays, holidays, or just because you deserve a slice of something spectacular. Trust me, no one will guess it’s gluten-free .
Table of Contents
Table of Contents
Why You’ll Love This Gluten Free Boston Cream Pie
- Incredibly Authentic Taste & Texture: Forget dry or crumbly gluten-free cakes! This version is moist, tender, and has that classic sponge cake quality we all love.
- Surprisingly Simple: While it looks impressive, the steps are straightforward. We’re breaking it down into manageable parts so you can bake with confidence.
- A Total Crowd-Pleaser: This is the dessert that will make everyone at the table smile, whether they’re gluten-free or not. It’s a universal symbol of joy!
- Make-Ahead Friendly: You can prepare each component ahead of time, making final assembly a breeze when you’re ready to serve.
Ingredients
Let’s gather our ingredients! Using a good quality 1:1 gluten-free flour blend is key here. I’ve had great success with brands like King Arthur Measure for Measure or Bob’s Red Mill.
Print
Gluten Free Boston Cream Pie
- Total Time: 3 hours 40 minutes
- Yield: 10 servings 1x
Description
Gluten-free Boston cream pie recipe. Get tips for perfect custard & ganache. Easy dairy-free & vegan adaptations included. Bake like a pro.
Ingredients
Instructions
Notes
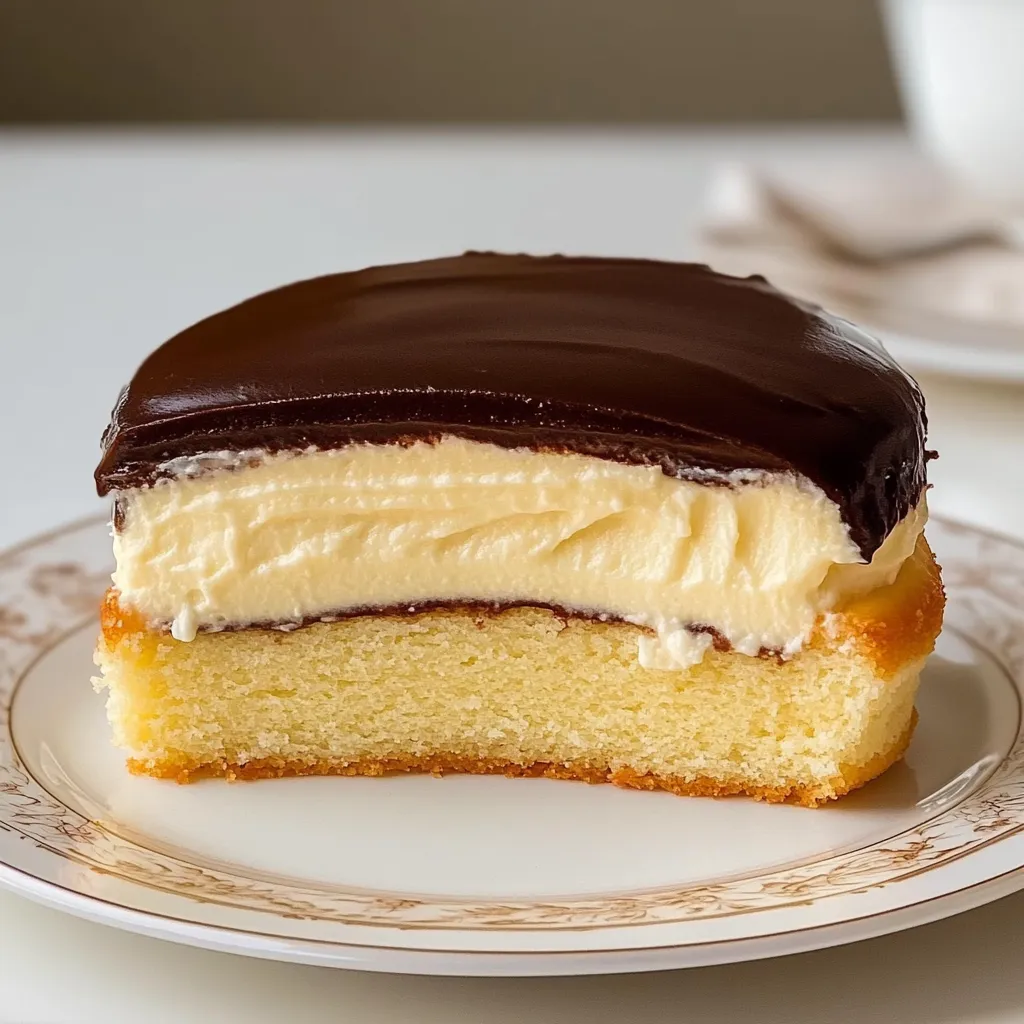
A classic and comforting Gluten Free Boston Cream Pie with tender cake, silky custard, and a glossy chocolate glaze. This decadent dessert is perfect for special occasions and is so delicious no one will guess it’s gluten-free.
- Prep Time: 45 minutes
- Cook Time: 25 minutes
- Category: Dessert
- Cuisine: American
Nutrition
- Serving Size: 10 servings
- Calories: 420 calories
- Sugar: 35 grams
- Fat: 22 grams
- Carbohydrates: 52 grams
- Fiber: 2 grams
- Protein: 7 grams
For the Cake:
- 1 ½ cups (222g) high-quality gluten-free flour blend
- 1 ½ tsp baking powder
- ½ tsp salt
- ½ cup (1 stick / 113g) unsalted butter, softened
- 1 cup (200g) granulated sugar
- 2 large eggs, room temperature
- 1 tsp vanilla extract
- ½ cup (120ml) whole milk, room temperature
For the Pastry Cream:
- 2 cups (480ml) whole milk
- ½ cup (100g) granulated sugar, divided
- 4 large egg yolks
- ¼ cup (30g) cornstarch
- Pinch of salt
- 2 tbsp unsalted butter
- 1 tsp vanilla extract
For the Chocolate Ganache:
- 4 oz (113g) semi-sweet chocolate, finely chopped
- ½ cup (120ml) heavy cream
- 1 tbsp light corn syrup (optional, for extra shine)
Equipment You’ll Need
- Two 9-inch round cake pans
- Parchment paper
- Stand mixer or hand mixer
- Mixing bowls
- Saucepan
- Whisk
- Fine-mesh sieve
How to Make Gluten Free Boston Cream Pie
Follow these steps for a perfectly assembled dessert. Don’t rush the cooling steps—they’re important for success!
Step 1: Make the Cake Layers
Preheat your oven to 350°F (175°C). Grease two 9-inch round cake pans and line the bottoms with parchment paper. In a medium bowl, whisk together the gluten-free flour, baking powder, and salt. In a separate large bowl using a hand mixer or stand mixer, cream the softened butter and sugar together until light and fluffy, about 2-3 minutes. Beat in the eggs, one at a time, then mix in the vanilla. Gradually add the dry ingredients to the wet ingredients, alternating with the milk, beginning and ending with the dry ingredients.
Step 2: Prepare the Pastry Cream
While the cakes cool, make the custard. In a medium saucepan, heat 1 ½ cups of the milk and ¼ cup of the sugar over medium heat until it just begins to steam. In a separate bowl, whisk the egg yolks with the remaining ¼ cup of sugar until pale. Whisk in the cornstarch and salt until smooth, then gradually whisk in the remaining ½ cup of milk. Slowly pour about ½ cup of the hot milk into the egg yolk mixture while whisking constantly (this is called tempering and prevents scrambled eggs!). Pour the entire egg yolk mixture back into the saucepan with the hot milk. Cook over medium heat, whisking constantly, until the mixture thickens and begins to bubble.
Step 3: Assemble the Pie
Once the cakes and pastry cream are completely cool, it’s time to assemble. Place one cake layer on your serving plate. Give the chilled pastry cream a good stir to loosen it up, then spread it evenly over the top of the first cake layer, leaving a small border around the edge. Carefully place the second cake layer on top.
Step 4: Top with Chocolate Ganache
Place the chopped chocolate in a heatproof bowl. Heat the heavy cream (and corn syrup, if using) in a small saucepan until it just begins to simmer. Immediately pour the hot cream over the chocolate. Let it sit for one minute, then whisk until the chocolate is completely melted and the ganache is smooth. Let the ganache cool for a few minutes to thicken slightly. Slowly pour the ganache over the top of the cake, encouraging it to drip down the sides decoratively. Refrigerate the assembled cake for at least 30 minutes to allow everything to set before slicing and serving.
Tips for the Best Gluten Free Boston Cream Pie
A few little secrets from my kitchen to yours to guarantee your pie is a showstopper!
- Room Temperature is Key: Using room temperature eggs, milk, and butter for the cake helps the ingredients emulsify better, resulting in a lighter, more even crumb.
- Don’t Rush the Custard: The pastry cream needs time to chill and thicken properly. Trying to assemble with warm custard will make a mess! If you’re short on time, you can make the custard a day ahead.
- Ganache Patience: Let the ganache cool a bit before pouring. If it’s too hot, it will run straight off the cake. If it’s too thick, you can gently re-warm it.
- Slice with a Hot Knife: For super clean slices, dip your knife in hot water and wipe it dry before cutting each piece.
Delicious Variations to Try
Feel free to get creative! You could add a tablespoon of rum or orange liqueur to the pastry cream for a grown-up twist. For a different topping, try a dark chocolate ganache or even a simple chocolate frosting. If you’re a fan of almonds, a sprinkle of toasted sliced almonds around the edge looks beautiful.
Serving Suggestions
This pie is a star all on its own, but a dollop of freshly whipped cream or a few fresh berries on the side never hurts! It pairs wonderfully with a cup of coffee for an afternoon treat or as the grand finale to a special dinner. It’s the perfect dessert for your next celebration, just like my Gluten Free Lemon Bars are perfect for a sunny day.
Storing Your Masterpiece
Because of the dairy-filled custard, this pie must be stored in the refrigerator. Cover it loosely with plastic wrap or place it in a cake carrier. It will keep well for up to 3 days. The cake may firm up a bit when cold, so I like to let it sit at room temperature for about 15-20 minutes before serving to take the chill off.
Can I make this dairy-free as well?
You can certainly try! Use your favorite plant-based milk and butter substitutes in the cake. For the custard, a rich, creamy milk like oat or cashew works best, and you can use dairy-free butter. The ganache can be made with dairy-free chocolate and full-fat coconut cream instead of heavy cream. The texture and flavor will be slightly different, but it will still be delicious!
Can I freeze this gluten free Boston cream pie?
I don’t recommend freezing the fully assembled pie, as the custard can become watery and grainy upon thawing. However, you can absolutely freeze the cake layers separately. Wrap them tightly in plastic wrap and then foil, and freeze for up to 2 months. Thaw in the refrigerator overnight before assembling with freshly made custard and ganache.
My custard is lumpy! What should I do?
Don’t panic! This happens to the best of us. Simply push the finished custard through a fine-mesh sieve. This will catch any little cooked egg bits or lumps, leaving you with a perfectly smooth pastry cream.
What’s the best gluten-free flour to use for this cake?
A good all-purpose 1:1 gluten-free flour blend that contains xanthan gum is ideal. I often use King Arthur’s Measure for Measure, which has consistently delivered fantastic results. For more tips on navigating the gluten-free world, check out my guide on Essential Gluten-Free Baking Tips.
There you have it! A truly spectacular Gluten Free Boston Cream Pie that proves you don’t have to miss out on the classics. It’s a labor of love that is so worth the effort. Seeing the joy on someone’s face when they realize they can enjoy this beloved dessert again is one of my favorite things. I hope this recipe brings as much happiness to your kitchen as it has to mine. Happy baking!
If you’re looking for more gluten-free dessert inspiration, you have to try my legendary Gluten-Free Chocolate Chip Cookies. They’re another family favorite that never lasts long!