
Let’s be real for a second. When you go gluten-free, one of the things you mourn the most is a good, hearty slice of brown bread. That dense, slightly sweet, wholesome bread perfect for your morning toast or a turkey sandwich. The stuff from the store can be… well, a little sad and crumbly. I set out on a mission from my kitchen to fix that, and after more than a few loaves (my neighbors are very happy), I’ve perfected a Gluten Free Brown Bread recipe that’s honestly foolproof. This isn’t just a substitute; it’s a celebration of flavor and texture that will make your kitchen smell incredible and your heart feel full.
Table of Contents
Table of Contents
Why You’ll Love This Gluten Free Brown Bread
- Surprisingly Simple: No fancy techniques or hard-to-find ingredients. It’s a straightforward, mix-and-bake situation.
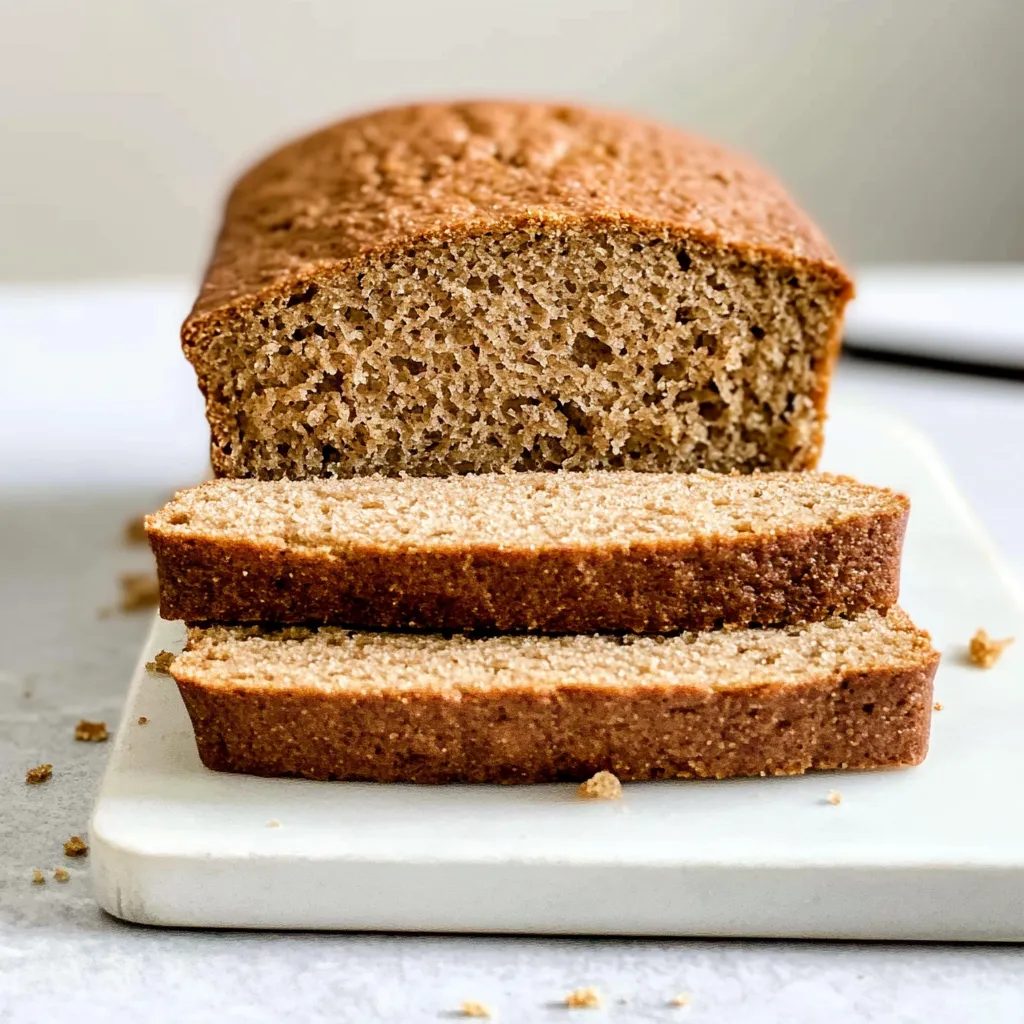
- Incredibly Hearty: With a moist, tender crumb and a robust flavor, it satisfies that deep-seated craving for real brown bread. It slices beautifully, doesn’t fall apart, and freezes like a dream for easy breakfasts and lunches all week.
Gather Your Ingredients
Here’s what you’ll need to create this little masterpiece. The combination of flours is key to getting that perfect bread texture
-
- 2 cups gluten-free all-purpose flour blend (I recommend one with xanthan gum already added, like Bob’s Red Mill 1-to-1)
- 1 cup almond flour
- 1/2 cup ground flaxseed
- 1/4 cup coconut sugar (or brown sugar)
- 2 tsp baking soda
- 1 tsp fine sea salt
- 2 cups buttermilk (see tip below for a dairy-free version!)
- 2 maple syrup
- 1/4 cup melted coconut oil (or avocado oil)
- 1 tbsp apple cider vinegar
strong> Start by preheating your oven to 350°F (175° it with parchment paper, leaving some overhang on the sides for easy removal later.
- Combine Dry Ingredients. In a large mixing bowl, whisk together the gluten-free flour blend, almond flour, ground flaxseed, coconut sugar, baking soda, and salt. Make sure there are no lumps.
- Mix Wet Ingredients. In a separate medium bowl, whisk the buttermilk, eggs, maple syrup, melted coconut oil, and apple cider vinegar until everything is smoothly combined.
- Bring It Together. Pour the wet ingredients into the dry ingredients. Using a spatula, gently fold and mix until you have a smooth, thick batter. Don’t overmix! Just get it combined.
- Bake to Perfection. Pour the batter into your prepared loaf pan and smooth out the top. Pop it in the preheated oven and bake for 50-60 minutes. You’ll know it’s done when the top is deep golden brown and a toothpick inserted into the center comes out clean.
- The Most Important Step: Cool! This is the hardest part, I know! Let the bread cool in the pan for about 15 minutes. Then, use the parchment paper to lift it out and transfer it to a wire rack to cool completely. I know you want to cut into it right away, but patience is key here—this prevents it from getting gummy.
My Go-To Tips for the Best Loaf
This recipe is forgiving, but a few pro tips will make it absolutely perfect every single time.
- Buttermilk Swap: No buttermilk? No problem! Make your own by adding 1 tbsp of lemon juice or white vinegar to a measuring cup, then filling it with milk (dairy or non-dairy like unsweetened almond milk) to the 1-cup line. Let it sit for 5 minutes to curdle. You’ll need 2 cups total for this recipe.
- Room Temp is Best: Using room temperature eggs helps them incorporate more smoothly into the batter.
- Wait to Slice: I’ll say it again because it’s that important! Let the bread cool completely before you slice it. This gives the structure time to set up, so you get clean, beautiful slices instead of crumbly ones.
How to Serve This Wholesome Bread
The possibilities are truly endless! This bread is fantastic toasted with a generous slather of butter and a drizzle of honey. It makes the absolute best avocado toast. It’s sturdy enough to hold up to a stacked deli sandwich without falling apart. Or, simply enjoy a slice alongside a warm bowl of soup, like my favorite Creamy Roasted Tomato Soup.
Storing Your Homemade Bread
To keep it fresh, store your cooled loaf in an airtight container or wrapped tightly in plastic wrap at room temperature for up to 3 days. For longer storage, it freezes beautifully! Slice it first, then wrap the slices or the whole loaf in plastic wrap and place it in a freezer bag. It will keep for up to 3 months. Just pop a frozen slice straight into the toaster whenever a craving strikes.
Your Gluten Free Brown Bread Questions, Answered
Can I make this bread dairy-free?
Absolutely! Use the homemade “buttermilk” trick I mentioned above with your favorite non-dairy milk. I find unsweetened almond milk or oat milk work best here.
My bread is very dense. What happened?
This bread is naturally heartier than white bread, but it shouldn’t be brick-like. The most common culprit is overmixing the batter. Once the wet and dry ingredients are combined, stop mixing. Also, make sure your baking soda is fresh!
Can I add nuts or seeds to the batter?
Please do! This is a great base for add-ins. Try folding in a half cup of sunflower seeds, chopped walnuts, or even some rolled oats right before you pour the batter into the pan.
How do I get a softer crust?
As soon as you take the bread out of the oven, you can brush the top with a little melted butter or oil. Then, while it’s still warm, wrap it loosely in a clean kitchen towel. This traps steam and helps soften the crust.
More Gluten-Free Favorites
If you loved this recipe, you have to try some of my other go-to gluten-free comforts. My Fluffy Gluten-Free Pancakes are a weekend staple, and these Chewy Gluten-Free Chocolate Chip Cookies will satisfy any sweet tooth.
There’s something so fundamentally comforting about baking your own bread. The smell, the warmth, the satisfaction of slicing into a loaf you made yourself—it’s pure kitchen therapy. This Gluten Free Brown Bread is my gift to you, a reliable recipe for those days when you need a little wholesome comfort on your plate. I hope it becomes a staple in your home just like it is in mine. Happy baking