
I’m so glad you’re here. I’m the cook, food lover, and everyday kitchen experimenter behind this blog. bestdisheasy.com is my little corner of the internet where I share the joy of creating simple, delicious recipes that bring comfort and smiles to your table. Cooking didn’t always come naturally to me. It became a passion over time—something that grew as I started feeding my family and realizing how much food connects us. What started as a necessity became my favorite way to unwind, get creative, and show love.
Table of Contents
Table of Contents
The Joy of Homemade Gluten Free Granola Bars
There’s something truly satisfying about biting into a homemade snack, especially when it’s as wholesome and delicious as gluten-free granola bars. For me, making these bars started out of a need to find healthy, convenient options for my family that also tasted great. I remember countless times grabbing store-bought versions, only to feel disappointed by the hidden sugars or questionable ingredients. That’s why I started experimenting in my kitchen, determined to create gluten-free granola bars that I could feel good about serving. It quickly became a passion, turning simple ingredients into a pantry staple.
Print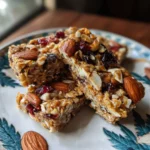
Delicious GlutenFree Granola Bars Fuel Your Day
- Total Time: 4 hours 45 minutes
- Yield: 12-16 bars
- Diet: Gluten-Free
Description
Delicious GF granola bars fuel your day Enjoy a healthy energizing snack Perfect for onthego Packed with wholesome goodness
Ingredients
Instructions
- Prep Time: 20 minutes
- Chilling: 4 hours
- Cook Time: 25 minutes
- Category: Snack
- Cuisine: American
Nutrition
- Calories: 200-300 calories
- Sugar: 10-15g
- Fat: 10-15g
- Carbohydrates: 25-35g
- Fiber: 3-5g
- Protein: 5-10g
Why Choose Homemade Gluten-Free Granola Bars?
Opting for homemade gluten-free granola bars offers numerous benefits beyond just taste. First, you gain full transparency regarding ingredients. No more puzzling over long lists of unpronounceable additives! You select each component, from the type of gluten-free oats to your preferred sweetener, ensuring it aligns with your dietary needs and preferences. This is particularly crucial for those managing celiac disease or gluten sensitivity, as it eliminates the risk of cross-contamination often present in commercial products. Furthermore, making them yourself often proves more economical in the long run. Buying individual ingredients might seem like an initial outlay, but a single batch yields many bars, making the cost per serving significantly lower than specialty store-bought options.
Understanding Gluten-Free Ingredients
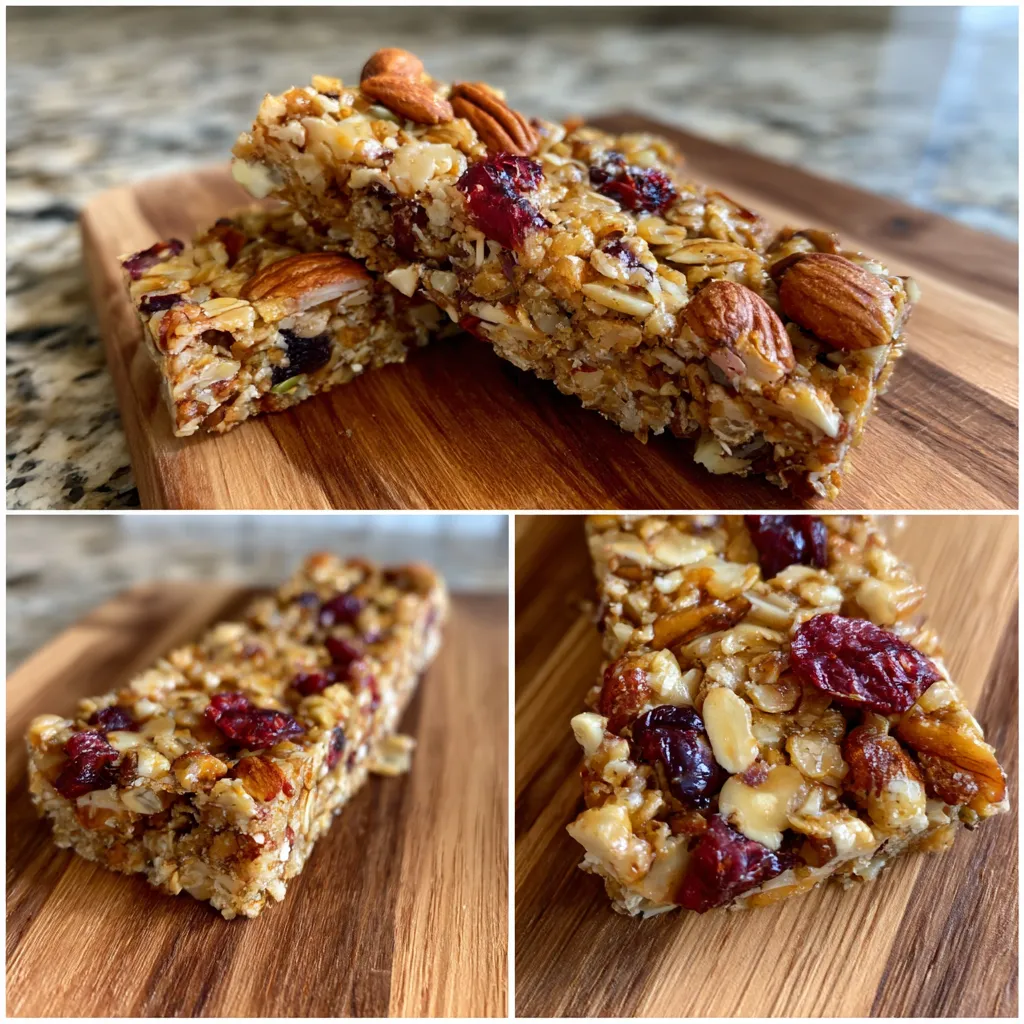
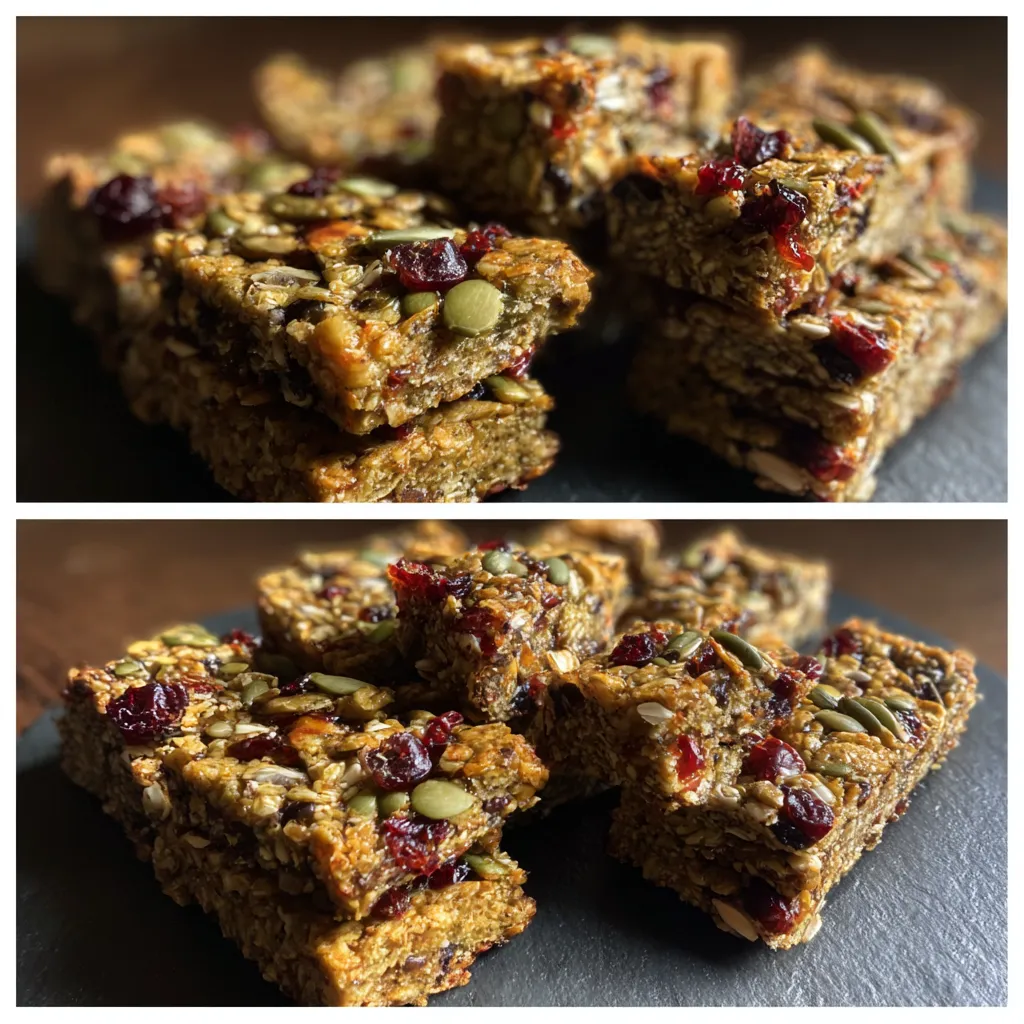
Successfully making gluten-free granola bars hinges on understanding the right ingredients. The foundation of any great granola bar is oats, but for a gluten-free version, certified gluten-free rolled oats are essential. Regular oats, while naturally gluten-free, are often processed on equipment shared with wheat, barley, and rye, leading to cross-contamination. Look for labels clearly stating “certified gluten-free” to ensure safety. Beyond oats, the binders—like nut butters, honey, maple syrup, or brown rice syrup—are naturally gluten-free. For mix-ins, almost all nuts, seeds, dried fruits, and chocolate chips are safe choices.
Mastering Your Gluten-Free Granola Bar Recipe
Once you understand the basics of gluten-free ingredients, mastering your gluten-free granola bar recipe becomes an exciting culinary adventure. It’s all about balancing flavors, textures, and finding the perfect binder to hold everything together. I still remember when my first few attempts resulted in crumbly messes, or bars that were far too hard. It took some trial and error, but that’s part of the fun of cooking, isn’t it? The key isn’t just about mixing ingredients; it’s about understanding how they interact to create that ideal chewy or crispy bite. These gluten-free granola bars are a testament to perseverance in the kitchen.
Selecting the Perfect Binders and Sweeteners
The binder is the secret agent in your gluten-free granola bars, responsible for holding everything together. Common binders include honey, maple syrup, brown rice syrup, and various nut or seed butters. Each offers distinct flavor profiles and binding properties. Honey and maple syrup provide a lovely sweetness and a slightly chewy texture. Brown rice syrup, denser and less sweet, creates a firmer, chewier bar. For a richer flavor and added protein, peanut butter or almond butter work wonders, aiding in both binding and taste.
Achieving the Ideal Texture: Chewy vs. Crispy
The texture of your gluten-free granola bars significantly impacts their appeal. Do you prefer a wonderfully chewy bar or a satisfyingly crisp one? For chewy bars, ensure a higher ratio of wet to dry ingredients and don’t bake them too long. High-moisture binders like honey and syrup, combined with nut butter, contribute to chewiness. Pressing the mixture firmly into the pan before baking is also crucial.
Essential Tools and Techniques for Gluten-Free Granola Bars
Having the right tools and knowing the proper techniques makes all the difference when creating perfect gluten-free granola bars. You don’t need a professional kitchen, but a few key items will simplify the process and ensure consistent results. I learned this the hard way, trying to press a batch with my hands before realizing a good spatula or another pan made the job so much easier! It’s all about working smarter, not harder, especially when you’re aiming for that uniformly packed, delicious bar. These tips for making gluten-free granola bars will streamline your snack prep.
Must-Have Kitchen Equipment
You don’t need a gourmet kitchen to make fantastic gluten-free granola bars, but a few essential tools will make the process much smoother. First, a large mixing bowl is crucial for combining all your ingredients without making a mess. Heavy-duty mixing spoons or spatulas work best for stirring the thick mixture. For baking, an 8×8 or 9×13 inch baking pan (depending on your recipe yield) is ideal, lined with parchment paper for easy removal. A sturdy spatula or the bottom of another pan helps press the mixture firmly and evenly into the pan.
Mixing, Pressing, and Cooling Techniques
Proper mixing, pressing, and cooling are fundamental to crafting perfect gluten-free granola bars. Start by combining all dry ingredients thoroughly in your large mixing bowl. In a separate saucepan, gently heat your wet ingredients (binders and sweeteners) until just melted and combined. Pour the wet mixture over the dry ingredients and stir vigorously until everything is evenly coated. Do not rush this step; every oat and mix-in should be sticky. Next, transfer the mixture to your parchment-lined baking pan. This is where pressing becomes vital. Using your spatula or another flat object, press the mixture down incredibly firmly and evenly across the entire surface of the pan.
FAQs About Gluten-Free Granola Bars
What makes granola bars gluten-free?
Granola bars are considered gluten-free when all ingredients, especially the oats, are certified gluten-free. Regular oats can be cross-contaminated with gluten-containing grains during processing, so choosing certified gluten-free rolled oats is crucial when making these bars for someone with celiac disease or gluten sensitivity. All other ingredients like nuts, seeds, dried fruits, and binders must also be naturally gluten-free or certified as such.
Can I make these granola bars without baking?
Absolutely! Many gluten-free granola bar recipes are designed to be no-bake. For no-bake versions, you typically combine melted sticky binders like honey, maple syrup, or nut butter with your dry ingredients. The key to successful no-bake bars is pressing the mixture very firmly into the pan and then chilling it thoroughly in the refrigerator for several hours to allow it to set completely. This process ensures they hold their shape without the need for an oven.
How can I make my granola bars less crumbly?
To prevent crumbly gluten-free granola bars, focus on two main aspects: sufficient binder and proper pressing. Ensure you have enough sticky sweetener and/or nut butter to adequately coat all the dry ingredients. When pressing the mixture into the pan, use a firm, even force across the entire surface. The harder you press, the more cohesive the bars will be. Chilling the bars for an extended period (at least 2-4 hours, or even overnight) in the refrigerator also helps them firm up and hold together better when cut.
Are homemade gluten-free granola bars healthier than store-bought?
Generally, homemade gluten-free granola bars are healthier than most store-bought varieties because you control the ingredients. You can reduce added sugars, choose organic or whole-food ingredients, and avoid artificial preservatives, flavors, and unhealthy fats often found in commercial products. Making them at home allows you to pack them with nutrient-dense options like various nuts, seeds, and dried fruits, tailoring them to your specific dietary needs and preferences for a truly wholesome snack.