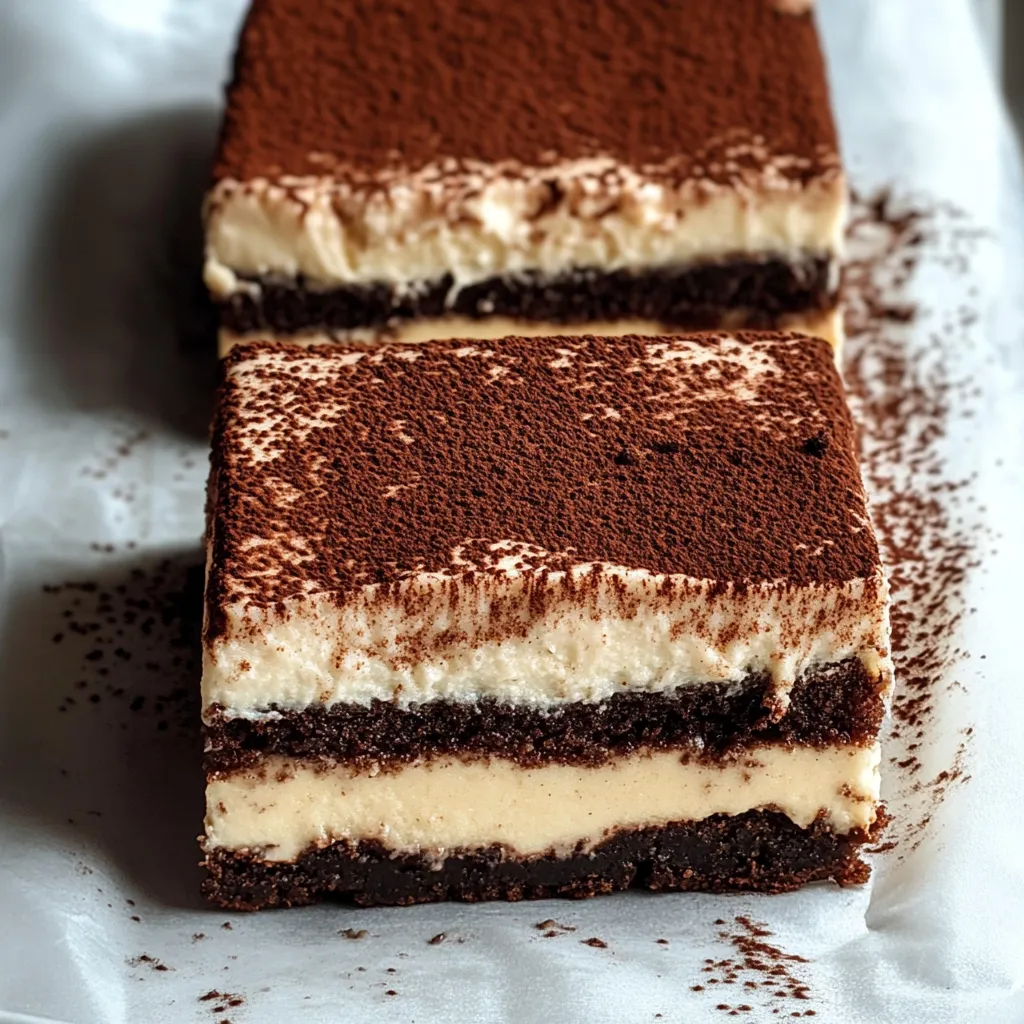
You know that feeling when you can’t decide between a rich, fudgy brownie and a luxurious, creamy tiramisu? I’ve been there more times than I can count! That’s exactly why I created these Gluten Free Tiramisu Brownies. Imagine the decadent chocolate base of a brownie, swirled with a light and dreamy espresso-infused mascarpone layer, all finished with a dusting of cocoa powder. It’s the ultimate dessert mashup that feels incredibly fancy but is surprisingly simple to make. Whether you’re catering to gluten-free diets or just looking for a show-stopping treat to bring to a gathering, this recipe is your new best friend.
Table of Contents
Table of Contents
Why You’ll Love These Gluten Free Tiramisu Brownies
- Two Desserts in One: Get your chocolate and coffee fix in a single, incredible bar.
- Surprisingly Simple: No complicated techniques here—just straightforward steps for a dessert that looks like it came from a bakery.
- Perfect for Crowds: A guaranteed hit at potlucks, parties, or any time you need to impress.
- Naturally Gluten-Free: Made with almond flour, so everyone can enjoy a slice (or two!).
Ingredients You’ll Need
For the Brownie Layer:
Print
Gluten Free Tiramisu Brownies with Creamy Espresso
- Total Time: 50 minutes
- Yield: 16 brownies 1x
Description
Fudgy Gluten Free Tiramisu Brownies with Creamy Espresso mascarpone. No gluten, all flavor. Easy-to-follow baking tech for a decadent treat.
Ingredients
- For the Brownie Layer:
- 1 cup semi-sweet chocolate chips
- 1/2 cup unsalted butter
- 3/4 cup granulated sugar
- 2 large eggs, at room temperature
- 1 tsp vanilla extract
- 1 cup almond flour
- 1/4 cup unsweetened cocoa powder
- 1/2 tsp salt
- For the Tiramisu Layer:
- 8 oz mascarpone cheese, softened
- 1/4 cup granulated sugar
- 1 large egg yolk
- 2 tbsp strong brewed espresso, cooled
- 1 tsp vanilla extract
- Cocoa powder, for dusting
Instructions
- Preheat your oven to 350°F (175°C). Line an 8×8 inch baking pan with parchment paper, leaving some overhang for easy removal later.
- Start with the brownie base. In a microwave-safe bowl, melt the chocolate chips and butter together in 30-second bursts, stirring in between, until smooth. Let it cool slightly.
- Whisk the sugar into the melted chocolate mixture. Then, add the eggs one at a time, whisking well after each addition. Stir in the vanilla extract.
- Gently fold in the almond flour, cocoa powder, and salt until just combined. Pour this thick batter into your prepared pan and spread it into an even layer.
- Now, make the tiramisu topping. In a separate bowl, beat the softened mascarpone and sugar together until smooth. Add the egg yolk, cooled espresso, and vanilla, and beat again until everything is creamy and well incorporated.
- Dollop the tiramisu mixture over the brownie batter. Use a knife or offset spatula to swirl the two layers together beautifully.
- Bake for 30-35 minutes, or until the edges are set and the center only has a slight jiggle. Allow the brownies to cool completely in the pan—this is crucial for clean slices!
- Once cooled, lift them out using the parchment paper, dust generously with cocoa powder, and cut into squares.
Notes
Decadent gluten-free brownies swirled with a creamy espresso and mascarpone layer, combining the best of fudgy brownies and classic tiramisu into one impressive dessert.
- Prep Time: 15 minutes
- Cook Time: 35 minutes
- Category: Dessert
- Cuisine: Italian-American
Nutrition
- Serving Size: 16 brownies
- Calories: 280 calories
- Sugar: 18 g
- Fat: 20 g
- Carbohydrates: 22 g
- Fiber: 2 g
- Protein: 5 g
- 1 cup semi-sweet chocolate chips
- 1/2 cup unsalted butter
- 3/4 cup granulated sugar
- 2 large eggs, at room temperature
- 1 tsp vanilla extract
- 1 cup almond flour
- 1/4 cup unsweetened cocoa powder
- 1/2 tsp salt
For the Tiramisu Layer:
- 8 oz mascarpone cheese, softened
- 1/4 cup granulated sugar
- 1 large egg yolk
- 2 tbsp strong brewed espresso, cooled
- 1 tsp vanilla extract
- Cocoa powder, for dusting
Step-by-Step Instructions
- Preheat your oven to 350°F (175°C). Line an 8×8 inch baking pan with parchment paper, leaving some overhang for easy removal later.
- Start with the brownie base. In a microwave-safe bowl, melt the chocolate chips and butter together in 30-second bursts, stirring in between, until smooth. Let it cool slightly.
- Whisk the sugar into the melted chocolate mixture. Then, add the eggs one at a time, whisking well after each addition. Stir in the vanilla extract.
- Gently fold in the almond flour, cocoa powder, and salt until just combined. Pour this thick batter into your prepared pan and spread it into an even layer.
- Now, make the tiramisu topping. In a separate bowl, beat the softened mascarpone and sugar together until smooth. Add the egg yolk, cooled espresso, and vanilla, and beat again until everything is creamy and well incorporated.
- Dollop the tiramisu mixture over the brownie batter. Use a knife or offset spatula to swirl the two layers together beautifully.
- Bake for 30-35 minutes, or until the edges are set and the center only has a slight jiggle. Allow the brownies to cool completely in the pan—this is crucial for clean slices!
- Once cooled, lift them out using the parchment paper, dust generously with cocoa powder, and cut into squares.
My Go-To Baking Equipment
For this recipe, you’ll need a few basic tools: an 8×8 inch square baking pan, a couple of mixing bowls, a whisk, and a hand mixer (or stand mixer) for the tiramisu layer. A good offset spatula is my secret weapon for getting those perfect swirls!
Tips & Tricks for the Best Brownies
Room temperature ingredients are key for a smooth, lump-free tiramisu layer. If you forget to take your mascarpone and egg out early, you can place the egg (in its shell) in a bowl of warm water for a few minutes and let the mascarpone sit on the counter for about 30 minutes. Don’t over-swirl the layers! A few gentle figure-eight motions with a knife will give you that gorgeous marbled effect without muddying the two distinct flavors. For a non-alcoholic version that’s still packed with coffee flavor, a strong brew is perfect. If you’re feeling indulgent, a tablespoon of coffee liqueur mixed into the tiramisu layer is absolutely divine.
The Perfect Way to Serve Them
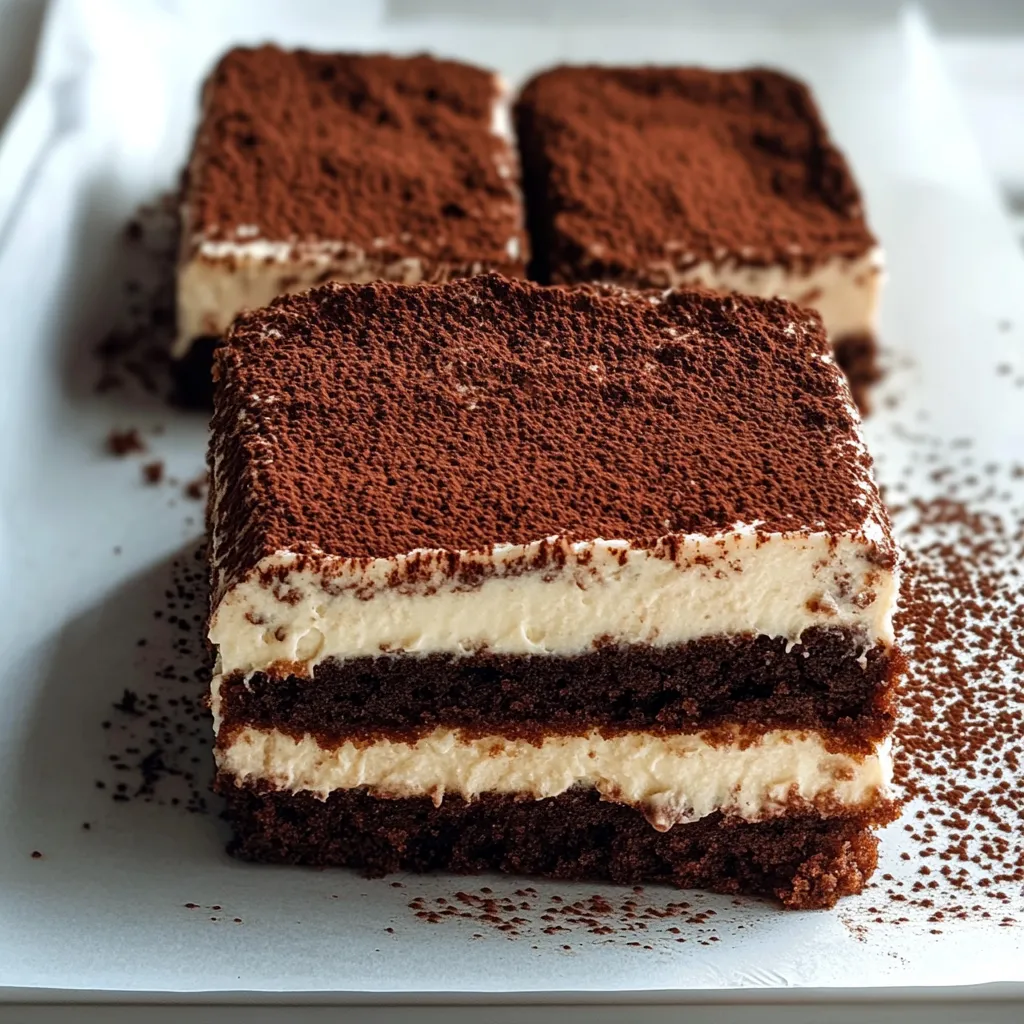
These brownies are rich, so I like to cut them into smaller squares. They are incredible all on their own, but for a truly over-the-top experience, serve them with a dollop of freshly whipped cream and a few espresso beans on top. They pair wonderfully with a cup of coffee or a glass of cold milk. If you love these, you might also enjoy my Gluten Free Chocolate Espresso Cookies for another coffee-chocolate combo.
A Little Note on Nutrition
While these are definitely a treat, using almond flour adds a dose of healthy fats and makes them gluten-free. Remember, the nutritional info is just an estimate and can vary based on the specific brands of ingredients you use.
Can I make these dairy-free?
Absolutely! You can substitute the butter in the brownie layer with a plant-based alternative and use a dairy-free mascarpone-style cheese for the topping. Just be sure your chocolate chips are also dairy-free.
How should I store leftovers?
Because of the mascarpone layer, these brownies need to be stored in an airtight container in the refrigerator. They’ll stay fresh and delicious for up to 4 days.
Can I freeze these tiramisu brownies?
Yes, they freeze beautifully! Place the cooled and cut brownies in a single layer on a baking sheet to freeze solid, then transfer them to a freezer bag or container. They’ll keep for up to 3 months. Thaw in the fridge overnight before serving.
My tiramisu layer is runny. What happened?
This usually happens if the mascarpone was too warm or the ingredients weren’t fully incorporated. Make sure everything is at room temperature (not warm) and that you beat the mixture until it’s thick and smooth. The brownies will firm up significantly as they cool.
There you have it! These Gluten Free Tiramisu Brownies are the perfect solution for when you simply can’t choose between two incredible desserts. They combine the deep, fudgy goodness of a brownie with the airy, coffee-kissed creaminess of a tiramisu. It’s a dessert that’s bound to create happy memories around your table. I’d love to hear how yours turn out, so don’t forget to share your baking triumphs with me!