
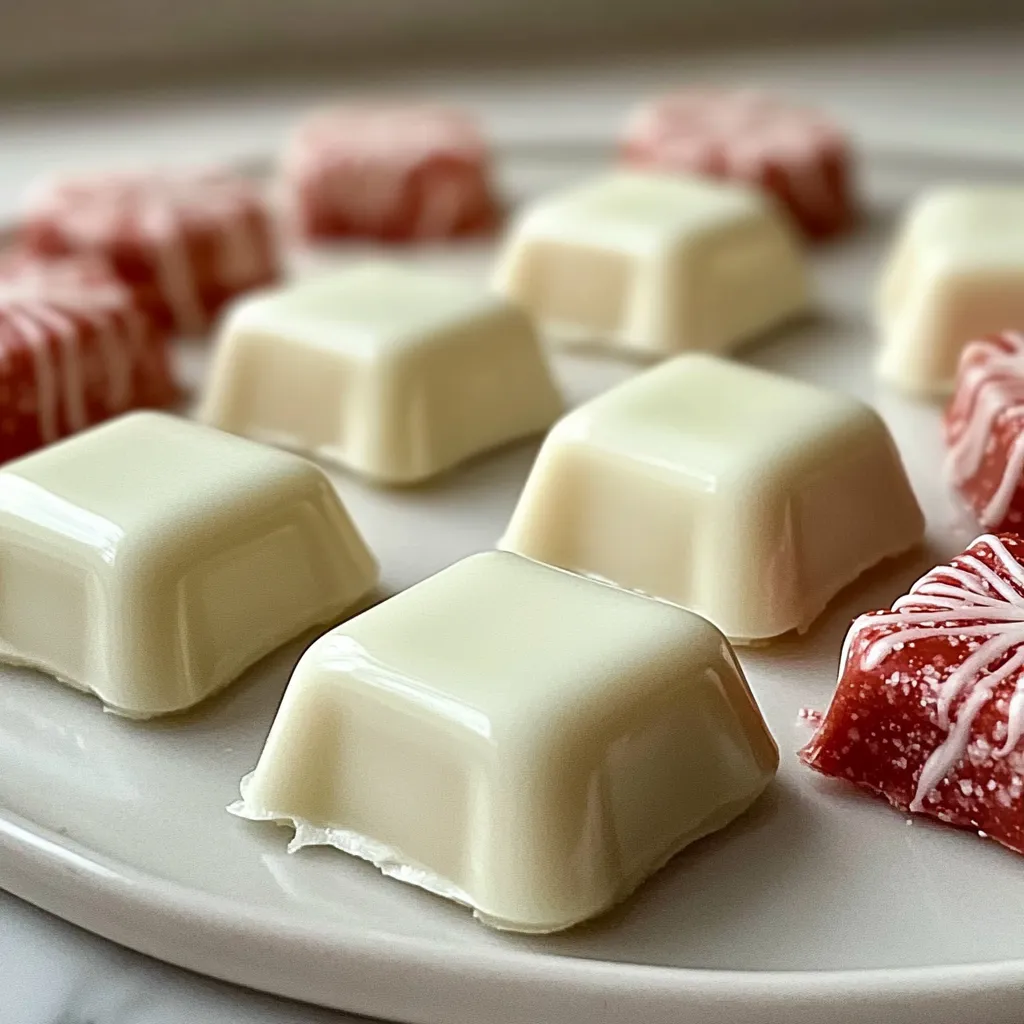
There’s something incredibly special about the taste of a classic treat that can zip you right back to your grandmother’s kitchen. For me, that flavor is the cool, creamy, and delightfully sweet taste of old-fashioned butter mints. You know the ones—the little pastel pillows of happiness that melted on your tongue at every wedding, baby shower, and holiday gathering. They seem fancy, but I’m here to let you in on a little secret: they are shockingly simple to make at home. With just a handful of pantry staples, a bit of elbow grease, and a whole lot of love, you can whip up a batch of these nostalgic confections that will have everyone asking for your secret.
Why You’ll Love This Old-Fashioned Butter Mints Recipe
- Incredibly Easy: No candy thermometer or fancy equipment required. If you can mix and roll, you can make these.
- Perfect for Gifting: A beautiful, homemade treat that looks adorable in little gift bags or boxes.
- Endlessly Customizable: Play with different extracts and food colorings to match any season or celebration.
- A Total Crowd-Pleaser: These melt-in-your-mouth mints are beloved by kids and adults alike, making them the perfect party favor.
Ingredients You’ll Need
PrintOld-Fashioned Butter Mints Recipe

Make creamy homemade butter mints with just 3 ingredients Our easy recipe reveals the classic candy tech for perfect melt in your mouth mints
- Prep Time: 20 minutes
- Total Time: 2 hours 20 minutes
- Yield: Approximately 80 mints 1x
- Category: Dessert
- Cuisine: American
Ingredients
- 1/2 cup unsalted butter, softened
- 1 pound powdered sugar
- 2–3 tablespoons heavy cream
- 1/2 teaspoon peppermint extract
- 1/4 teaspoon salt
- Food coloring (optional)
Instructions
- In a large bowl, use an electric mixer or a sturdy spoon to cream the softened butter until it’s smooth and fluffy.
- Gradually add the sifted powdered sugar, about a cup at a time, mixing on low speed until it’s fully incorporated. It will be crumbly.
- Add the heavy cream, one tablespoon at a time, the peppermint extract, and the salt. Continue to mix until the dough comes together. If you’re using food coloring, add a few drops now.
- Turn the dough out onto a clean surface dusted with powdered sugar. Knead it gently with your hands until it’s smooth and pliable, like Play-Doh.
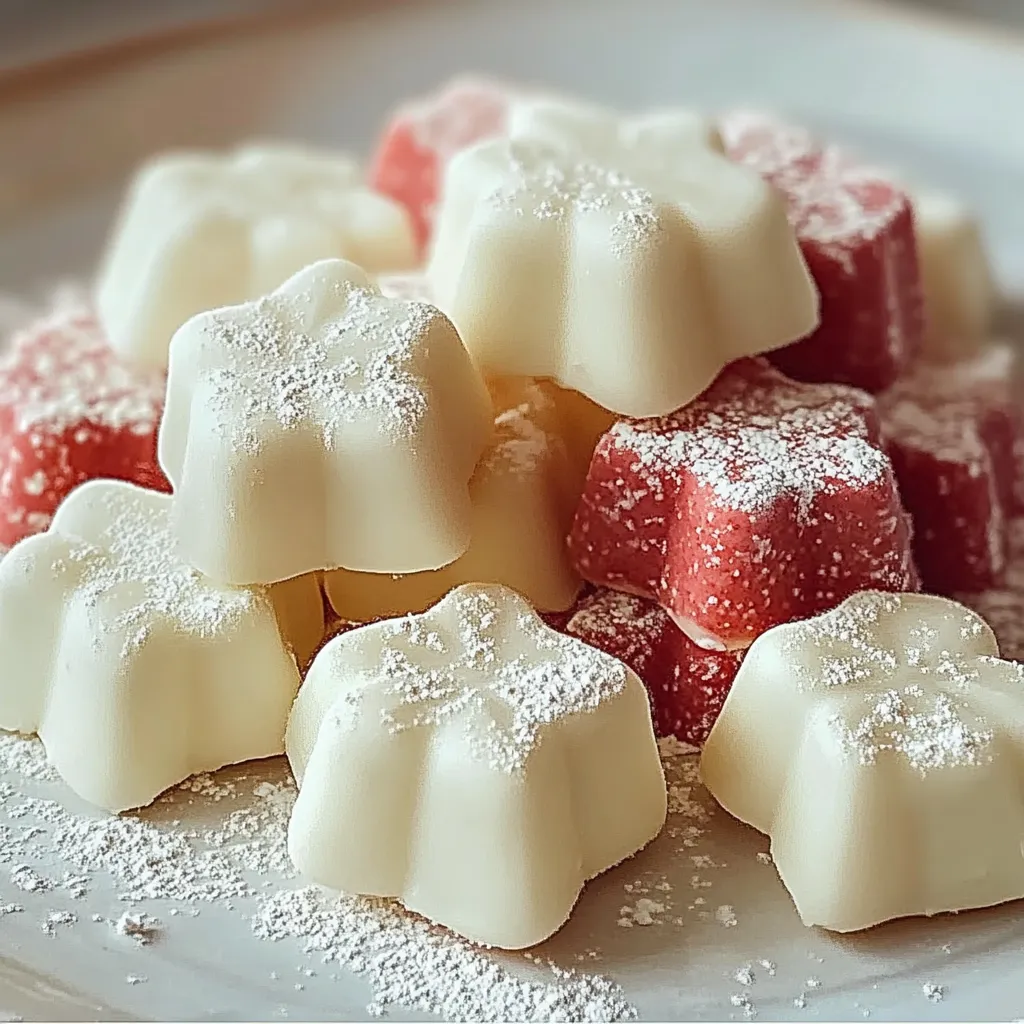
- Break off small pieces of dough and roll them into tiny logs or balls. You can also press the dough into a mold or simply use a fork to create a classic ridges.
- Place the formed mints on a parchment-lined baking sheet and let them air dry for at least 2 hours, or until they have a slight crust. This helps them hold their shape and develop that perfect melt-in-your-mouth texture.
- Store your homemade butter mints in an airtight container at room temperature. They’re ready to serve and enjoy!
Notes
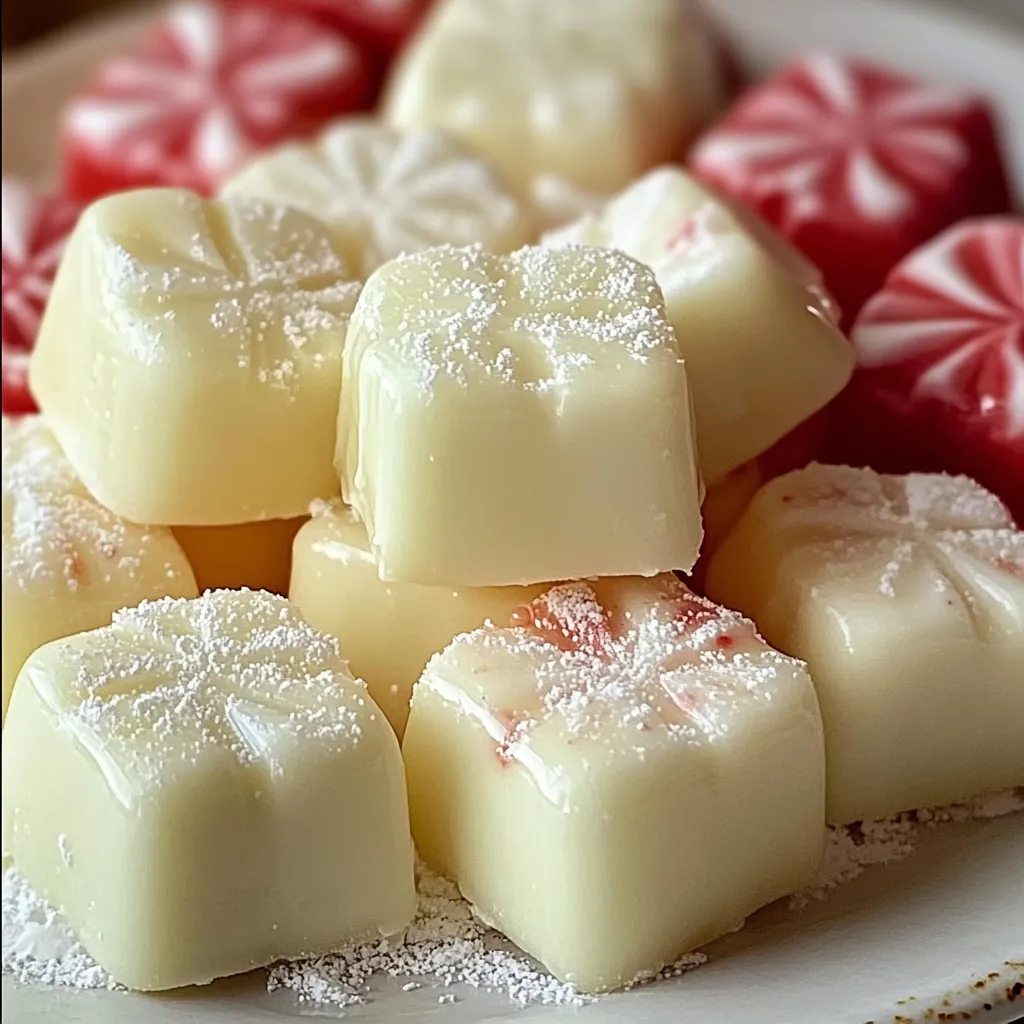
A simple and nostalgic recipe for homemade old-fashioned butter mints. These cool, creamy, and sweet pastel mints are perfect for parties, gifts, and holidays.
Nutrition
- Serving Size: Approximately 80 mints
- Calories: 18 kcal
- Sugar: 3 g
- Fat: 1 g
- Carbohydrates: 3 g
- Fiber: 0 g
- Protein: 0 g
- 1/2 cup unsalted butter, softened
- 1 pound (about 4 cups) powdered sugar, sifted
- 2-3 tablespoons heavy cream or evaporated milk
- 1/2 teaspoon peppermint extract (or flavor of your choice)
- 1/4 teaspoon salt
- Food coloring (optional)
Step-by-Step Instructions
Step 1: In a large bowl, use an electric mixer or a sturdy spoon to cream the softened butter until it’s smooth and fluffy.
Step 2: Gradually add the sifted powdered sugar, about a cup at a time, mixing on low speed until it’s fully incorporated. It will be crumbly.
Step 3: Add the heavy cream, one tablespoon at a time, the peppermint extract, and the salt. Continue to mix until the dough comes together. If you’re using food coloring, add a few drops now.
Step 4: Turn the dough out onto a clean surface dusted with powdered sugar. Knead it gently with your hands until it’s smooth and pliable, like Play-Doh.
Step 5: Break off small pieces of dough and roll them into tiny logs or balls. You can also press the dough into a mold or simply use a fork to create a classic ridges.
Step 6: Place the formed mints on a parchment-lined baking sheet and let them air dry for at least 2 hours, or until they have a slight crust. This helps them hold their shape and develop that perfect melt-in-your-mouth texture.
Step 7: Store your homemade butter mints in an airtight container at room temperature. They’re ready to serve and enjoy!
My Favorite Tips & Variations
Don’t be afraid to get creative! This dough is a blank canvas. Swap the peppermint for lemon, orange, or even almond extract for a different flavor profile. For a festive touch, roll the logs in colored sugar instead of using liquid food coloring. And if your dough feels too sticky, just add a bit more powdered sugar. Too dry? A tiny bit more cream will fix it right up. It’s a very forgiving recipe, so have fun with it!
I love making a double batch around the holidays and dividing the dough to create a rainbow of colors. They make my kitchen look like a candy land and are the perfect homemade touch for holiday dessert platters.
How to Serve Your Homemade Mints
These little gems are perfect all on their own! Pile them high in a pretty bowl for guests to nibble on. They also make gorgeous edible decorations atop a slice of chocolate cake or a bowl of ice cream. For a party, package them in clear cellophane bags tied with a ribbon for a heartfelt and delicious favor your guests will truly appreciate.
A Quick Note on Nutritional Info
Let’s be real, these are a sweet treat! While they’re light and airy, they are made primarily of sugar and butter. A typical mint might have around 15-20 calories. Enjoy them in moderation as a delightful little indulgence.
Frequently Asked Questions
Can I use margarine instead of butter?
I highly recommend using real, unsalted butter for the best flavor and texture. Margarine has a higher water content and different fat composition, which can make the mints too soft or give them an off taste.
How long do homemade butter mints last?
Stored properly in an airtight container at room temperature, your mints will stay fresh and delicious for up to 3 weeks. If your house is particularly warm or humid, you can store them in the fridge to prevent softening.
My dough is too crumbly and won’t hold together. What did I do wrong?
No worries! This is a common issue if you add the sugar too quickly or don’t use enough liquid. The fix is simple: just add more cream, one teaspoon at a time, and knead it in until the dough reaches a smooth, pliable consistency.
Can I freeze the dough to use later?
Absolutely! This is a great make-ahead trick. Wrap the finished, kneaded dough tightly in plastic wrap and pop it in the freezer for up to 2 months. When you’re ready, just let it thaw on the counter until it’s soft enough to roll and shape.
The Perfect Sweet Finish
There’s a certain magic that happens when you make a candy from scratch that everyone recognizes but assumes is store-bought. These old-fashioned butter mints are that kind of magic. They’re a simple, joyful project that yields a beautiful and delicious reward. So the next time you need a touch of sweetness for your table, skip the store and make a memory instead. I promise, the taste of homemade will make you smile.