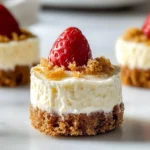
You know that moment when you need a dessert that’s both impressive and won’t leave anyone feeling left out? These Gluten-Free Mini Cheesecakes are your new secret weapon. Perfectly portioned, gloriously creamy, and with a crumbly almond crust that’s to die for, they’re the ultimate treat for any gathering. I originally created this recipe for a friend’s baby shower where half the guests were avoiding gluten, and let me tell you, they were the star of the show. Nobody could believe they were gluten-free! They’re the little bites of joy that prove you don’t have to sacrifice flavor for dietary needs.
Why You’ll Love These Gluten-Free Mini Cheesecakes
- Perfectly Portable: Individually portioned for parties, potlucks, or just controlling your own dessert destiny.
- No Water Bath Needed: Unlike a full-sized cheesecake, these minis are blissfully simple and bake without any fussy techniques.
- Make-Ahead Magic: They actually taste better after chilling, making them the ultimate do-ahead dessert for stress-free entertaining.
- Crowd-Pleaser: With their creamy texture and rich flavor, they’ll satisfy everyone, gluten-free or not.
Gather Your Ingredients
PrintGluten-Free Cheesecakes Mini
Delight w gluten free mini cheesecakes Easy tech yields divine bitesize treats perfect for any event Impress guests w this simple irresistible dessert
- Prep Time: 20 minutes
- Cook Time: 25 minutes
- Total Time: 5 hours
- Yield: 12 mini cheesecakes 1x
- Category: Dessert
- Cuisine: American
Ingredients
- For the Crust:
- 1 ½ cups almond flour
- 3 tablespoons melted unsalted butter
- 2 tablespoons maple syrup
- 1 teaspoon vanilla extract
- 1 pinch salt
- For the Filling:
- 16 ounces full-fat cream cheese
- ⅔ cup granulated sugar
- 2 large eggs
- ⅓ cup sour cream
- 1 ½ teaspoons vanilla extract
- 1 teaspoon lemon juice
Instructions
- Preheat your oven to 325°F (165°C). Line a 12-cup standard muffin tin with parchment paper liners.
- Make the crust by stirring the almond flour, melted butter, maple syrup, vanilla, and salt together in a medium bowl until it resembles wet sand. Press about 1 ½ tablespoons of this mixture firmly into the bottom of each prepared muffin cup.
- Bake the crusts for 8-10 minutes until they are just lightly golden. Remove from the oven and set aside. Leave the oven on.
- While the crusts cool slightly, make the filling. In a large bowl, beat the softened cream cheese and granulated sugar together on medium speed until completely smooth and creamy, about 2 minutes.
- Add the eggs one at a time, beating on low speed after each addition until just combined.
- Scrape down the sides of the bowl and add the sour cream, vanilla extract, and lemon juice. Beat on low speed until everything is just blended and smooth.
- Divide the filling evenly among the muffin cups, pouring it over the pre-baked crusts. Fill them almost to the top.
- Bake for 18-22 minutes. The centers should still look a little jiggly, but the edges will be set.
- Allow the cheesecakes to cool completely in the pan on a wire rack. Then, transfer them to the refrigerator to chill for at least 4 hours, though overnight is best.
Notes
Perfectly portioned, gloriously creamy gluten-free mini cheesecakes with a crumbly almond crust. The ultimate make-ahead dessert that’s a guaranteed crowd-pleaser.
Nutrition
- Serving Size: 12 mini cheesecakes
- Calories: 310 calories
- Sugar: 12 grams
- Fat: 26 grams
- Carbohydrates: 15 grams
- Fiber: 1 gram
- Protein: 7 grams
For the Crust:
- 1 ½ cups almond flour
- 3 tablespoons melted unsalted butter (or coconut oil for dairy-free)
- 2 tablespoons maple syrup
- 1 teaspoon vanilla extract
- Pinch of salt
For the Filling:
- 16 oz (2 blocks) full-fat cream cheese, softened to room temperature
- ⅔ cup granulated sugar
- 2 large eggs, at room temperature
- ⅓ cup sour cream (or plain Greek yogurt)
- 1 ½ teaspoons vanilla extract
- 1 teaspoon lemon juice
Step-by-Step Instructions
- Preheat your oven to 325°F (165°C). Line a 12-cup standard muffin tin with parchment paper liners.
- Make the crust by stirring the almond flour, melted butter, maple syrup, vanilla, and salt together in a medium bowl until it resembles wet sand. Press about 1 ½ tablespoons of this mixture firmly into the bottom of each prepared muffin cup.
- Bake the crusts for 8-10 minutes until they are just lightly golden. Remove from the oven and set aside. Leave the oven on.
- While the crusts cool slightly, make the filling. In a large bowl using a hand mixer or a stand mixer with the paddle attachment, beat the softened cream cheese and granulated sugar together on medium speed until completely smooth and creamy, about 2 minutes.
- Add the eggs one at a time, beating on low speed after each addition until just combined. Be careful not to overmix.
- Scrape down the sides of the bowl and add the sour cream, vanilla extract, and lemon juice. Beat on low speed until everything is just blended and smooth.
- Divide the filling evenly among the muffin cups, pouring it over the pre-baked crusts. Fill them almost to the top.
- Bake for 18-22 minutes. The centers should still look a little jiggly, but the edges will be set. This is the key to a creamy texture!
- Allow the cheesecakes to cool completely in the pan on a wire rack. Then, transfer them to the refrigerator to chill for at least 4 hours, though overnight is best for the flavor to fully develop.

My Go-To Cheesecake Equipment
You don’t need anything fancy for these mini delights! A standard 12-cup muffin tin is the main event. Parchment paper liners are a must for easy removal—nobody wants a cheesecake casualty. A hand mixer or stand mixer will make your life easier for achieving that perfectly smooth, lump-free filling. And finally, a trusty wire rack for cooling is essential to prevent soggy bottoms.
Tips & Variations for the Best Mini Cheesecakes
The number one rule for gluten-free baking success? Make sure all your ingredients, especially the cream cheese and eggs, are truly at room temperature. This prevents a lumpy filling and helps everything incorporate into a silky-smooth batter. If you’re in a rush, you can quickly warm the eggs (still in their shells) in a bowl of warm water for 5-10 minutes.
Feel free to get creative with your mix-ins! After filling the cups, gently fold a spoonful of fruit preserves, a handful of chocolate chips, or a swirl of caramel sauce into each one. For a fun seasonal twist, try my recipe for Pumpkin Spice Latte and use the spices to create a fall-inspired version.
How to Serve These Perfect Little Bites
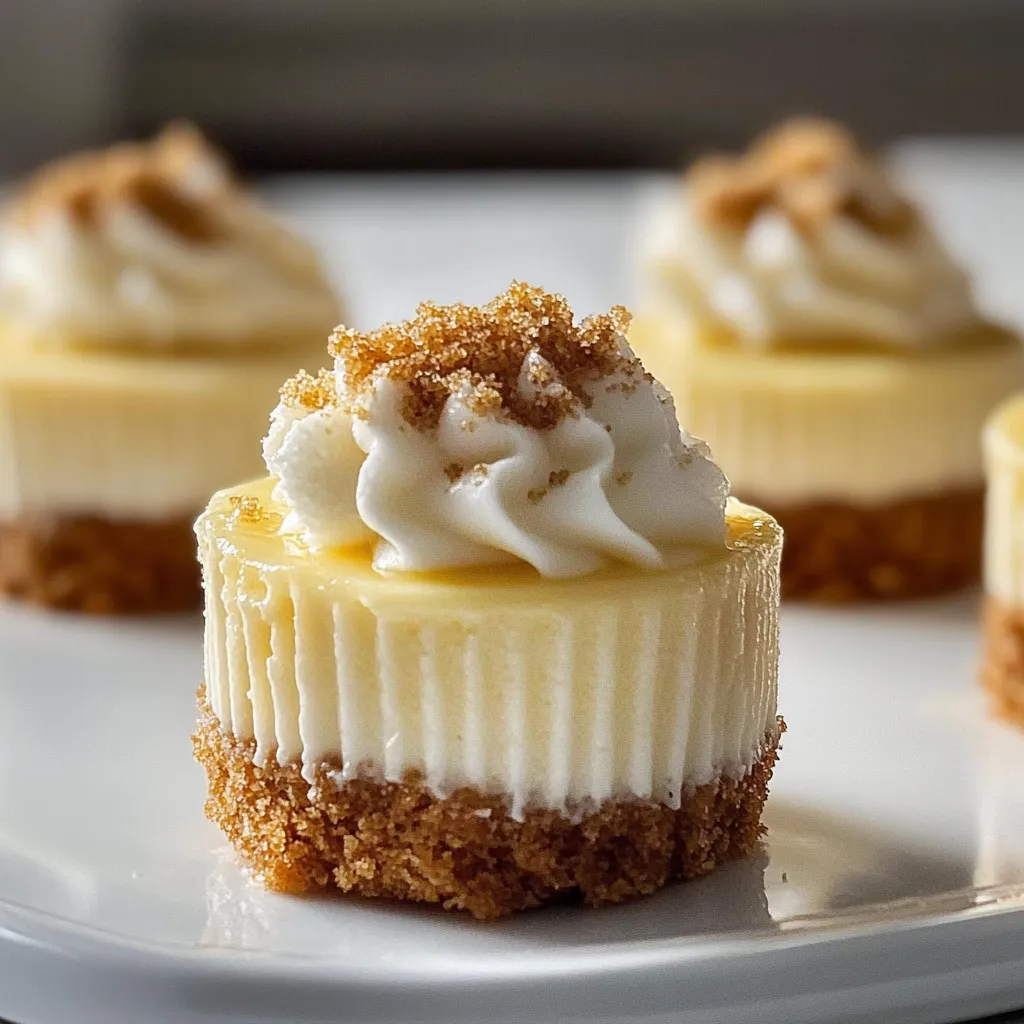
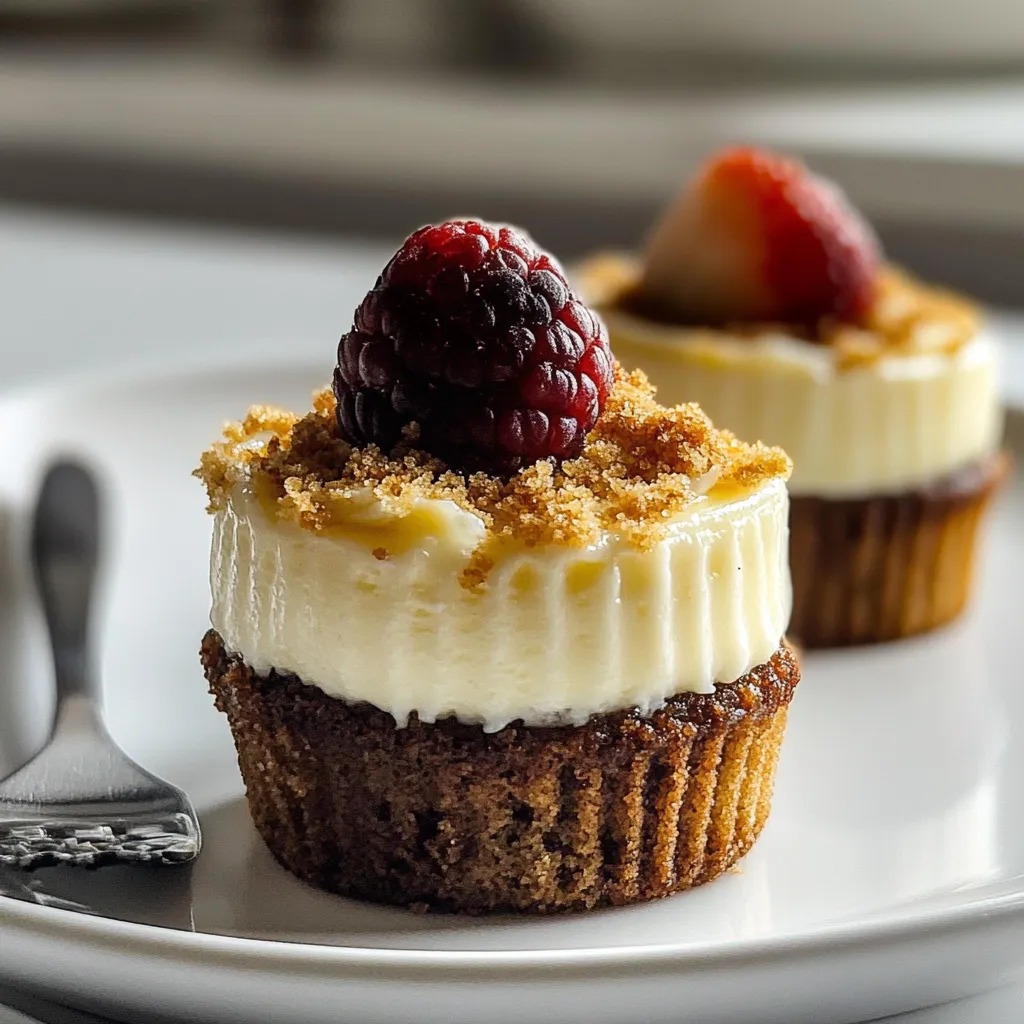
The beauty of these mini cheesecakes is in their versatility. Serve them straight from the fridge for a cool, creamy treat. Right before serving, add your favorite toppings to make them extra special. A dollop of whipped cream, fresh berries, a drizzle of hot fudge, or a simple dusting of cocoa powder all work wonderfully. They pair beautifully with a cup of coffee after a hearty meal like this One Pan Lemon Herb Chicken.
Storing Your Leftovers (If You Have Any!)
These cheesecakes are champions in the fridge. Store them in an airtight container for up to 5 days. They also freeze beautifully for up to 3 months. Just place them in a single layer on a baking sheet to freeze solid, then transfer to a freezer-safe bag or container. Thaw overnight in the refrigerator before serving.
Frequently Asked Questions
Can I make these dairy-free?
Absolutely! For a fantastic dairy-free version, use your favorite plant-based cream cheese and sour cream alternatives. For the crust, simply swap the butter for coconut oil. The texture and flavor will still be amazing.
Why did my cheesecakes crack?
Don’t sweat a little crack! It usually means the oven was too hot or they baked a tad too long. Remember, the centers should still be a bit jiggly when you take them out—they continue to set as they cool. But honestly, a little crack is just a place to put extra berries!
Can I use a different nut flour for the crust?
You can experiment with other finely ground nut flours like pecan or hazelnut for a different flavor profile. I don’t recommend coconut flour as it absorbs liquid very differently and would throw off the crust ratio.
How far in advance can I make them?
These are the ultimate make-ahead dessert. You can bake them up to 2 days in advance before serving. In fact, I think they taste even better after a day in the fridge as the flavors have more time to meld together.
There you have it! The ultimate recipe for Gluten-Free Mini Cheesecakes that are sure to become a regular in your dessert rotation. They’re the perfect combination of easy, elegant, and undeniably delicious. Whether you’re catering to dietary restrictions or just want a adorable individual treat, these little guys deliver big on flavor. I’d love to hear how yours turn out! Be sure to tag me on social media so I can see your beautiful creations.