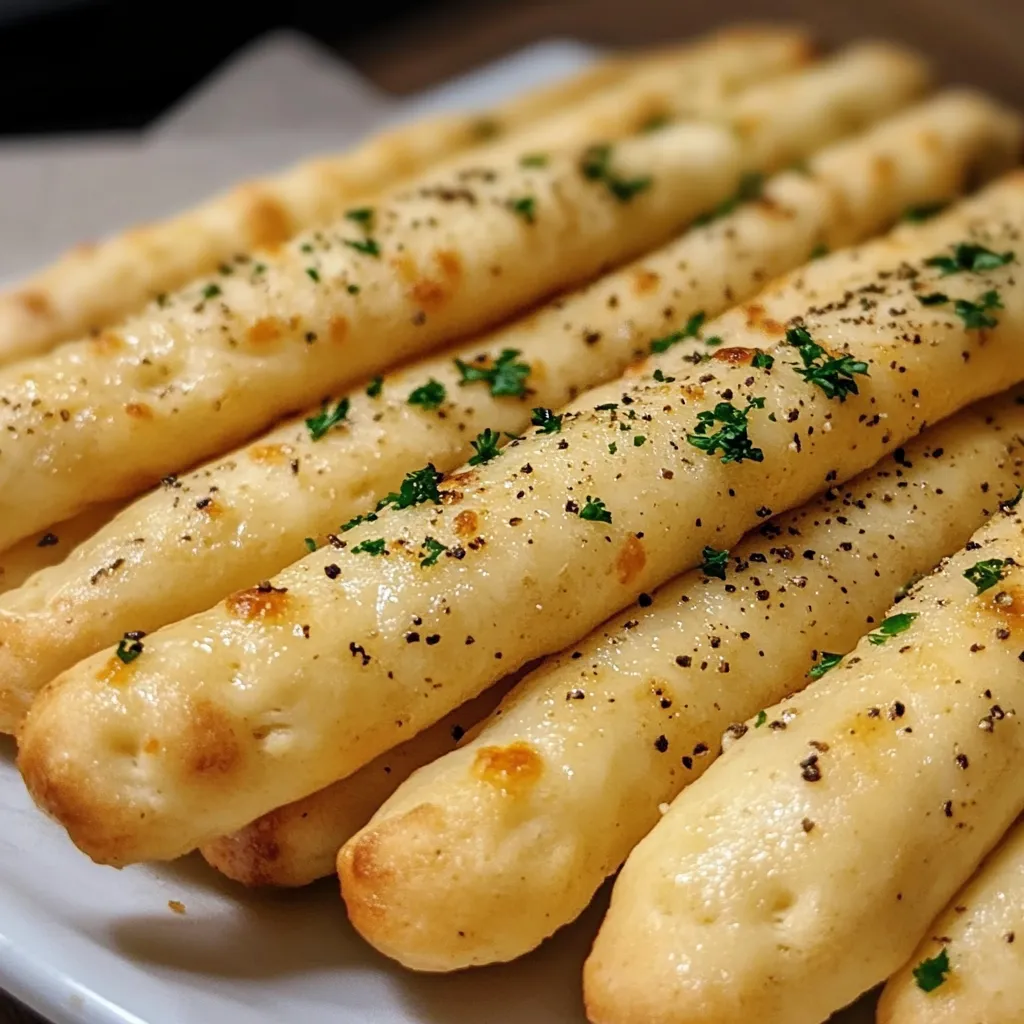
There’s something incredibly comforting about the smell of fresh bread baking in the oven, isn’t there? That warm, yeasty aroma that makes your entire house feel like a home. But if you or someone you love is navigating a gluten-free lifestyle, that simple joy can sometimes feel out of reach. Well, friends, I’m here to change that. These Homemade Gluten-Free Breadsticks are about to become your new go-to. They’re soft, chewy, and have that perfect pull-apart texture we all crave. Whether you’re serving them alongside a big bowl of gluten-free tomato soup or just as a snack for your hungry crew, they’re a total game-changer.
Why You’ll Love These Gluten-Free Breadsticks
- Surprisingly Simple: Don’t be intimidated by yeast dough! This recipe is straightforward and forgiving.
- Incredibly Versatile: Top them with garlic and parsley, cheese, or everything bagel seasoning—the choice is yours.
- Family-Friendly: Even the pickiest eaters won’t guess they’re gluten-free. They’re that good.
- Perfect for Sharing: These are a guaranteed hit at potlucks and family dinners alike.
Ingredients
Gathering your ingredients is the first step to baking success! Here’s what you’ll need for these easy gluten-free breadsticks.
PrintGlutenFree Breadsticks Recipe
Easy homemade gluten-free breadsticks recipe Dairy free vegan options Perfect crispy snack or side Quick prep simple ingredients delicious results
- Prep Time: 45 minutes
- Cook Time: 25 minutes
- Total Time: 70 minutes
- Yield: 12 breadsticks 1x
- Category: Side Dish
- Cuisine: American
Ingredients
- 2 ¼ cups (270g) high-quality 1:1 gluten-free all-purpose flour blend
- 1 packet (2 ¼ tsp) instant yeast
- 1 tbsp granulated sugar
- 1 tsp xanthan gum
- 1 tsp fine sea salt
- 1 cup warm water (about 110°F)
- 2 tbsp olive oil
- 1 large egg, at room temperature
- 2 tbsp melted butter or olive oil
- 1 tsp garlic powder
- 1 tbsp fresh parsley, finely chopped
- Coarse sea salt, for sprinkling
Instructions
- In the bowl of a stand mixer fitted with a paddle attachment, whisk together the gluten-free flour, instant yeast, sugar, xanthan gum (if using), and salt.
- Pour in the warm water and olive oil. Mix on low speed until the ingredients start to come together.
- Add the egg and mix on medium speed for 2-3 minutes. The dough will be sticky and more like a very thick batter than a traditional bread dough—this is perfectly normal!
- Lightly oil your hands and a spatula. Scrape the dough out into a greased 9×9 inch square baking pan, using your oiled hands to press it into an even layer. Cover the pan with a clean kitchen towel and let it rise in a warm, draft-free place for 30-45 minutes, or until puffy.
- Preheat your oven to 375°F (190°C). Once risen, use a sharp knife or a bench scraper to score the dough into 12 equal breadstick strips.
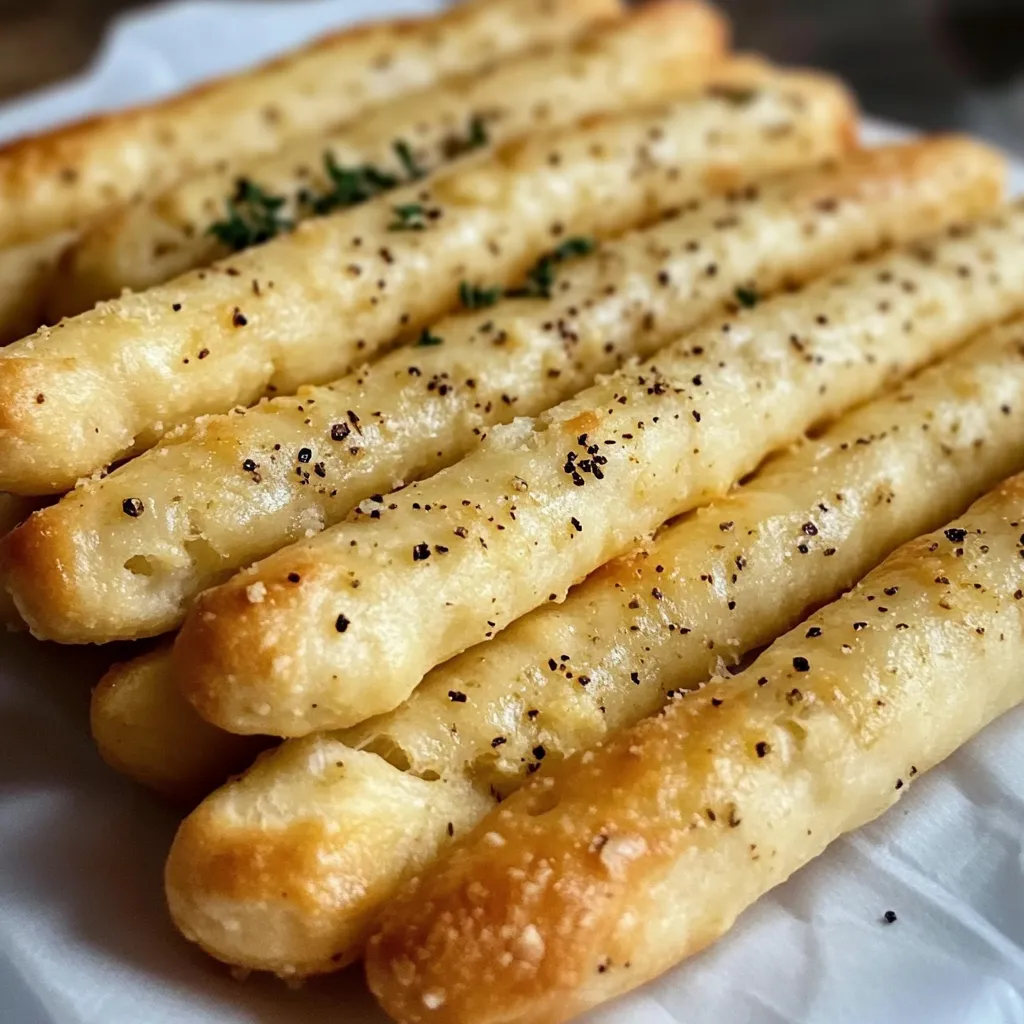
- Brush the top of the dough generously with more olive oil. Bake for 20-25 minutes, or until the breadsticks are golden brown and sound hollow when tapped.
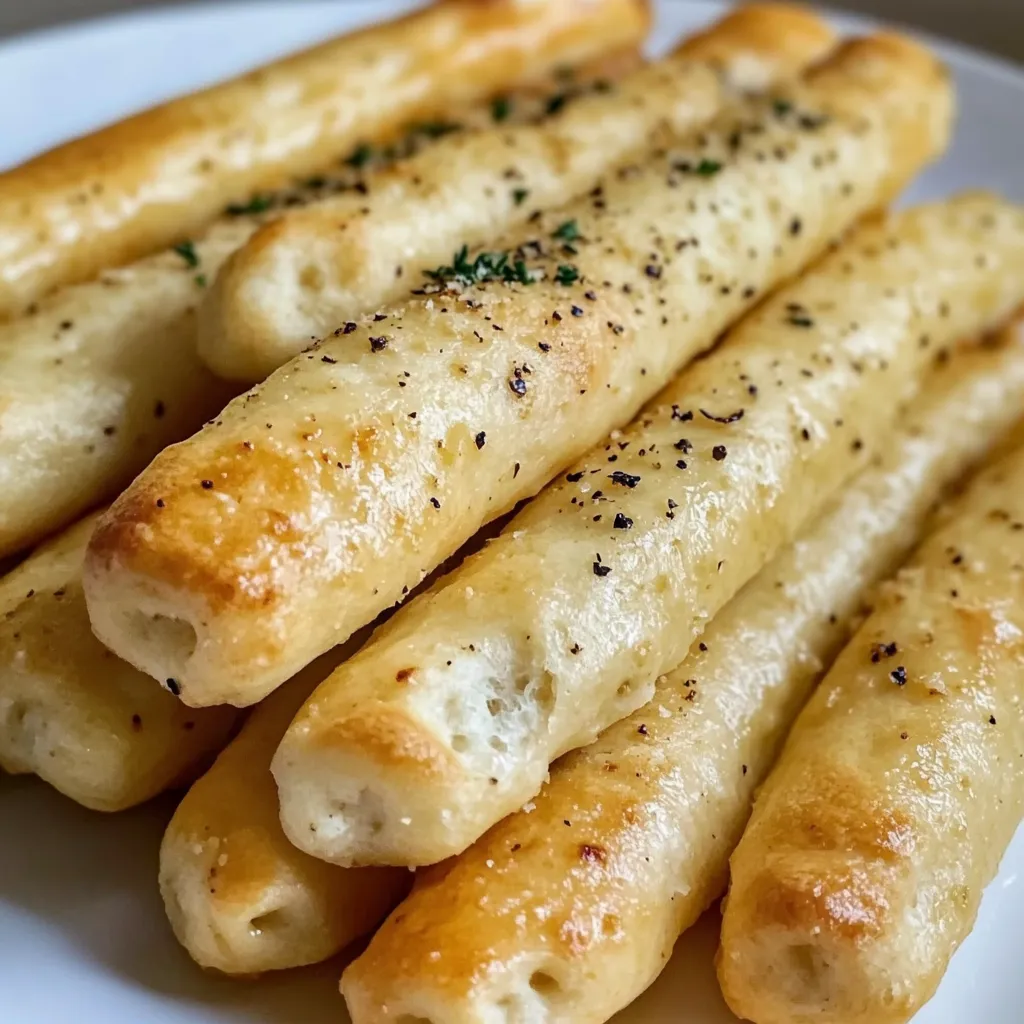
- Immediately out of the oven, brush the warm breadsticks with the melted butter and sprinkle with garlic powder, parsley, and coarse salt. Let them cool in the pan for about 5 minutes before carefully separating them along the scored lines. Serve warm and enjoy!
Notes
Soft, chewy, and perfectly pull-apart Homemade Gluten-Free Breadsticks. A simple and forgiving recipe that’s a guaranteed hit as a side dish or snack.
Nutrition
- Serving Size: 12 breadsticks
- Calories: 145 kcal
- Sugar: 1 g
- Fat: 6 g
- Carbohydrates: 22 g
- Fiber: 2 g
- Protein: 3 g
- 2 ¼ cups (270g) high-quality 1:1 gluten-free all-purpose flour blend (I like Bob’s Red Mill)
- 1 packet (2 ¼ tsp) instant yeast
- 1 tbsp granulated sugar
- 1 tsp xanthan gum (omit if your blend already includes it)
- 1 tsp fine sea salt
- 1 cup warm water (about 110°F)
- 2 tbsp olive oil, plus more for brushing
- 1 large egg, at room temperature
For Topping
- 2 tbsp melted butter or olive oil
- 1 tsp garlic powder
- 1 tbsp fresh parsley, finely chopped
- Coarse sea salt, for sprinkling
Step-by-Step Instructions
In the bowl of a stand mixer fitted with a paddle attachment, whisk together the gluten-free flour, instant yeast, sugar, xanthan gum (if using), and salt.
Pour in the warm water and olive oil. Mix on low speed until the ingredients start to come together.
Add the egg and mix on medium speed for 2-3 minutes. The dough will be sticky and more like a very thick batter than a traditional bread dough—this is perfectly normal!
Lightly oil your hands and a spatula. Scrape the dough out into a greased 9×9 inch square baking pan, using your oiled hands to press it into an even layer. Cover the pan with a clean kitchen towel and let it rise in a warm, draft-free place for 30-45 minutes, or until puffy.
Preheat your oven to 375°F (190°C). Once risen, use a sharp knife or a bench scraper to score the dough into 12 equal breadstick strips.
Brush the top of the dough generously with more olive oil. Bake for 20-25 minutes, or until the breadsticks are golden brown and sound hollow when tapped.
Immediately out of the oven, brush the warm breadsticks with the melted butter and sprinkle with garlic powder, parsley, and coarse salt. Let them cool in the pan for about 5 minutes before carefully separating them along the scored lines. Serve warm and enjoy!
My Go-To Kitchen Tools
Having the right tools makes any baking project easier. For this recipe, you’ll need a stand mixer (though you can mix by hand with a sturdy spoon), a 9×9 inch baking pan, and a good brush for that buttery topping.
Tips for the Best Gluten-Free Breadsticks
Gluten-free baking has its quirks, but a few simple tips will guarantee success every time. First, make sure your yeast is fresh! If your water is too hot, it can kill the yeast, and if it’s too cold, the dough won’t rise. I always test it on my wrist—it should feel warm, not hot. Don’t skip the step of letting the dough rise; this is crucial for that light, airy texture. And finally, for a crispier exterior, you can bake them on a parchment-lined baking sheet instead of in a pan.
What to Serve With Your Breadsticks
These breadsticks are the ultimate sidekick. They’re absolutely divine dunked in a creamy broccoli cheddar soup or paired with a hearty gluten-free lasagna. For a lighter meal, a simple Italian salad with a tangy vinaigrette is the perfect complement.
Nutrition Information
Approximate values per breadstick: Calories: 145kcal | Carbohydrates: 22g | Protein: 3g | Fat: 6g | Saturated Fat: 2g | Cholesterol: 19mg | Sodium: 250mg | Fiber: 2g | Sugar: 1g
I hope this recipe brings as much joy to your table as it does to mine. There’s nothing quite like the pride of pulling a batch of homemade breadsticks from your own oven. They’re proof that going gluten-free doesn’t mean giving up on flavor or the simple pleasure of breaking bread with those you love.
Your Gluten-Free Breadstick Questions, Answered
Can I make these dairy-free?
Absolutely! Simply use a neutral oil like avocado or olive oil in place of the butter for brushing at the end. They’ll still be deliciously golden and flavorful.
How should I store leftovers?
Once completely cool, store any leftovers in an airtight container at room temperature for up to 2 days. They’re best reheated in the toaster oven or a 350°F oven for a few minutes to bring back that crisp exterior.
Can I freeze them?
You sure can! These breadsticks freeze beautifully. Let them cool completely, then place them in a single layer on a baking sheet to freeze solid before transferring to a freezer bag. Reheat from frozen in a 350°F oven for about 10 minutes.
My dough didn’t rise much. What happened?
This is common in gluten-free baking! The dough may not double in size like a traditional wheat dough, but it should still look puffy. The most common culprits are old yeast or water that was too hot or too cold. Don’t worry, they’ll still taste great.
