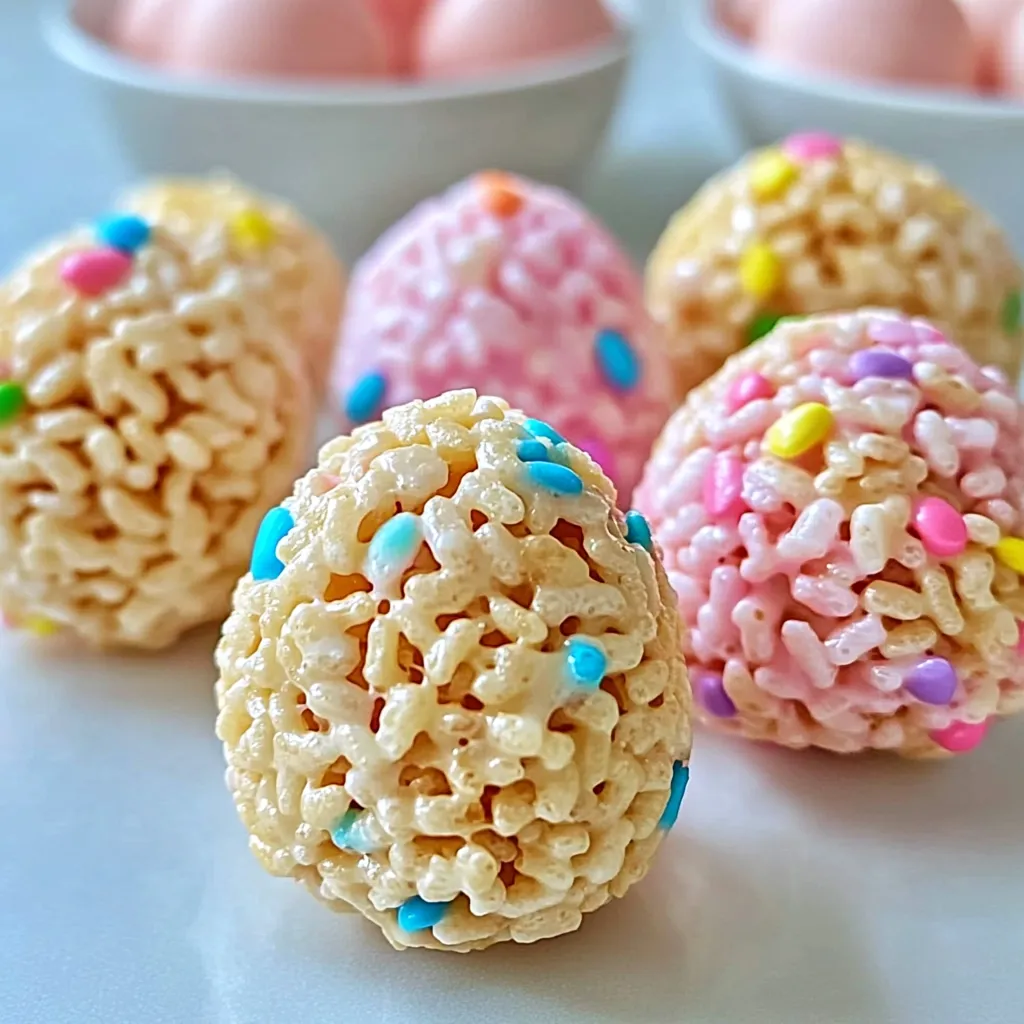
Well, hello there! With Easter right around the corner, I bet you’re looking for a fun, simple project that the whole family can get in on. Let me tell you, these Easy Rice Krispy Easter Eggs are about to become your new favorite tradition. They capture all the magical, crispy-chewy goodness of the classic treats we adore, but shaped into adorable, handheld eggs that are just begging to be decorated.
I first made these with my niece a few years ago when we were desperate for a last-minute Easter activity. We had zero energy for complicated baking, and the result was pure joy—and a wonderfully sticky kitchen! These no-bake delights are the perfect solution for busy parents or anyone who wants to whip up something festive without turning on the oven. They’re forgiving, fun, and guaranteed to bring smiles.
Why You’ll Love These Easy Rice Krispy Easter Eggs
If you need a little more convincing (though I doubt you will!), here’s why this recipe is a total winner:
- Incredibly Simple: With just a handful of ingredients and no baking required, this is a stress-free recipe from start to finish.
- Perfect for Little Helpers: Kids love getting their hands messy shaping the eggs and adding the sprinkles. It’s a fantastic edible craft!
- Endlessly Customizable: Use your favorite colors of candy melts and sprinkles to match your Easter décor or your kids’ wildest imaginations.
- Budget-Friendly: You probably have most of the ingredients in your pantry already, making it a kind treat on your wallet, too.
Gathering Your Ingredients
Here’s what you’ll need to create these festive treats. The beauty is in the simplicity :
PrintRice Krispy Easter Eggs

Create Rice Krispy Easter eggs with our recipe. Quick, no-bake tech for festive treats. Fun & delicious DIY holiday magic.
- Prep Time: 30 minutes
- Cook Time: 10 minutes
- Total Time: 40 minutes
- Yield: 12 eggs 1x
- Category: Dessert
- Cuisine: American
Ingredients
- 3 tablespoons of butter
- 1 package (10 oz.) of regular marshmallows
- 6 cups of Rice Krispies cereal
- Assorted colors of candy melts
- Sprinkles, for decorating
Instructions
- In a large saucepan, melt the butter over low heat. Add the marshmallows and stir until completely melted and smooth.
- Remove the pan from the heat. Quickly add the Rice Krispies cereal and stir until well coated.
- Butter your hands to prevent sticking. Scoop about 1/3 cup of the mixture and shape it into an egg. Place on a wax-paper-lined baking sheet and let cool for 30 minutes until firm.
- Melt candy melts according to package directions. Dip the bottom of each egg into the coating, place back on the wax paper, and immediately add sprinkles before it sets.
Notes
A fun, no-bake Easter treat! These easy Rice Krispy Easter Eggs are a simple and festive recipe perfect for the whole family to make together. No oven required!
Nutrition
- Serving Size: 12 eggs
- Calories: 180 calories
- Sugar: 20 grams
- Fat: 5 grams
- Carbohydrates: 33 grams
- Fiber: 0 gram
- Protein: 1 gram
- 3 tablespoons of butter
- 1 package (10 oz.) regular marshmallows
- 6 cups Rice Krispies cereal
- Assorted colors of candy melts (like Wilton Candy Melts)
- Sprinkles, for decorating
Step-by-Step Instructions
Follow these simple steps, and you’ll have a basket full of cheerful eggs in no time.
Step 1: Melt the Base
In a large saucepan, melt the butter over low heat. Once melted, add the entire bag of marshmallows and stir until they are completely melted and the mixture is smooth. It will be gloriously gooey!
Step 2: Combine with Cereal
Remove the pan from the heat. Quickly add the Rice Krispies cereal and stir until everything is well coated in the marshmallow mixture.
Step 3: Shape the Eggs
This is the fun part! Lightly butter your hands to prevent sticking. Scoop up about 1/3 cup of the mixture and shape it into an egg form. It doesn’t have to be perfect—a slightly rustic look is part of the charm! Place each shaped egg on a wax-paper-lined baking sheet.
Let them cool and set completely. This usually takes about 30 minutes.
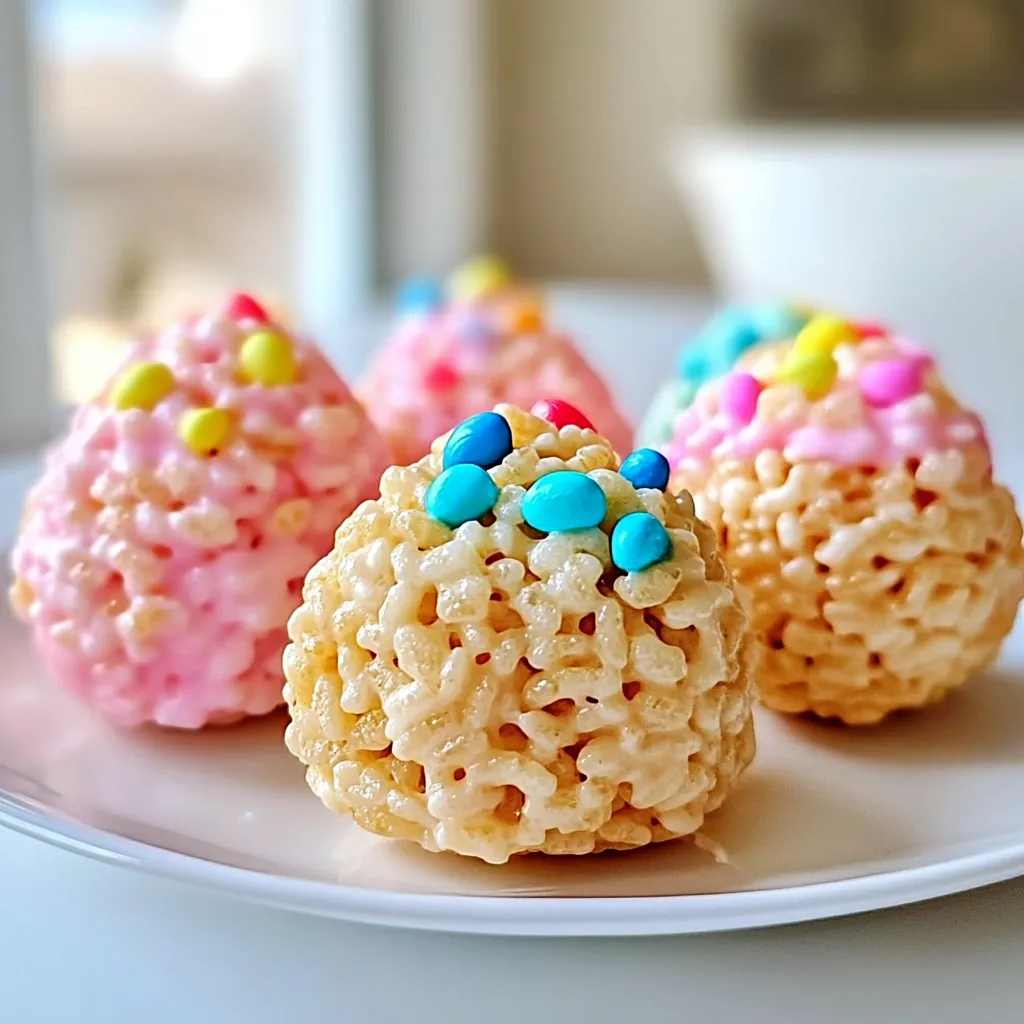
Step 4: Decorate!
Once the eggs are firm, it’s time for the magic. Melt your candy melts according to the package directions. Dip the bottom of each Rice Krispy egg into the melted candy coating, then place it back on the wax paper. Immediately add your favorite sprinkles before the coating sets. For a fuller coat, you can drizzle the melted candy over the top with a spoon.
Essential Equipment
You won’t need any fancy gadgets for this one! Just a few basics:
- Large saucepan
- Wooden spoon or spatula
- Baking sheet
- Wax paper or parchment paper
- Microwave-safe bowls (for melting candy)
Tips for the Best Rice Krispy Easter Eggs
A few little secrets from my kitchen to yours to make sure your eggs are perfect:
- Butter is Your Best Friend: Coating your hands and the spoon with a little butter or cooking spray makes handling the sticky mixture a breeze.
- Work Quickly: The marshmallow mixture starts to set as it cools, so have your cereal measured and ready to go before you start melting.
- Get Creative with Decorations: Beyond sprinkles, try using small candy eyes, writing on them with icing, or using different colored melts to create patterns. They’re your edible canvas!
- Making Ahead: You can shape the eggs a day in advance and store them in an airtight container before decorating.
Serving Your Festive Creations
These adorable eggs are a treat all on their own! They’re perfect for stuffing into Easter baskets, placing as a centerpiece at each table setting, or simply handing out as a sweet surprise after an Easter meal. They pair wonderfully with a glass of cold milk or a warm cup of coffee for the adults. For more delightful dessert ideas that are perfect for any spring gathering, check out our collection of easy spring desserts.
A Few Questions You Might Have
Can I use mini marshmallows instead?
Absolutely! Mini marshmallows actually melt a bit faster. You’ll need about 6 cups of mini marshmallows to equal one 10-ounce bag.
How should I store these Easter treats?
Keep your finished eggs in a single layer in an airtight container at room temperature. They are best enjoyed within 2-3 days for optimal freshness and texture.
Can I make these gluten-free?
Yes, you can! Simply make sure to use a certified gluten-free crisp rice cereal. Many brands are naturally gluten-free, but always double-check the packaging to be safe.
My mixture is too sticky to handle. What do I do?
Don’t panic! This happens sometimes. Just let the mixture sit for a minute or two longer to cool down slightly. Buttering your hands thoroughly will also make a world of difference.
Wrapping Up Your Easter Baking Adventure
There you have it—the simplest, most joyful way to create a memorable Easter treat. These Easy Rice Krispy Easter Eggs are more than just a snack; they’re a chance to create sweet memories in the kitchen. I hope this recipe brings as much laughter and happiness to your home as it has to mine. If you’re looking for another no-bake favorite, you have to try my No-Bake Lemon Cheesecake—it’s a total crowd-pleaser!
For more information on the science behind why marshmallows make such a great binder, you can read this fascinating article from Serious Eats. Happy creating, and have a wonderful, delicious Easter!