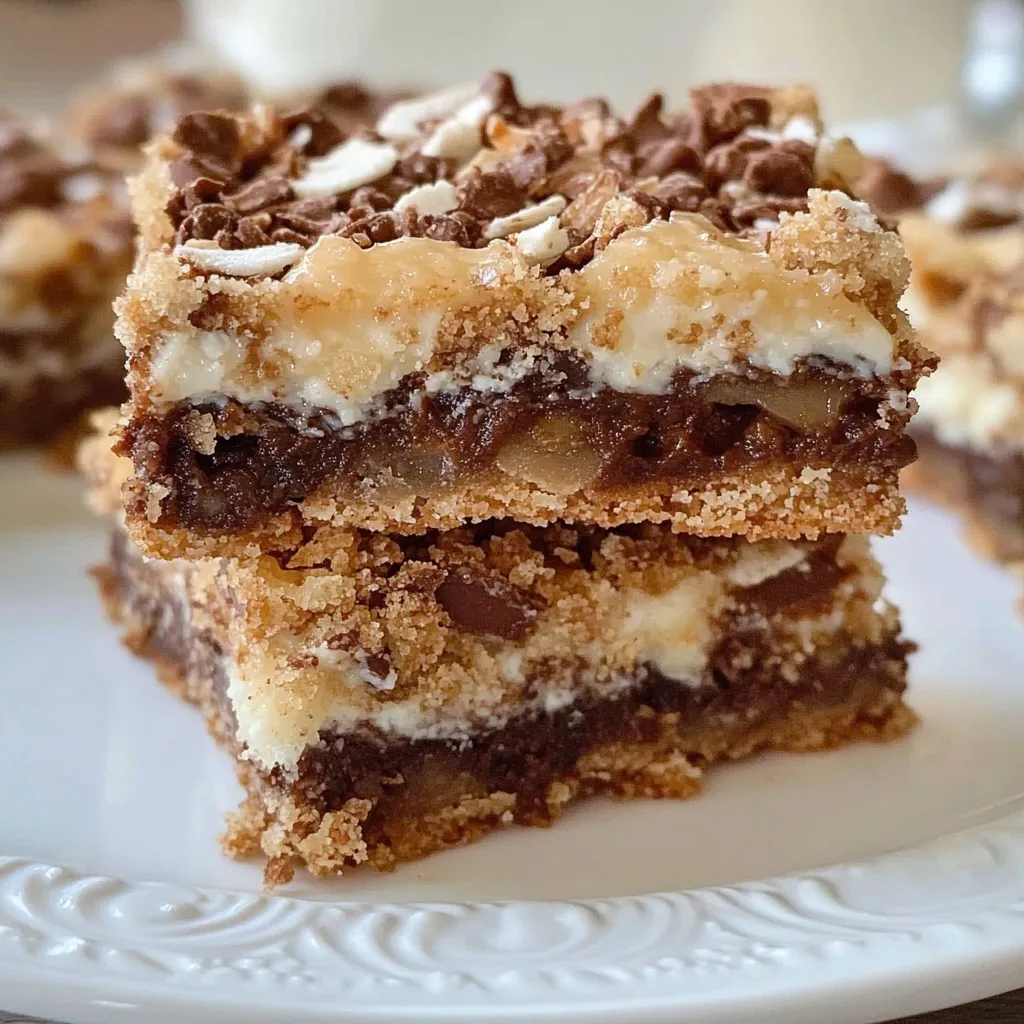
Ever have one of those days where you need a seriously delicious dessert but the thought of turning on the oven feels like a monumental task? Yeah, me too. That’s exactly why these Amazing Gluten-Free Layer Bars are my go-to hero. They’re the perfect combination of chewy, crunchy, and chocolatey, all without a single minute of bake time. Whether you’re catering to dietary needs, whipping up a last-minute treat for a potluck, or just satisfying a major sweet tooth, these bars are here to save the day. They prove that the most magical things in life often come together in a 9×13 pan.
Why You’ll Love These Gluten-Free Layer Bars
- No-Bake Bliss: Your kitchen stays cool, and you get a fantastic dessert. It’s a win-win.
- Incredibly Easy: Just layer, chill, and slice. It’s almost too simple to be true.
- Crazy Customizable: Don’t have pecans? Use walnuts! Not a fan of butterscotch? More chocolate chips it is! This recipe is wonderfully forgiving.
- Crowd-Pleaser: These bars are so good, no one will even guess they’re gluten-free. They’re a guaranteed hit with kids and adults alike.
Gather Your Ingredients
Here’s what you’ll need to create this simple masterpiece. The beauty of this recipe is in its simplicity :
PrintGluten-Free Layer Bars
Gluten-free layer bars recipe is a must-make dessert. Quick to prepare with unbeatable taste. Try this easy, no-fuss baking tech for a delicious treat.
- Prep Time: 20 minutes
- Total Time: 4 hours 20 minutes
- Yield: 16 bars 1x
- Category: Dessert
- Cuisine: American
Ingredients
- 1/2 cup unsalted butter
- 1 1/2 cups gluten-free graham cracker crumbs
- 1 cup shredded coconut
- 1 cup chopped pecans
- 1 cup semi-sweet chocolate chips
- 1 cup butterscotch chips
- 14 ounces sweetened condensed milk
Instructions
- Prepare the Pan: Line a 9×13 inch baking pan with parchment paper, leaving some overhang on the sides.
- Melt the Butter: In a small saucepan over low heat, melt the butter.
- Create the Crust: Pour the melted butter evenly over the bottom of the pan. Sprinkle the gluten-free graham cracker crumbs evenly over the butter and press down gently.
- Start Layering: Evenly layer the shredded coconut, followed by the chopped pecans, chocolate chips, and butterscotch chips.
- The Magic Pour: Slowly and evenly drizzle the entire can of sweetened condensed milk over the top.
- Chill Out: Place the pan in the refrigerator for at least 3-4 hours, or until completely set.
- Slice and Serve: Use the parchment paper to lift the bars onto a cutting board. Use a sharp knife to slice into squares.
Notes
Gluten-Free Layer Bars are the ultimate no-bake dessert! Easy to make with simple ingredients, this irresistible treat is perfect for busy schedules and happy taste buds.
Nutrition
- Serving Size: 16 bars
- Calories: 320 kcal
- Sugar: 28 g
- Fat: 19 g
- Carbohydrates: 36 g
- Fiber: 2 g
- Protein: 4 g
- 1/2 cup unsalted butter
- 1 1/2 cups gluten-free graham cracker crumbs
- 1 cup shredded coconut (sweetened or unsweetened based on your preference)
- 1 cup chopped pecans
- 1 cup semi-sweet chocolate chips
- 1 cup butterscotch chips
- 1 (14 oz) can sweetened condensed milk
How to Make Your No-Bake Layer Bars
Ready to assemble? Let’s get layering! You’ll be done before you know it.
- Prepare the Pan: Line a 9×13 inch baking pan with parchment paper, leaving some overhang on the sides. This little trick will make lifting the bars out for slicing an absolute breeze.
- Melt the Butter: In a small saucepan over low heat, melt the butter. Alternatively, you can melt it in a microwave-safe bowl in 20-second intervals, stirring in between.
- Create the Crust: Pour the melted butter evenly over the bottom of your prepared pan. Sprinkle the gluten-free graham cracker crumbs evenly over the butter and press down gently to form a base layer.
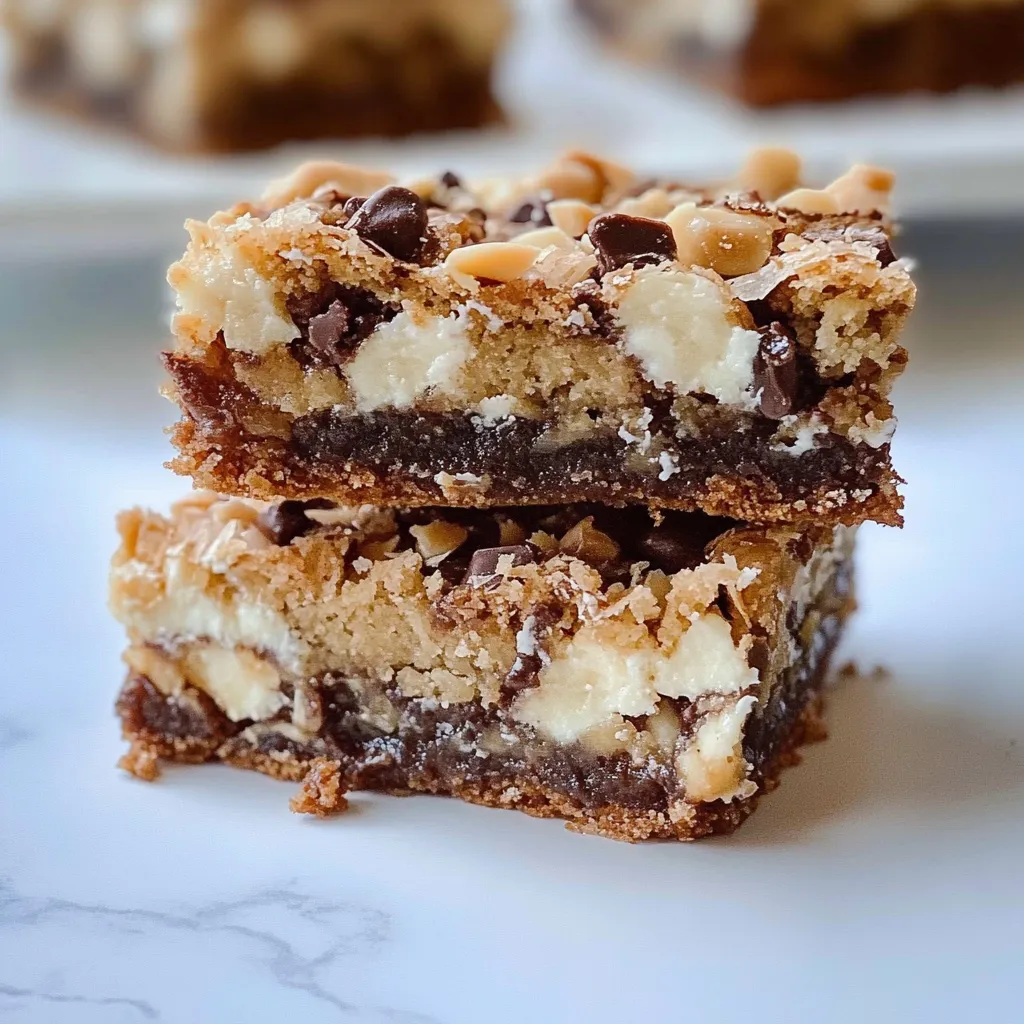
- Start Layering: Now for the fun part! Evenly layer the shredded coconut over the crust. Follow that with the chopped pecans, then the chocolate chips, and finally the butterscotch chips. Try to distribute them as evenly as you can for the perfect bite every time.
- The Magic Pour: Slowly and evenly drizzle the entire can of sweetened condensed milk over the top of all the layers. This is the “glue” that holds everything together and makes the bars wonderfully chewy.
- Chill Out: Place the pan in the refrigerator for at least 3-4 hours, or until the bars are completely set. For the best results, I often let them chill overnight. Patience is a virtue here!
- Slice and Serve: Once firm, use the parchment paper to lift the entire block of bars onto a cutting board. Use a sharp knife to slice them into squares. A little tip: wiping the knife clean between cuts gives you neater bars.
My Favorite Tips & Tasty Variations
This recipe is like a blank canvas for your pantry. Here are a few ways to make it your own:
- Nut-Free Option: Simply leave out the pecans or replace them with sunflower seeds for a similar crunch.
- Mix-In Magic: Feel free to swap the chips for your favorites. White chocolate chips, peanut butter chips, or even crushed gluten-free pretzels would be fantastic additions.
- Storage Smarts: Keep these bars stored in an airtight container in the refrigerator for up to a week. They also freeze beautifully for up to 3 months. Just thaw in the fridge before serving.
- Sticky Situation? If your knife is sticking while cutting, try running it under hot water and drying it quickly before each cut.
I’ll never forget the first time I made these for a family gathering. My nephew, who is usually the toughest critic, declared them “the best dessert ever” and smuggled three extra pieces into his pocket. That’s what I call a success!
The Perfect Way to Serve Them
These bars are rich and satisfying all on their own, but a little dollop of whipped cream or a scoop of vanilla ice cream never hurt anybody! They’re the perfect ending to a casual weeknight dinner or the star of the show at your next party. For another fantastic no-bake option that’s a little lighter, you have to try my Refreshing Strawberry Lemonade Bars.
Your Gluten-Free Layer Bar Questions, Answered
Can I use regular graham crackers if I don’t need gluten-free?
Absolutely! Standard graham cracker crumbs will work just as well in this recipe if you don’t have a gluten intolerance. The taste and texture will be virtually identical.
How long do I need to let the bars chill before cutting?
I know it’s hard to wait, but patience is key! You need at least 3-4 hours for them to set properly. Overnight chilling is even better, as it gives the condensed milk time to firm up perfectly, making for clean, neat slices.
Can I freeze these layer bars?
You sure can! These bars are great for freezing. Place the sliced bars in a single layer in an airtight container, separated by parchment paper. They’ll keep for up to 3 months. Thaw in the refrigerator before serving.
What’s a good substitute for the butterscotch chips?
If butterscotch isn’t your thing, feel free to swap in an extra cup of chocolate chips, or try peanut butter chips for a different flavor profile. You could also use chopped dried fruit like cranberries or raisins.
A Little Bit of Food for Thought
Digging into a pan of these Amazing Gluten-Free Layer Bars is like a little hug for your soul. They’re proof that treating yourself and catering to dietary preferences doesn’t have to be complicated. For more gluten-free inspiration that doesn’t skimp on flavor, check out my recipe for Chewy Gluten-Free Chocolate Chip Cookies. I hope this recipe brings as much joy to your kitchen as it has to mine. Happy no-baking!
Meta Description: Gluten-Free Layer Bars are the ultimate no-bake dessert! Easy to make with simple ingredients, this irresistible treat is perfect for busy schedules and happy taste buds.