
Hey there, fellow food lovers! I’m so excited to share one of my absolute favorite recipes with you: homemade Gluten Free Pizza Dough! As a busy cook, always looking for quick meal solutions, finding a fantastic gluten-free pizza crust was a game-changer. This recipe is not just about making a fantastic pizza; it’s about the joy of creating something delicious from scratch, especially when you think you can’t have pizza on a gluten-free diet. Trust me, after many kitchen experiments, I’ve perfected a Gluten Free Pizza Dough recipe that’s perfect for those weeknight cravings or a fun family pizza night.
Why You’ll Love This Gluten Free Pizza Dough
- Super Easy: Seriously, even if you’re new to gluten-free baking, you’ll be able to create a lovely pizza!
- Family-Friendly: A guaranteed crowd-pleaser! Everyone loves pizza, and this Gluten Free Pizza Dough is delicious.
- Budget-Friendly: Making your own pizza is always more cost-effective than takeout.
- Customizable: Top it with whatever your heart (or stomach!) desires.
Ingredients
PrintEasy Gluten Free Pizza Dough Recipe: Make Pizza Night a Break!”

A super easy gluten-free pizza dough recipe perfect for busy cooks. Customizable, budget-friendly, and family-approved. Enjoy homemade pizza without gluten or complicated steps!
- Prep Time: 20
- Cook Time: 15
- Total Time: 95
- Yield: 1 pizza (8 slices) 1x
- Category: Gluten-Free
- Method: Baking
- Cuisine: American
- Diet: Vegetarian
Ingredients
1 packet instant yeast
¾ cup + 2 tablespoons water
1 tablespoon white sugar
2 ½ cups gluten-free all-purpose baking flour with xanthan gum
1 teaspoon salt
1 teaspoon baking powder
5 tablespoons olive oil
1 egg
1 teaspoon white vinegar or apple cider vinegar
Instructions
Microwave water until 110-115°F (30 seconds). Combine sugar and yeast in the warm water; let sit 5 minutes.
Whisk together gluten-free flour, baking powder, and salt in a separate bowl.
Add egg, vinegar, olive oil, and yeast mixture to the dry ingredients.
Mix with a wooden spoon/spatula until dough forms (will be sticky).
Cover dough with plastic wrap and a towel; let rise in a warm place (e.g., oven) for 1 hour.
Preheat oven to 425°F. Chill dough in fridge for 15 minutes,
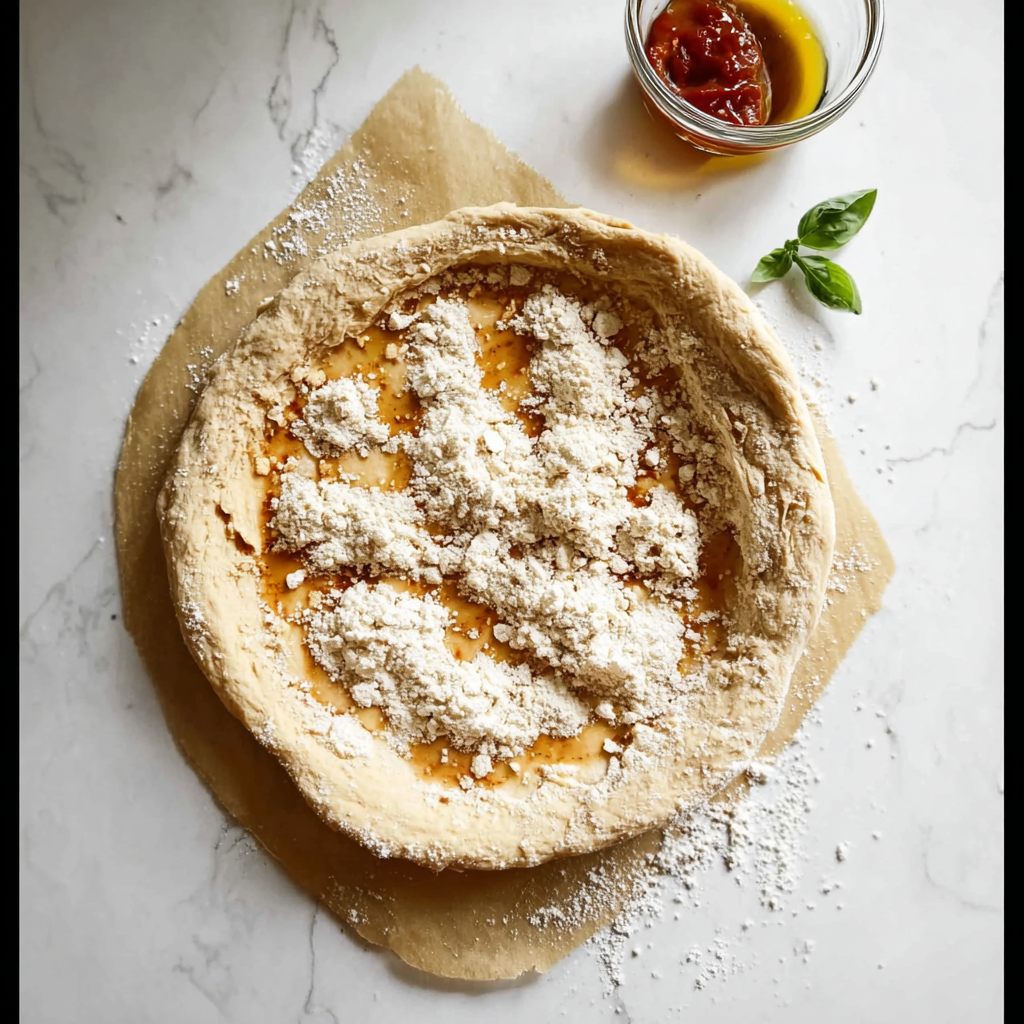
Transfer dough to floured parchment paper, knead in 1-2 tablespoons more flour to smooth if sticky.
Roll out into desired thickness using a floured rolling pin
Notes
Use warm (not hot) water to activate yeast
A bowl or baking dish can be stored in the oven for warming during rising
Customize toppings like cheese, veggies, or halal meat (chicken, beef)
Dough can be frozen for up to 2 months
Nutrition
- Serving Size: 1 slice
- Calories: 225
- Sugar: 5g
- Sodium: 280mg
- Fat: 10g
- Saturated Fat: 6g
- Carbohydrates: 28g
- Fiber: 3g
- Protein: 7g
- Cholesterol: 25mg
- 1 packet instant yeast
- ¾ cup + 2 tablespoons water
- 1 tablespoon white sugar
- 2 ½ cups gluten free all purpose baking flour* with xanthan gum
- 1 teaspoon salt
- 1 teaspoon baking powder
- 5 tablespoons olive oil
- 1 egg
- 1 teaspoon vinegar white or apple cider
Step-by-Step Instructions
- Activate the Yeast: Microwave the water for about 30 seconds or until it reaches 110-115 degrees Fahrenheit. You don’t want it too hot or it will kill the yeast, but it needs to be warm enough to activate the yeast.
- Combine Ingredients: Mix in the sugar and one packet of yeast, stir together and let sit for 5 minutes.
- Whisk the Dry Ingredients: Meanwhile, whisk together the flour, baking powder, and salt.
- Mix the Wet and Dry: Add in the whisked egg, vinegar, olive oil, and water/yeast mixture.
- Form the Dough: Mix together with a wooden spoon or rubber spatula until a dough forms. It will likely be a bit sticky at this point.
- Let it Rise: Cover with plastic wrap then cover with a towel and let sit in a warm place for 1 hour to rise. I like to put it in the oven.
- Chill the Dough: After 1 hour, preheat the oven to 425 and let the dough sit in the fridge for 15 minutes. This will make it easier to roll out.
- Shape the Dough: Add the dough to a floured piece of parchment paper and knead in 1-2 more tablespoons of flour until it forms into a smooth ball. Avoid adding too much flour, just enough until a ball dough forms and the dough isn’t as sticky.
- Roll It Out: Use a floured rolling pin and roll into a roughly 12-inch circle. I like to keep the crust fairly thick; you will be able to get a larger pizza or two smaller pizzas if you prefer it thinner, just depends on your preference.
- Pre-Bake the Crust: Generously brush the top of the crust with olive oil and bake for 12 minutes.
- Add Toppings: Remove from the oven, add sauce and any desired toppings, and bake an additional 8-12 minutes. Feel free to bake for longer if you like a crispier crust.
Equipment You’ll Need
- Mixing bowls
- Measuring cups and spoons
- Wooden spoon or rubber spatula
- Plastic wrap and kitchen towel
- Rolling pin
- Baking sheet or pizza stone
Tips & Variations
- Flour Matters: Make sure you use a good quality gluten-free all-purpose flour blend that contains xanthan gum for the best results. The xanthan gum helps with the elasticity of the dough.
- Cheese Please: Try different cheeses! Mozzarella is classic, but provolone, Parmesan, or your favorite dairy-free options work beautifully.
- Get Creative with Toppings: Don’t be afraid to experiment with your favorite toppings. From classic pepperoni to veggie-packed delights, the possibilities are endless! Consider adding some cheesy casserole topping.
- Storage: You can store the baked crust in the fridge for up to 3 days or freeze it for up to a month. Just thaw and add toppings before baking.
Serving Suggestions
Serve your delicious Gluten Free Pizza with a fresh green salad or some garlic knots (if you’re having guests who *aren’t* gluten-free). A simple side salad with a light vinaigrette is the perfect complement to the rich flavors of a homemade pizza.
Nutrition Facts
(Note: Nutrition information can vary based on specific ingredients and toppings. This is an estimate based on the ingredients above.)
- Calories: Approximately 250-300 per serving (crust only)
- Carbs: Approximately 35-40g
- Protein: Approximately 5-7g
- Fat: Approximately 8-12g
Frequently Asked Questions About Gluten Free Pizza Dough
- Can I substitute different gluten-free flours? Yes, but the results may vary. Make sure you are using a gluten-free blend and that contains xanthan gum.
- Can I freeze this Gluten Free Pizza Dough? Absolutely! You can freeze the uncooked dough for up to a month. Thaw it in the refrigerator overnight before using.
- How do I make the dough ahead of time? You can make the dough, let it rise, then store it in the refrigerator for up to 24 hours before rolling and baking.
- Can I use a different type of cheese? Yes! Get creative with different cheeses for added flavor.
I hope you try this easy Gluten Free Pizza Dough recipe and love it as much as I do! It is perfect for a cozy weeknight meal or a fun family pizza night. Enjoy!