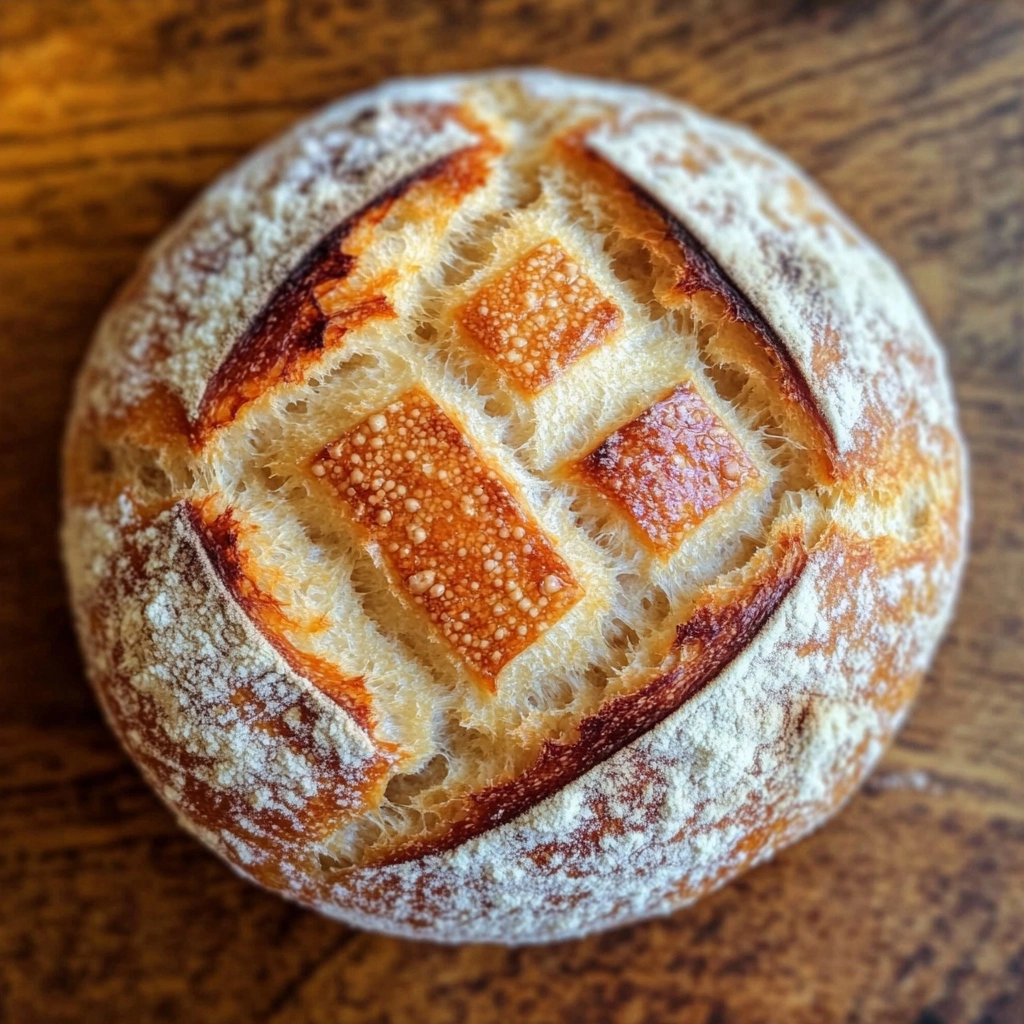
Let’s be honest, the thought of baking artisan bread from scratch can be a little intimidating, especially when you’re navigating the world of gluten-free. But what if I told you that you could achieve a beautiful, crusty loaf with a tender crumb right in your own kitchen, with minimal fuss? This Easy Gluten-Free Artisan Bread recipe is here to prove that delicious, homemade bread is entirely within your reach, even on a busy weeknight. Imagine the smell filling your home – pure comfort and the promise of incredible flavor. It’s perfect for a cozy family dinner, a special brunch, or honestly, just because you deserve a slice of heaven.
Why You’ll Love This Recipe
- Quick & Easy: Minimal hands-on time, perfect for beginners.
- Family-Friendly: Even your pickiest eaters will love this crusty delight.
- Budget-Friendly: Homemade bread is significantly cheaper than store-bought GF options.
- Customizable: Easily adapt it for different flavors or uses.
- Impressive Results: Looks and tastes like it came straight from a fancy bakery!
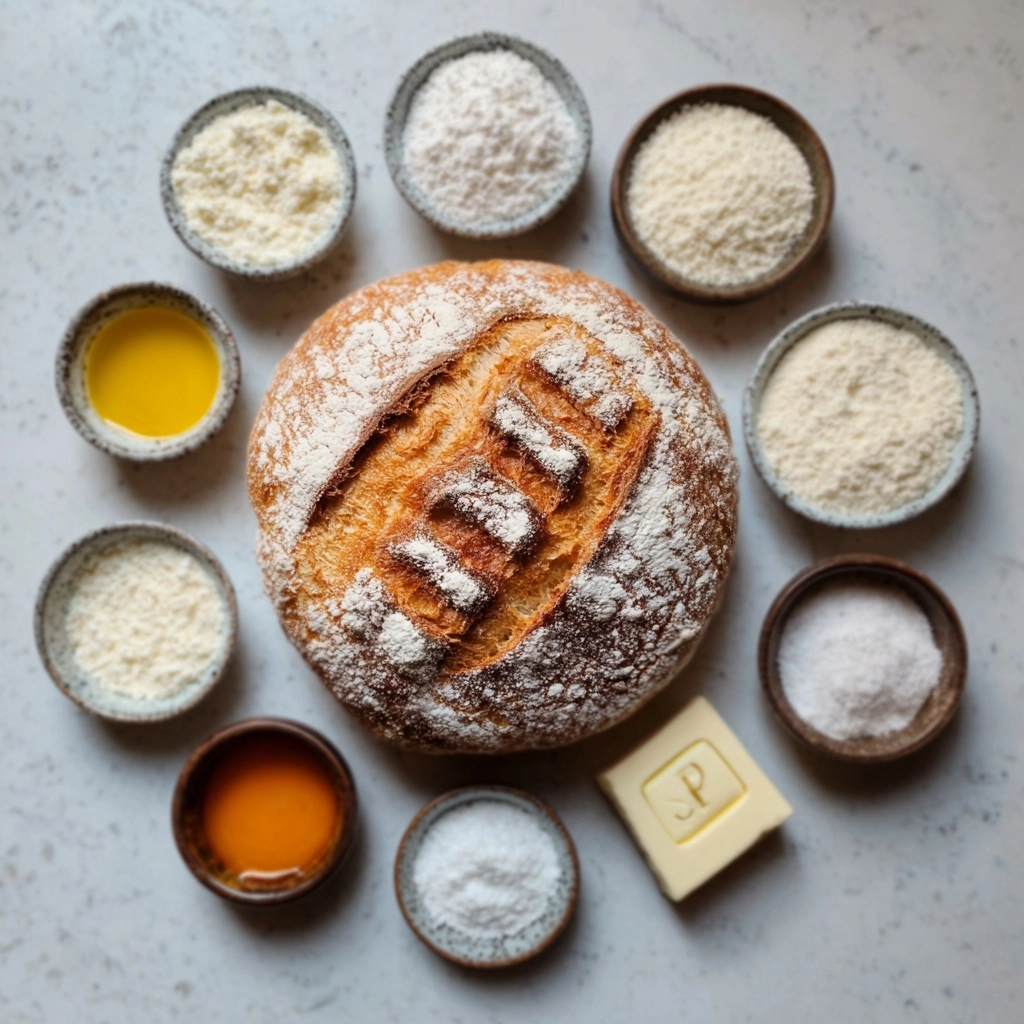
Ingredients
Gather these simple ingredients and get ready to bake some magic. Remember, the quality of your gluten-free flour blend really makes a difference here, so opt for one you trust. I’ve found success using a blend specifically designed for bread or a 1:1 baking blend.
PrintEffortless Gluten-Free Artisan Bread: Your New Go-To Recipe

A crusty, tender gluten-free loaf with minimal steps and no flour mixing. Perfect for weeknight baking, family meals, or paninis! Bake in a glass bowl or cast iron skillet for a bakery-style finish.
- Prep Time: 15
- Cook Time: 45
- Total Time: 60
- Yield: 1 loaf (8–10 slices) 1x
- Category: Gluten-Free
- Method: Baking
- Cuisine: Gluten-Free
- Diet: Vegetarian
Ingredients
1 ⅝ cups (227 g) all-purpose gluten-free flour blend
1 ⅝ teaspoons xanthan gum (omit if already in flour blend)
⅜ cup (54 g) tapioca starch/flour
2 teaspoons (8 g) granulated sugar
2 teaspoons (6 g) instant yeast
¼ teaspoon baking soda
1 teaspoon (6 g) kosher salt
1 cup (8 fluid ounces) warm milk (95°F)
1 (50 g) egg at room temperature, beaten
1 tablespoon (14 g) extra virgin olive oil
Instructions
Grease an oven-safe 1-quart glass bowl or small cast iron skillet with high sides
In a bowl, whisk together gluten-free flour blend, xanthan gum (if using), tapioca starch, sugar, yeast, baking soda, and the salt until evenly mixed
Create a well in the center of the dry ingredients
Add warm milk, beaten egg, and olive oil to the well
Stir until a smooth, glossy dough forms
Let dough rest for 10 minutes
Knead gently for 2–3 minutes
Transfer to prepared vessel, cover, and let rise in a warm place for 20 minutes
Brush dough with remaining olive oil
Bake at 375°F for 45 minutes (use 400°F if using aluminum pan)
Let cool completely before slicing
Notes
Use a 1:1 gluten-free baking blend for best results
Check your flour blend for xanthan gum content before adding
For crisper crust, preheat glass bowl in oven 5 minutes before using
Store in airtight container at room temperature for up to 3 days
Nutrition
- Serving Size: 1 slice
- Calories: 70
- Sugar: 1.5g
- Sodium: 230mg
- Fat: 4g
- Saturated Fat: 1g
- Carbohydrates: 12g
- Fiber: 0.5g
- Protein: 3g
- Cholesterol: 25mg
- 1 ⅝ cups (227 g) all purpose gluten-free flour blend (See Recipe Notes for recommendations)
- 1 ⅝ teaspoons xanthan gum (omit if your blend already contains it)
- ⅜ cup (54 g) tapioca starch/flour
- 2 teaspoons (8 g) granulated sugar
- 2 teaspoons (6 g) instant yeast
- ¼ teaspoon baking soda
- 1 teaspoon (6 g) kosher salt
- 1 cup (8 fluid ounces) warm milk, (about 95°F)
- 1 (50 g weighed out of shell) egg, at room temperature, beaten
- 1 tablespoon (14 g) extra virgin olive oil
Step-by-Step Instructions
Baking this bread is more of an assembly process than a complex culinary feat. Just follow these simple steps, and you’ll be enjoying a warm slice in no time.
- Prepare Your Baking Vessel: Grease a 1 or 1½ quart oven-safe glass bowl. A small round pan or cast iron skillet with high sides works too. If using a lighter-colored aluminum pan, you might need to bump the oven temp up to 400°F.
- Combine Dry Ingredients: In a large bowl, whisk together the gluten-free flour blend, xanthan gum (if using), tapioca starch, sugar, instant yeast, and baking soda. Give it another good whisk to distribute everything evenly.
- Add the Salt: Stir in the kosher salt and whisk again.
- Add Wet Ingredients: Make a well in the center of your dry ingredients. Pour in the warm milk, beaten egg, and olive oil.
- Mix the Dough: Mix everything vigorously. The dough will come together and get a little lighter in color as you stir. It will have a consistency more like a thick batter than a traditional bread dough – this is normal for gluten-free!
- Transfer and Shape: Pour or spoon the dough into your prepared baking bowl or pan. Use clean, wet hands or a moistened spatula to gently smooth the top. Important: Do NOT compress the dough! This is where your bread gets its lovely rise. If you’re using a pan without high sides, try to gently shape the dough to be about as tall as it is wide, mimicking the look of dough in a bowl.
- Cover and Rise: Cover the bowl completely with oiled plastic wrap. Be gentle and don’t squish the dough. Place it in a warm, moist spot to rise for about 45 minutes, or until it has increased by about 50% (150% of its original size). Cool, dry weather might mean a longer rise; warm, humid weather might mean a shorter one.
- Preheat the Oven: About 10-15 minutes before the dough is done rising, preheat your oven to 375°F (190°C).
- First Bake: Remove the plastic wrap from the risen dough. Place the bowl carefully in the center of the preheated oven. Bake for 30 minutes, or until the bread is lightly golden all over.
- Second Bake (Crust Development): Carefully remove the bread from the oven. Invert the loaf onto a wire rack placed over a baking sheet (or just carefully turn it out of the bowl). Return the bread, crust-side down onto the rack, to the oven. Bake for another 15 minutes, or until the crust has darkened slightly and the bread sounds hollow when thumped on the bottom or top. The internal temperature should reach around 195°F (90°C).
- Cool Completely: Turn the bread out onto a wire rack to cool thoroughly before slicing. This is probably the hardest step when the house smells amazing, but it’s crucial for the perfect texture
Equipment You’ll Need
- 1 or 1½ quart oven-safe glass bowl (or similar round pan/skillet)
- Large mixing bowl
- Whisk
- Measuring cups and spoons
- Oiled plastic wrap
- Wire cooling rack
- Instant-read thermometer (optional, but helpful!)
Tips & Variations
A little bit of knowledge goes a long way, especially with gluten-free baking. Here are a few pointers to make your Easy Gluten-Free Artisan Bread absolutely perfect.
- Flour Blend Matters: Seriously, the flour is key! If your blend is too heavy or too light, it can affect the rise and texture. Look for blends that contain a mix of gluten-free flours and starches. You can find excellent recommendations on reputable gluten-free baking blogs.
- Don’t Over-Compress: Resist the urge to flatten or tightly pack the dough, especially after it has risen. It needs room to expand.
- Warm Milk Temperature: Aim for around 95°F (35°C) for your milk. Too hot and you’ll kill the yeast; too cold and it won’t activate properly.
- Flavor Boosts: Want to jazz it up? Add dried herbs (like rosemary or thyme) or a tablespoon of nutritional yeast to the dry ingredients for a cheesy flavor. A sprinkle of seeds on top before the second bake is also lovely!
- Storage: Once completely cooled, this bread is best stored in an airtight container or bread bag at room temperature for 2-3 days. For longer storage, slice and freeze.
Serving Suggestions
This versatile loaf is a winner with almost anything! Serve slices warm with a good slather of butter, try it toasted for breakfast, or use it as the base for amazing avocado toast. It’s also the perfect accompaniment to hearty soups like my Easy Broccoli Cheddar Soup or a fresh salad. For a truly decadent experience, serve it alongside your favorite pasta dishes.
Nutrition Facts
(Note: Nutritional information is an estimate and can vary based on specific ingredients used.)
Approximate values per slice (assuming 10 slices):
- Calories: 180-200
- Carbohydrates: 25-30g
- Protein: 4-6g
- Fat: 7-9g
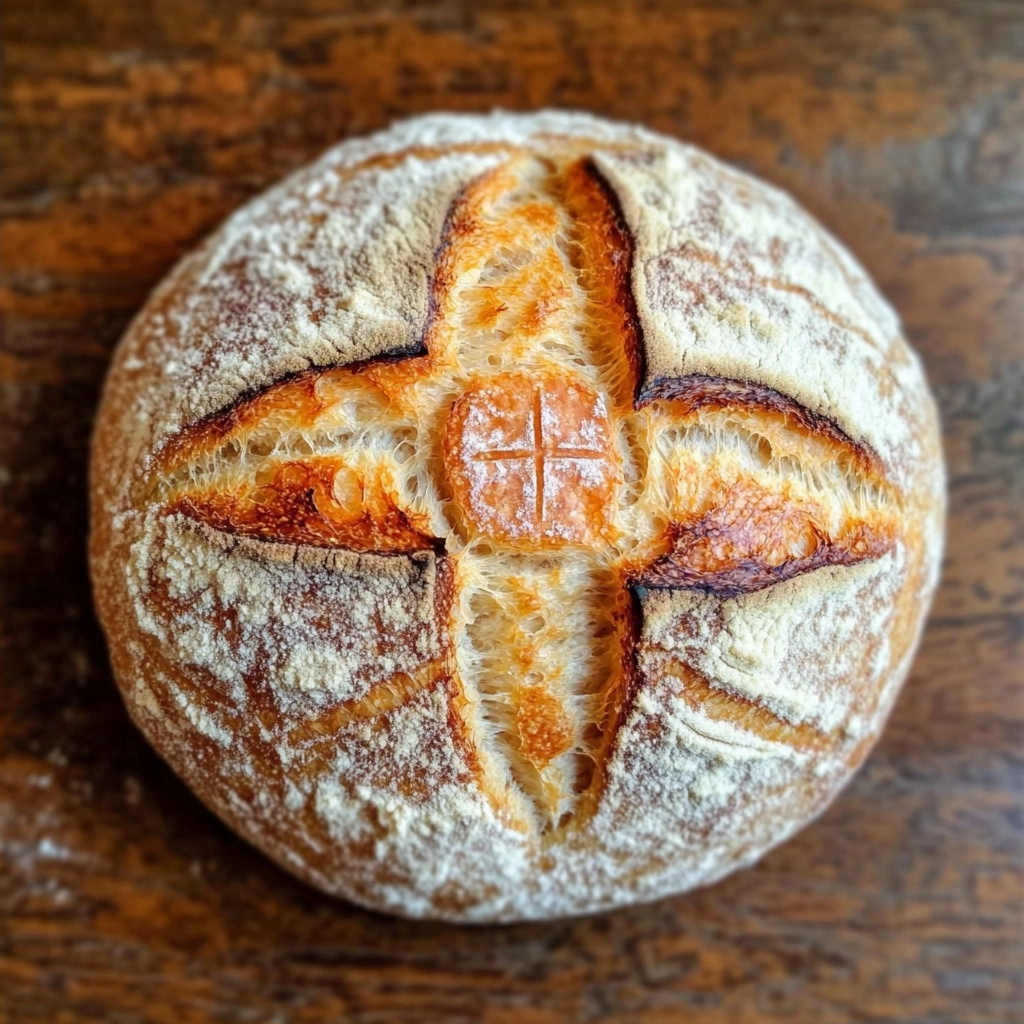
And there you have it – your very own masterpiece! This Easy Gluten-Free Artisan Bread is proof that delicious, satisfying bread doesn’t need to be complicated or full of gluten. Bake it, share it, and enjoy every single crumb. Don’t forget to save this recipe for all your future bread needs!
Frequently Asked Questions
Can I freeze this recipe?
Absolutely! Once the bread has cooled completely, slice it and store the slices in a freezer-safe bag or container for up to 2-3 months. Toast slices directly from frozen for a quick breakfast.
How do I make this gluten-free bread ahead of time?
You can prepare the dough through the ‘transfer to bowl’ step, cover it, and refrigerate it overnight. In the morning, let it sit at room temperature for about an hour to warm up slightly before proceeding with the rise and baking instructions. For best results, bake it the same day it rises.
Can I use a different gluten-free flour blend?
Yes, but pay attention to the blend’s composition. If your blend is heavy on bean flours or lacks a good balance of starches and whole-grain flours, the results might vary. A good all-purpose or bread-specific gluten-free flour blend is recommended. If your blend contains xanthan gum, be sure to omit the added gum in this recipe.
Why is my gluten-free bread dense?
Density in gluten-free bread can happen for a few reasons. Make sure your yeast is active, your milk is warm but not hot, and that you didn’t over-compress the dough after it rose. Also, ensure your oven temperature is accurate
Can I make this dairy-free?
You can likely substitute a dairy-free milk alternative (like almond, soy, or oat milk) for the warm milk. Ensure the alternative is unsweetened and has a similar consistency to dairy milk. The results might vary slightly in texture and flavor.