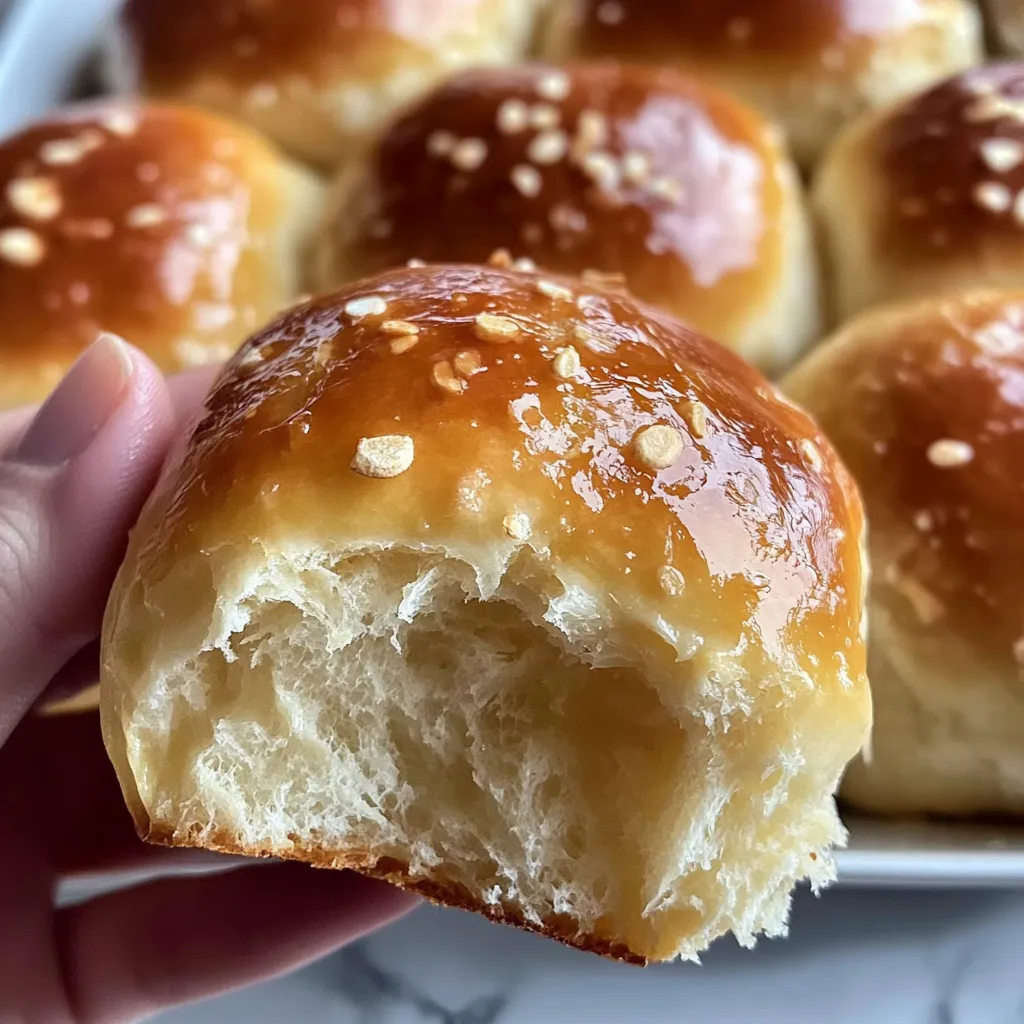
Is there anything better than the smell of warm, freshly baked rolls filling your kitchen? I’m convinced it’s one of life’s simplest and most comforting pleasures. These Fluffy Gluten-Free Milk Honey Rolls are the answer to that craving, bringing all the soft, pillowy goodness of a traditional dinner roll to your table, without the gluten. They’re sweetened with a touch of honey for a subtle warmth that makes them utterly irresistible. If you’re looking for a from-scratch baking project that feels both special and approachable, this is it.
Table of Contents
Table of Contents
Why You’ll Love These Gluten-Free Milk Honey Rolls
These aren’t just any gluten-free rolls. They’re a testament to the fact that gluten-free baking can be downright magical. Here’s why they’ll become a staple in your recipe box:
- Incredibly Soft & Fluffy: No one will believe they’re gluten-free! The texture is light, airy, and perfectly tender.
- Naturally Sweetened: A generous drizzle of honey gives them a beautiful flavor that pairs with both sweet and savory meals.
- Surprisingly Simple: If you can measure and stir, you can make these. No fancy skills required!
- Crowd-Pleasing: Perfect for holidays, Sunday suppers, or just because. They’re a hit with everyone, gluten-free or not.
Gathering Your Ingredients
Here’s what you’ll need to create these little clouds of joy. The key to great gluten-free baking is using a good quality, pre-mixed flour blend. I recommend one that includes xanthan gum for the best structure.
Print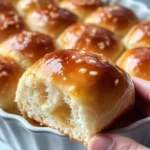
Fluffy Gluten-Free Milk Honey Rolls
- Total Time: 2 hours 40 minutes
- Yield: 12 rolls 1x
Description
Make irresistibly Fluffy Gluten-Free Milk Honey Rolls recipe uses a special technique for perfect soft texture every time
Ingredients
- 2 ¼ teaspoons active dry yeast
- 1 cup warm whole milk (110°F)
- ⅓ cup honey
- ⅓ cup unsalted butter, melted and slightly cooled
- 2 large eggs, at room temperature
- 3 ½ cups high-quality gluten-free all-purpose flour blend
- 1 teaspoon fine sea salt
- Non-stick cooking spray or extra butter for greasing
Instructions
- Activate the Yeast: In the bowl of a stand mixer, whisk together the warm milk, honey, and yeast. Let it sit for 5-7 minutes until foamy.
- Combine Wet Ingredients: Add the melted butter and eggs to the yeast mixture. Mix on low with the paddle attachment until just combined.
- Add Dry Ingredients: In a separate bowl, whisk together the gluten-free flour and salt. With the mixer on low, gradually add the flour mixture to the wet ingredients until a soft, sticky dough forms.
- First Rise: Cover the bowl with a kitchen towel and let the dough rise in a warm place for 1 to 1 ½ hours, until nearly doubled in size.
- Shape the Rolls: Punch the dough down. Generously grease a 9×13 inch baking dish. Portion the dough into 12 equal pieces, roll into rough balls, and place in the pan.
- Second Rise: Cover the pan and let the shaped rolls rise for another 30-45 minutes until puffy.
- Bake: Preheat oven to 350°F (175°C). Bake the rolls for 20-25 minutes, until golden brown and hollow when tapped.
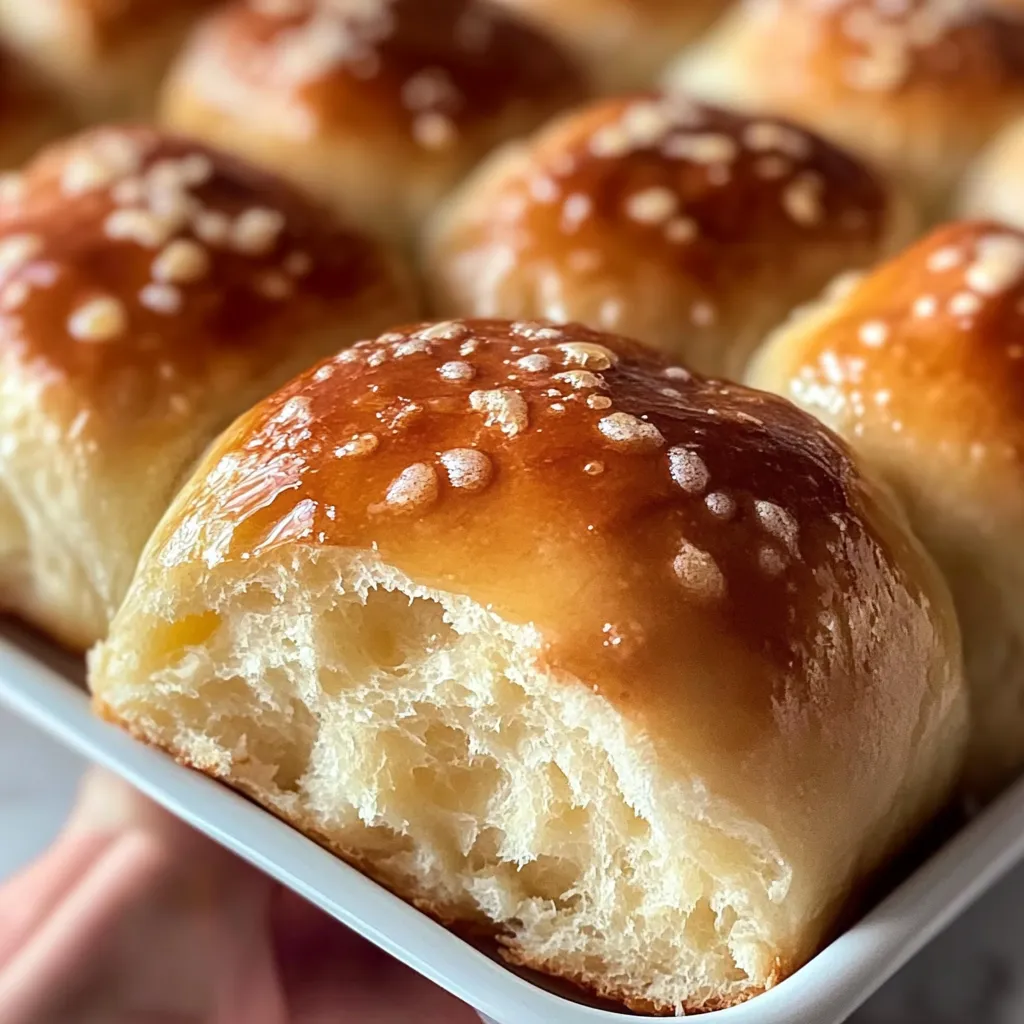
- Finish: Remove from oven and immediately brush the tops with extra melted butter or honey. Let cool in the pan for 10 minutes before serving.
Notes
Soft, pillowy gluten-free dinner rolls sweetened with honey. An easy, from-scratch recipe that’s a crowd-pleaser for any meal.
- Prep Time: 30 minutes
- Cook Time: 25 minutes
- Category: Side Dish
- Cuisine: American
Nutrition
- Serving Size: 12 rolls
- Calories: 210 kcal
- Sugar: 10 g
- Fat: 8 g
- Carbohydrates: 32 g
- Fiber: 3 g
- Protein: 5 g
- 2 ¼ teaspoons (1 packet) active dry yeast
- 1 cup warm whole milk (about 110°F)
- ⅓ cup honey, plus more for drizzling
- ⅓ cup unsalted butter, melted and slightly cooled
- 2 large eggs, at room temperature
- 3 ½ cups high-quality gluten-free all-purpose flour blend (like Bob’s Red Mill 1-to-1 or King Arthur Measure for Measure)
- 1 teaspoon fine sea salt
- Non-stick cooking spray or extra butter for greasing
Step-by-Step Instructions
Don’t be intimidated! Making yeast bread is a rewarding process. Just follow these simple steps.
- Activate the Yeast: In the bowl of a stand mixer, whisk together the warm milk, honey, and yeast. Let it sit for about 5-7 minutes until it becomes foamy. This is how you know your yeast is alive and ready to work its magic.
- Combine Wet Ingredients: Add the melted butter and eggs to the yeast mixture. Use the paddle attachment to mix on low until everything is just combined.
- Add Dry Ingredients: In a separate bowl, whisk together the gluten-free flour and salt. With the mixer on low, gradually add the flour mixture to the wet ingredients until a soft, sticky dough forms. It will be more like a very thick batter than a traditional bread dough—that’s normal!
- First Rise: Scrape down the sides of the bowl, cover it with a clean kitchen towel, and place it in a warm, draft-free spot. Let the dough rise for 1 to 1 ½ hours, until it has nearly doubled in size.
- Shape the Rolls: Punch the dough down. Generously grease a 9×13 inch baking dish. Using a greased scoop or your oiled hands, portion the dough into 12 equal pieces. Roll each piece into a rough ball and place it in the prepared pan. They don’t need to be perfect!
- Second Rise: Cover the pan with the towel again and let the shaped rolls rise for another 30-45 minutes. They should look puffy.
- Bake: While the rolls are rising, preheat your oven to 350°F (175°C). Bake the rolls for 20-25 minutes, or until the tops are golden brown and sound hollow when tapped.
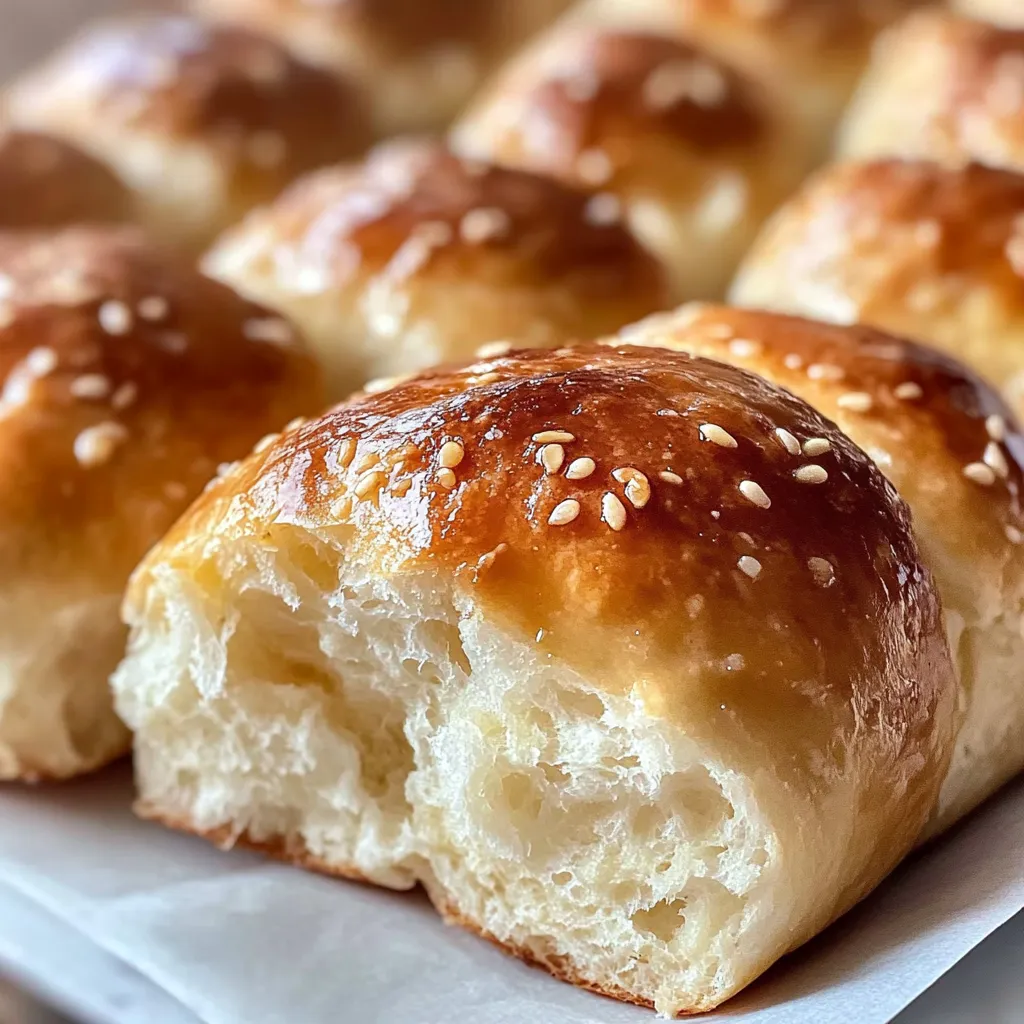
- Finish: Remove the rolls from the oven and immediately brush the tops with a little extra melted butter or a drizzle of honey for extra shine and flavor. Let them cool in the pan for at least 10 minutes before serving.
Essential Equipment You’ll Need
You don’t need a ton of gear, but a few key tools make it easier:
- Stand mixer with a paddle attachment (a large bowl and a strong arm can work, too!)
- 9×13 inch baking dish
- Kitchen scale or measuring cups
- Whisk and spatula
Tips for the Best Gluten-Free Rolls
Gluten-free baking has its quirks, but these tips will guide you to success every time.
- Flour is Key: Not all blends are created equal! Using a reputable brand that’s meant for baking (and includes xanthan gum) is non-negotiable for the right texture. I swear by Bob’s Red Mill 1-to-1 Gluten Free Baking Flour for consistent results.
- Temperature Matters: Ensure your milk is warm, not hot. Too much heat will kill the yeast. It should feel warm to the touch, like a pleasant bath.
- Don’t Over-Bake: Keep a close eye on them toward the end. Gluten-free goods can dry out quickly if over-baked. They’re done when they’re golden and sound hollow.
- Embrace the Stickiness: The dough will be sticky—this is good! Just make sure your hands and tools are well-greased when handling it.
This recipe became a family favorite after I needed a gluten-free option for Thanksgiving that wouldn’t leave anyone feeling left out. The first time I made them, my husband ate three straight from the pan and declared them even better than the “real” thing. That’s a win in my book!
What to Serve With Your Rolls
These versatile rolls are the perfect sidekick to so many meals. Serve them warm with a pat of butter melting into the center. They’re a must-have with a big, cozy bowl of Creamy Tuscan Chicken or a holiday roast. For a simple, satisfying breakfast, split one open, toast it lightly, and slather it with your favorite jam.
Your Gluten-Free Milk Honey Roll Questions, Answered
Can I make these dairy-free as well?
Absolutely! You can easily swap the whole milk for an unsweetened plant-based alternative like almond milk or oat milk. Just make sure it’s warmed to the same temperature. Use a vegan butter substitute for the melted butter, too.
How should I store leftovers?
These rolls are best eaten the day they’re made. To keep them soft, store any leftovers in an airtight container or a resealable plastic bag at room temperature for up to 2 days. You can also freeze them for up to 3 months. Just thaw and warm in the oven before serving.
My dough didn’t rise very much. What happened?
The most common culprit is yeast that’s past its prime or milk that was too hot and killed the yeast. Always check the expiration date on your yeast and use a kitchen thermometer to ensure your milk is between 105-115°F. Also, make sure your rising spot is nice and warm—on top of the preheating oven is a great trick!
Can I use a different sweetener?
You can try maple syrup or agave nectar in place of the honey, though it will slightly alter the flavor profile. I don’t recommend granulated sugar as it doesn’t provide the same moisture.
More Gluten-Free Favorites to Try
If you loved these rolls, you’ve got to explore more gluten-free goodness on the blog. My Incredibly Moist Gluten-Free Banana Bread is a reader favorite for a reason, and these Light & Fluffy Gluten-Free Pancakes will make your weekend mornings shine.
There you have it—a recipe for Fluffy Gluten-Free Milk Honey Rolls that delivers on every promise of softness, flavor, and simplicity. Baking them is a warm, comforting ritual that ends with the best possible reward: a basket full of warm, golden rolls that bring everyone to the table. It’s not just about the food; it’s about the memory you’re making. So go on, preheat that oven and get ready to bake up some joy. I can’t wait for you to try them!