
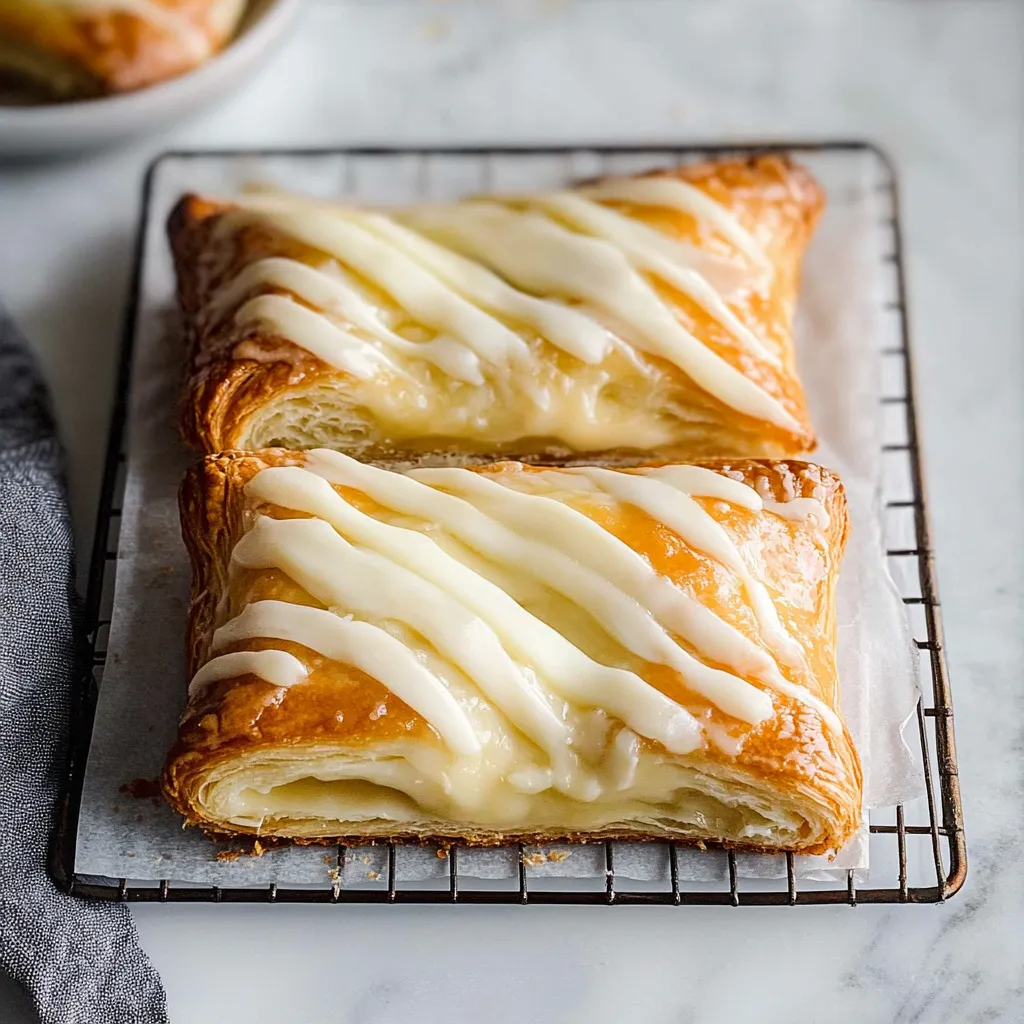
Is there anything better than a warm, flaky pastry with a creamy cheesecake-like center on a lazy weekend morning? I don’t think so. But if you’re avoiding gluten, finding a delicious Danish that doesn’t taste like cardboard can feel like searching for a unicorn. That’s exactly why I set out to create this Easy Gluten-Free Cheese Danish recipe. It’s the answer to your cozy breakfast prayers, combining that irresistible bakery-style flavor with a simple, no-fuss method that even a baking newbie can master. This recipe is all about turning your kitchen into a little slice of pastry-shop heaven, without any of the stress.
Table of Contents
Table of Contents
Why You’ll Love This Gluten-Free Cheese Danish
This recipe is designed for real life. Whether you’re wrangling kids, rushing to a morning meeting, or just craving something special, here’s why this Danish will become your new favorite:
- Incredibly Easy: We’re using gluten-free puff pastry for a huge shortcut. No complicated dough-making required!
- Impressively Delicious: The creamy cheese filling with a hint of lemon is so good, no one will guess it’s gluten-free.
- Quick to Make: From fridge to table in under 30 minutes. Perfect for those “I need pastry now” moments.
- Totally Customizable: Add a dollop of fruit preserves or a sprinkle of cinnamon to make it your own.
Gather Your Ingredients
Here’s what you’ll need to create these flaky masterpieces. The beauty of this recipe is its simplicity .
Print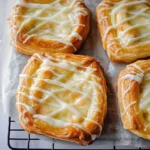
Gluten-Free Cheese Danish Recipe
- Total Time: 28 minutes
- Yield: 4 danishes 1x
Description
Gluten-free cheese danish recipe with easy baking tech Enjoy flaky pastry sweet cream cheese filling Simple techniques for delicious results
Ingredients
- 1 sheet gluten-free puff pastry, thawed
- 4 ounces cream cheese, softened
- 2 tablespoons granulated sugar
- 1/2 teaspoon vanilla extract
- 1 teaspoon fresh lemon juice
- 1 egg, lightly beaten (for egg wash)
- 1 tablespoon powdered sugar (optional, for dusting)
Instructions
- Preheat your oven to 400°F (200°C). Line a baking sheet with parchment paper. Unfold the thawed gluten-free puff pastry sheet onto the prepared pan.
- In a small bowl, beat the softened cream cheese, granulated sugar, vanilla extract, and lemon juice together until the mixture is smooth and creamy.
- Cut the pastry sheet into 4 equal squares. Spoon a generous tablespoon of the cream cheese mixture into the center of each square. Fold two opposite corners of each square into the center, pressing down lightly to seal. Brush the tops with the beaten egg wash.
- Bake for 15-18 minutes, or until the pastries are puffed up and a deep golden brown. Let them cool on the baking sheet for a few minutes before dusting with powdered sugar.
Notes
A simple and delicious recipe for homemade gluten-free cheese danishes, featuring a flaky puff pastry and a creamy, sweet cheese filling. Ready in under 30 minutes!
- Prep Time: 10 minutes
- Cook Time: 18 minutes
- Category: Breakfast
- Cuisine: Danish
Nutrition
- Serving Size: 4 danishes
- Calories: 320 kcal
- Sugar: 12 g
- Fat: 22 g
- Carbohydrates: 28 g
- Fiber: 1 g
- Protein: 6 g
- 1 sheet gluten-free puff pastry, thawed (like Pepperidge Farm or Wewalka)
- 4 oz cream cheese, softened
- 2 tablespoons granulated sugar
- 1/2 teaspoon vanilla extract
- 1 teaspoon fresh lemon juice
- 1 egg, lightly beaten (for egg wash)
- 1 tablespoon powdered sugar, for dusting (optional)
The key to a great gluten-free puff pastry is handling it gently. If it cracks, just press it back together—it’s very forgiving! For more tips on working with gluten-free doughs, check out our guide on essential gluten-free baking tips.
How to Make Your Easy Gluten-Free Cheese Danish
Follow these simple steps, and you’ll be enjoying a warm, homemade Danish in no time. It’s almost magical how quickly it comes together.
Step 1: Prep the Pastry and Oven
Preheat your oven to 400°F (200°C). Line a baking sheet with parchment paper. Unfold the thawed gluten-free puff pastry sheet onto the prepared pan. If it’s a bit stiff, let it sit for 5-10 minutes to become more pliable.
Step 2: Make the Dreamy Filling
In a small bowl, beat the softened cream cheese, granulated sugar, vanilla extract, and lemon juice together until the mixture is smooth and creamy. This is the heart of the Danish, and that little bit of lemon brightens everything up perfectly.
Step 3: Assemble the Danishes
Cut the pastry sheet into 4 equal squares. Spoon a generous tablespoon of the cream cheese mixture into the center of each square. Fold two opposite corners of each square into the center, pressing down lightly to seal them over the filling. They’ll look like cute little pasty packages. Brush the tops with the beaten egg wash—this is the secret to that beautiful, golden-brown shine.
Step 4: Bake to Perfection
Bake for 15-18 minutes, or until the pastries are puffed up and a deep golden brown. Your kitchen will smell absolutely incredible. Let them cool on the baking sheet for a few minutes before dusting with powdered sugar.
My Favorite Tips for Success
I’ve made these more times than I can count, and here are my best tips to guarantee Danish perfection every single time:
- Don’t Overfill: It’s tempting to add more cheese, but too much filling can leak out during baking. A heaping tablespoon is just right.
- Thaw Properly: Let the pastry thaw in the fridge overnight or on the counter for about 45 minutes. If it’s too cold, it will crack; if it’s too warm, it will be sticky.
- Get Creative: Before folding, add a teaspoon of your favorite jam (raspberry is a winner) on top of the cheese filling. It’s a game-changer!
I first perfected this recipe for a family brunch when my niece, who has celiac disease, was visiting. Seeing her face light up when she realized she could have a “real” pastry was worth every second. It’s a reminder that food is about connection and joy.
The Best Ways to Serve Your Danish
These pastries are fantastic on their own with a cup of coffee, but they can also be the star of a bigger spread. Serve them alongside fresh fruit, crispy bacon, or a simple green salad for a lovely brunch. If you’re looking for other brunch ideas that are equally simple and satisfying, my easy crustless quiche is a reader favorite.
Storing and Reheating Your Leftovers
These Danishes are best enjoyed the day they’re made, but if you have leftovers (a rare occurrence in my house!), store them in an airtight container in the fridge for up to 2 days. To reheat, pop them in a 350°F oven for 5-7 minutes to bring back that flaky texture. I don’t recommend freezing them after baking, as the pastry can lose its wonderful flakiness.
For more detailed information on the science of gluten-free flours and how they behave, the Beyond Celiac organization is a fantastic resource.
Your Gluten-Free Cheese Danish Questions, Answered
Can I make these dairy-free as well?
Absolutely! You can use your favorite dairy-free cream cheese and a vegan puff pastry to make this recipe completely dairy-free. The results are just as delicious.
Can I prepare these the night before?
You can! Assemble the Danishes up to the point of baking, cover the baking sheet tightly with plastic wrap, and refrigerate overnight. In the morning, just brush with the egg wash and bake. You might need to add a minute or two to the baking time since they’ll be going into the oven cold.
What’s the best brand of gluten-free puff pastry?
I’ve had great success with both Wewalka and Pepperidge Farm’s gluten-free puff pastry. They’re both widely available in the refrigerated section of many grocery stores and bake up beautifully flaky.
My filling leaked out a little. What did I do wrong?
Don’t worry, this happens to the best of us! It usually means the pastry wasn’t sealed quite tightly enough or the filling was slightly overfilled. It might not look perfect, but I promise it will still taste incredible. It’s all part of the homemade charm!
There you have it—your ticket to enjoying a warm, flaky, bakery-style treat anytime the craving strikes. This Easy Gluten-Free Cheese Danish recipe proves that eating gluten-free doesn’t mean sacrificing flavor or fun. It’s a simple joy, a little act of self-care that starts your day off right. I hope this recipe brings as much happiness to your table as it does to mine. Happy baking!