Hey there, Emma here from bestdisheasy.com! If you’re anything like me, you’re always on the lookout for a delicious meal that pleases everyone. Well, I’ve got a treat for you today: the best Gluten-Free Fried Chicken recipe you’ll ever try! It’s perfectly crispy on the outside, juicy on the inside, and so easy to make, it’ll become a staple in your kitchen. Whether you’re dealing with dietary restrictions or simply want a lighter take on a classic, this recipe is a winner.
Why You’ll Love This Gluten-Free Fried Chicken
- It’s Gluten-Free: Perfect for those with gluten sensitivities or anyone wanting to reduce gluten intake.
- Seriously Crispy: We’re talking golden-brown, wonderfully textured deliciousness with every bite.
- Easy to Make: Don’t let the thought of fried chicken scare you! This recipe is straightforward, with clear instructions.
- Family-Friendly: Gets a big thumbs-up from kids and adults alike—a guaranteed crowd-pleaser.
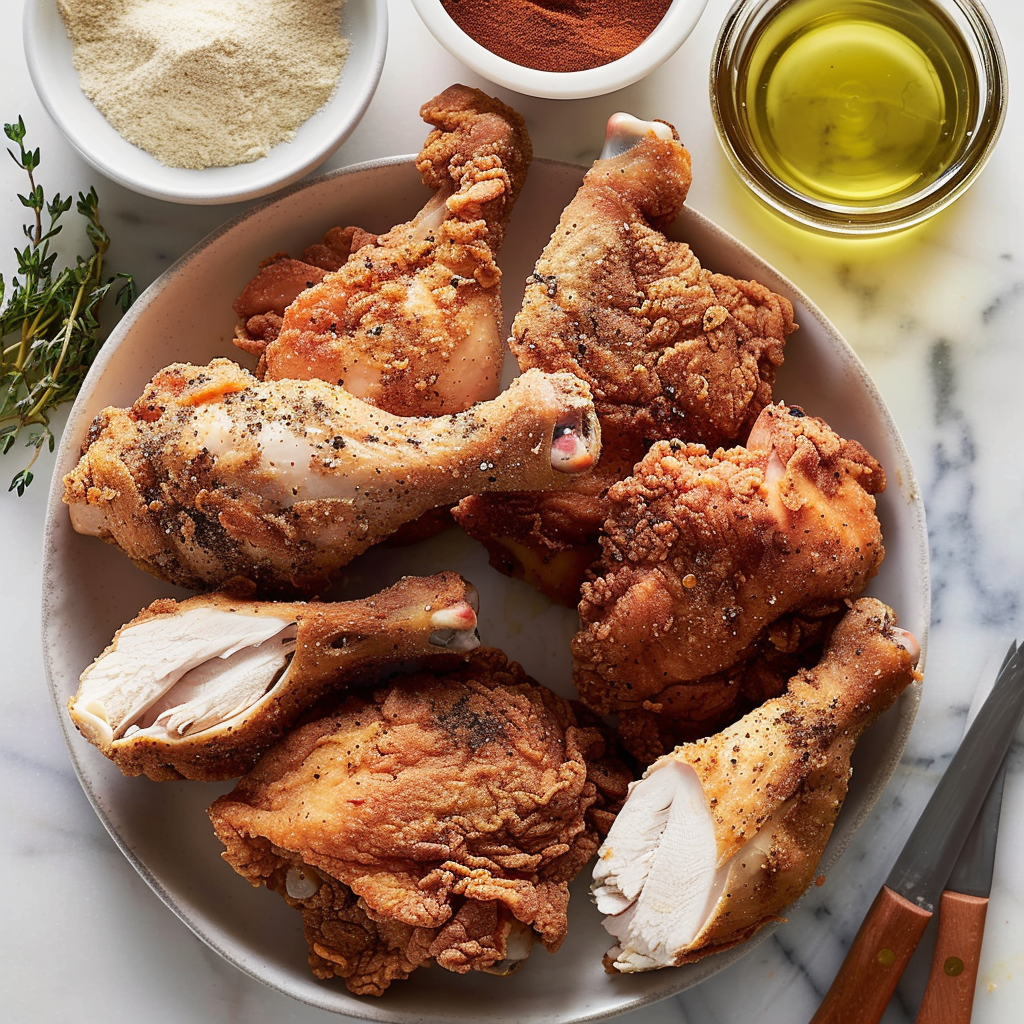
Ingredients
Here’s what you’ll need to make this incredible Gluten-Free Fried Chicken:
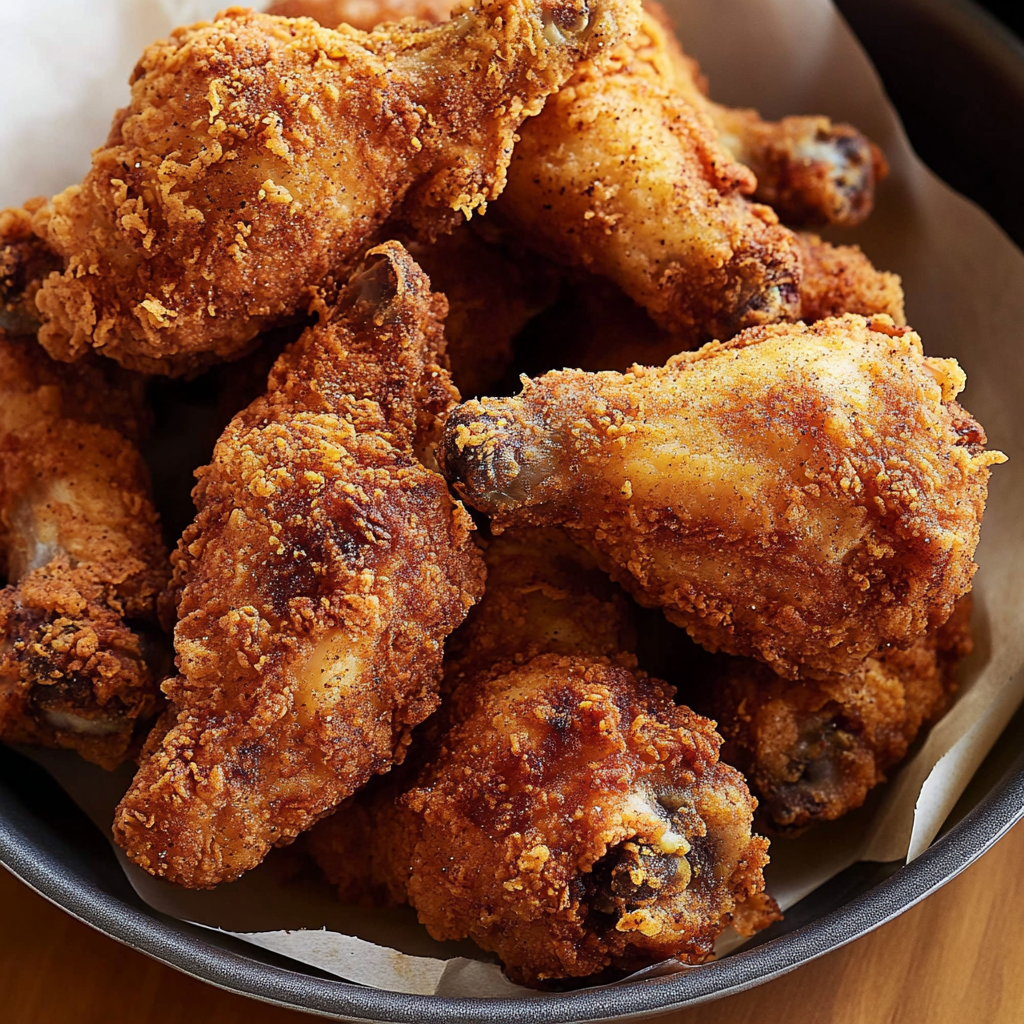
PrintCrispy, Golden Gluten-Free Fried Chicken

A tender, gluten-free fried chicken recipe with a satisfying golden crust. Perfectly crispy on the outside and juicy on the inside, this easy-to-make dish is a family favorite that’s ideal for gatherings or weeknight meals.
- Prep Time: 20
- Cook Time: 30
- Total Time: 50
- Yield: 12 pieces 1x
- Category: Gluten-Free
- Method: Frying
- Cuisine: American
- Diet: Gluten-Free
Ingredients
6 chicken thighs
6 chicken drumsticks
3 cups milk (dairy-free acceptable: unsweetened almond, cashew, or coconut milk)
3 tablespoons white vinegar
2 teaspoons salt
1 teaspoon pepper
2 cups all-purpose gluten-free flour
1 cup cornstarch
1 tablespoon onion powder
1 tablespoon garlic powder
2 teaspoons salt
1 tablespoon paprika
1 tablespoon dried thyme
1 tablespoon dried oregano
1 tablespoon dried basil
4 cups vegetable oil (peanut oil recommended)
Instructions
In a large bowl, whisk milk, vinegar, 2 teaspoons salt, and 1 teaspoon pepper. Add chicken pieces, cover, and refrigerate for at least 2 hours (up to overnight).
In a resealable bag or shallow dish, combine gluten-free flour, cornstarch, onion powder, garlic powder, remaining 2 teaspoons salt, paprika, thyme, oregano, and basil.
Heat oil in a 10-inch skillet to 350°F (test with a bit of flour mixture: it should sizzle but not smoke).
Working in batches, coat chicken in the flour mixture, shaking off excess. Fry until golden and cooked through (about 8-10 minutes per side). Transfer to a wire rack to drain.
Serve warm with optional dipping sauce or a simple side salad.
Notes
For best results, remove chicken from marinade and pat dry before dredging in the flour mixture.
Use a candy thermometer to monitor oil temperature for consistent frying.
Leftovers can be stored in an airtight container in the refrigerator for up to 3 days.
Nutrition
- Serving Size: 1 piece
- Calories: 280
- Sugar: 1g
- Sodium: 600mg
- Fat: 14g
- Saturated Fat: 2g
- Carbohydrates: 15g
- Fiber: 1g
- Protein: 22g
- Cholesterol: 75mg
Buttermilk Marinade
- 6 chicken thighs
- 6 chicken drumsticks
- 3 cups milk, dairy-free use unsweetened almond milk, cashew or coconut milk
- 3 tablespoons white vinegar
- 2 teaspoons salt
- 1 teaspoon pepper
Dredging Mixture
- 2 cups all-purpose gluten-free flour
- 1 cup cornstarch
- 1 tablespoon onion powder
- 1 tablespoon garlic powder
- 2 teaspoons salt
- 1 tablespoon paprika
- 1 tablespoon dried thyme
- 1 tablespoon dried oregano
- 1 tablespoon dried basil
- 4 cup vegetable oil for frying, I like peanut oil
Step-by-Step Instructions
- Marinate the Chicken: In a large mixing bowl, whisk together milk, white vinegar, salt, and pepper. Add in chicken pieces. Cover the bowl with plastic wrap and refrigerate for at least 2 hours. It is best to allow the chicken to marinate overnight if you can. This is what makes it so tender and full of flavor. If you’re short on time, even 30 minutes can make a difference.
- Prepare the Breading: Combine the gluten-free flour, cornstarch, onion powder, garlic powder, salt, paprika, thyme, oregano, and basil in a gallon-sized resealable plastic bag. Seal the bag and shake to combine the ingredients. Alternatively, combine the ingredients in a shallow dish for easy breading.
- Heat the Oil: Heat the vegetable oil in a 10-inch cast iron skillet (or a large skillet) on medium heat, until 350°F. If you don’t have a thermometer, you can test the oil by sprinkling a tiny bit of the flour mixture into the oil. It should sizzle immediately but not smoke.
- Coat the Chicken: Working one piece at a time, remove a chicken piece from the buttermilk mixture and place it in the bag with the gluten-free flour mixture. Seal the plastic bag completely and shake the bag to coat the chicken piece with the flour mixture. Place the coated chicken piece on a baking sheet. Repeat the steps until all the chicken pieces are coated.
- Fry the Chicken: Fry 3 or 4 pieces at a time (do not overcrowd the pan). Place the breaded chicken skin side down first into the 350°F oil. Watch the temperature of the oil, as the chicken causes the oil temperature to drop. Adjust your heat as needed to keep the chicken gently cooking. Fry each piece for 15-18 minutes, turning each piece over using tongs about every 2 minutes, until the chicken is fully cooked, golden brown, and reaches an internal temperature of 165°F. Trust me, it’s worth the wait!
- Rest and Serve: Remove the chicken pieces from the oil with tongs and place them on a cooling rack or paper towel-lined baking sheet. Let the fried chicken rest for at least 10 minutes before serving. This allows the internal temperature to distribute evenly and keeps it juicy.
Equipment
- Large mixing bowl
- Measuring cups and spoons
- Gallon-sized resealable plastic bag or shallow dish
- 10-inch cast iron skillet or large skillet
- Tongs
- Thermometer (optional, but highly recommended)
- Cooling rack or paper towel-lined baking sheet
Tips & Variations
Customize Your Spices: Feel free to adjust the spice levels to your liking. Add a pinch of cayenne pepper for some heat, or experiment with different herbs for unique flavors!
Oil Temperature: Keeping the oil at the right temperature is key for perfectly cooked chicken. Use a thermometer to monitor the temperature. If the oil is too hot, the outside will burn before the inside is cooked. If it’s too cold, the chicken will be greasy.
Storage: Store completely cooled leftovers in an air-tight container and refrigerate for up to 3 days. Reheat chicken in the microwave or on a baking sheet at 350°F for 15-20 minutes until the chicken is heated through. It’s great paired with creamy coleslaw.
Serving Suggestions
Serve this Gluten-Free Fried Chicken with all your favorite sides! Try classic dishes like mashed potatoes, coleslaw , or a fresh green salad. You can also pair it with some homemade buttermilk biscuits for a complete meal. For a fun presentation, serve the chicken on a platter with some fresh herbs or lemon wedges.
Nutrition Facts
Nutritional information is approximate and can vary depending on the specific ingredients used.
Conclusion
So there you have it – a fantastic, easy, and absolutely delicious Gluten-Free Fried Chicken Recipe! I hope you give this recipe a try and that it becomes a favorite in your home, just like it is in mine. Cooking these kinds of meals always brings a sense of comfort and joy. What are you waiting for? Time to get cooking, and remember: Don’t be afraid to experiment and have fun with it!
FAQ
Can I use a different type of flour?
Yes! While I recommend a good-quality gluten-free all-purpose flour for the best results, you can also experiment with other gluten-free flours like rice flour or a blend. The texture might vary slightly, but it will still be delicious.
How should I store leftovers?
Allow the fried chicken to cool completely before storing it in an airtight container in the refrigerator. It will keep well for up to 3 days.
Can I make this recipe in advance?
You can prepare the chicken and let it marinate in the buttermilk mixture overnight in the refrigerator. When you’re ready to cook, just proceed with the breading and frying steps. Otherwise, you can bread the chicken and refrigerate it before cooking it.
What’s the best oil to use for frying?
I recommend using vegetable oil, like peanut oil, as it has a high smoke point and a neutral flavor, which makes it perfect for frying. However, other oils that would work are canola or sunflower oil.