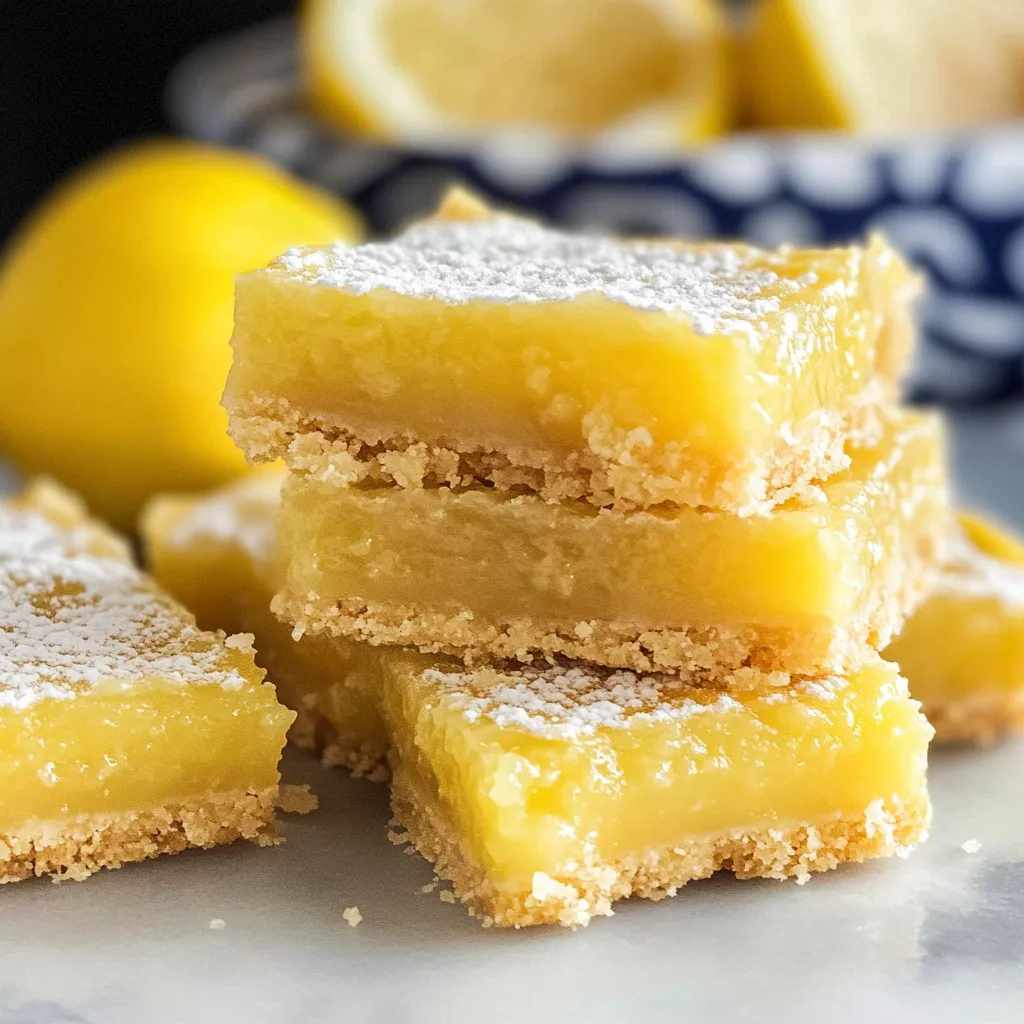
Is there anything better than a dessert that’s both sunshiney bright and blissfully easy to make? I don’t think so! These Gluten Free Lemon Bars are my absolute go-to when I need a quick, impressive treat that everyone can enjoy. With a buttery shortbread crust and a tangy-sweet lemon filling, they’re a total crowd-pleaser. They’re the kind of dessert that makes you feel like a superstar baker without any of the stress. Perfect for potlucks, family gatherings, or just because it’s Tuesday and you deserve something sweet.
Table of Contents
Table of Contents
Why You’ll Love These Gluten Free Lemon Bars
If you need a little more convincing (though I doubt you will after one bite!), here’s why this recipe is a must-try:
- No-Fuss & Quick: The simple crust comes together in minutes and the filling is a simple mix-and-pour situation.
- Incredibly Fresh Flavor: That burst of citrus is like a little ray of sunshine on a plate.
- Naturally Gluten-Free: Made with almond and coconut flours, they’re a safe and delicious option for anyone avoiding gluten.
- Perfect for Any Occasion: Whether it’s a fancy tea party or a casual weeknight, these bars fit right in.
Ingredients
Let’s gather our simple, wholesome ingredients. You probably have most of these in your pantry already :
Print
Gluten Free Lemon Bars
- Total Time: 3 hours 50 minutes
- Yield: 12 bars 1x
Description
Gluten-free lemon bars recipe: zesty, easy & irresistible. Simple ingredients, perfect for any occasion. Quick prep, delicious results.
Ingredients
Instructions
Notes
A simple and delicious recipe for gluten-free lemon bars with a buttery shortbread crust and a tangy-sweet lemon filling. Perfect for any occasion.
- Prep Time: 15 minutes
- Cook Time: 35 minutes
- Category: Dessert
- Cuisine: American
Nutrition
- Serving Size: 12 bars
- Calories: 210 kcal
- Sugar: 16 g
- Fat: 13 g
- Carbohydrates: 20 g
- Fiber: 2 g
- Protein: 5 g
For the Crust:
- 1 ½ cups almond flour
- ¼ cup coconut flour
- ⅓ cup coconut sugar (or granulated sugar)
- ¼ tsp salt
- ⅓ cup melted coconut oil (or butter)
- 1 tsp vanilla extract
For the Lemon Filling:
- 3 large eggs
- ⅔ cup fresh lemon juice (about 3-4 lemons)
- ¾ cup granulated sugar
- Zest of 2 lemons
- 3 Tbsp gluten-free all-purpose flour (or cornstarch)
- Powdered sugar, for dusting
Step-by-Step Instructions
Don’t let the fancy look fool you—making these bars is a breeze! Here’s how to bring this sunny dessert to life.
- Preheat your oven to 350°F (175°C). Line an 8×8 inch baking pan with parchment paper, leaving some overhang on the sides for easy removal later. This little trick is a lifesaver!
- In a medium bowl, whisk together the almond flour, coconut flour, coconut sugar, and salt for the crust. Add the melted coconut oil and vanilla extract. Mix until a crumbly dough forms.
- Press this dough firmly and evenly into the bottom of your prepared pan. I like to use the bottom of a measuring cup to get it really packed down. Bake for 12-15 minutes, or until the edges are just starting to turn golden.
- While the crust is baking, whisk together all the filling ingredients—eggs, lemon juice, sugar, lemon zest, and flour—in a large bowl until the mixture is completely smooth and well-combined.
- Once the crust is out of the oven, carefully pour the lemon filling over the hot crust. Return the pan to the oven and bake for another 18 the lemon bars cool completely in the pan on a wire rack. This is the hardest part—waiting! Once cool, transfer the pan to the refrigerator to chill for at least 2 hours, or preferably overnight. This helps them set perfectly for clean slicing.
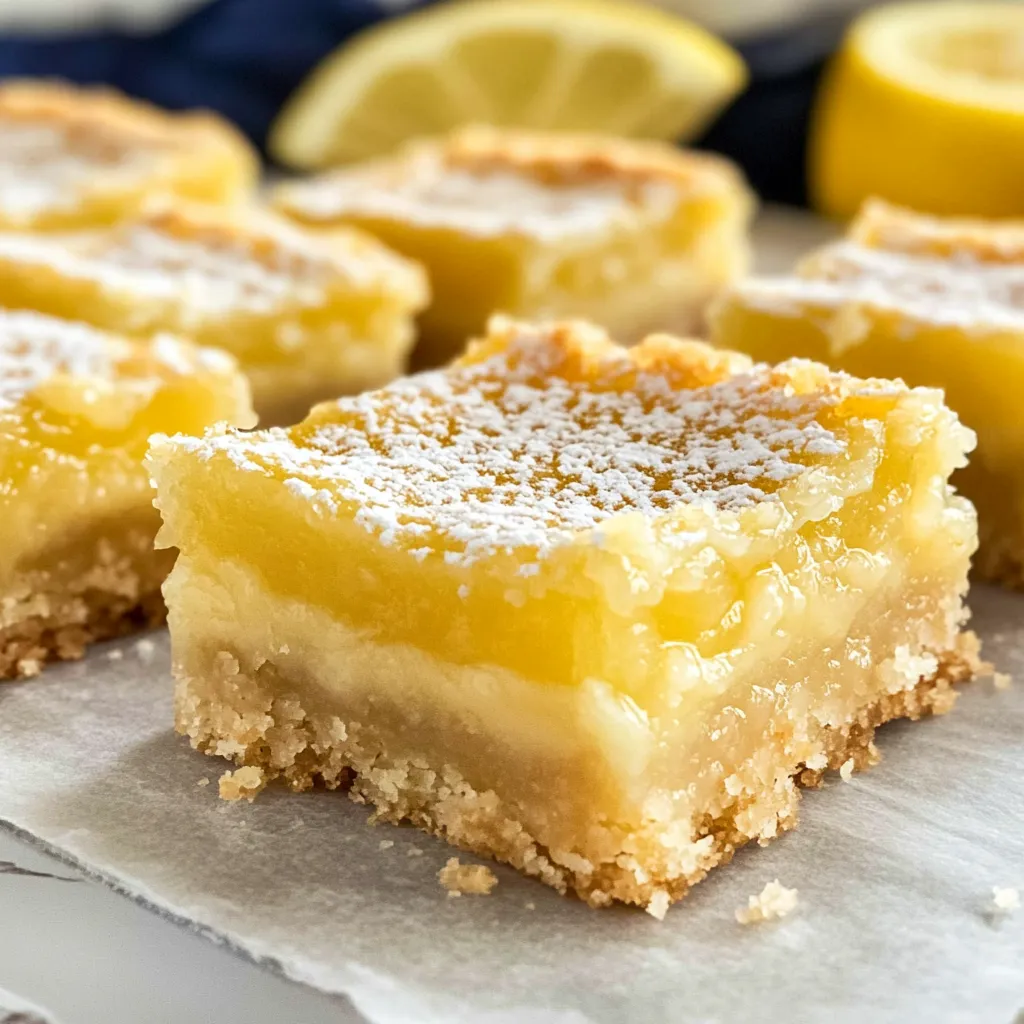
- Use the parchment paper overhang to lift the entire block of bars out of the pan. Place it on a cutting board, dust generously with powdered sugar, and slice into squares.
Equipment You’ll Need
You don’t need any fancy gear for this one! Just a few basics:
- 8×8 inch baking pan
- Parchment paper
- Mixing bowls
- Whisk
- Measuring cups and spoons
- Zester and juicer (for those fresh lemons!)
Tips & Variations
Here are a few of my favorite tricks to make these bars your own:
- For a smoother filling, you can strain the lemon mixture through a fine-mesh sieve to remove any bits of zest or egg, though I love the little specks of zest!
- Short on time? While chilling is best, you can pop the pan in the freezer for about 45 minutes to speed up the process in a pinch.
- Make it a Lime Bar! Swap the lemon juice and zest for lime to create a delicious tropical twist.
- Don’t overbake the filling. It will continue to set as it cools. You want it just set without being wobbly in the middle.
Serving Suggestions
These bars are fantastic all on their own, but a little extra flair never hurt anybody! I love serving them with a dollop of whipped coconut cream and a few fresh raspberries on the side. They’re also the perfect sweet ending to a summer BBQ or a light lunch, like this Gluten Free Quinoa Salad. For another great gluten-free dessert option, you have to try my Decadent Flourless Chocolate Cake.
Nutrition Facts
The following nutrition information is approximate and calculated using an online calculator.
Per serving (1 bar): Calories: 210kcal | Carbohydrates: 20g | Protein: 5g | Fat: 13g | Saturated Fat: 6g | Cholesterol: 47mg | Sodium: 60mg | Fiber: 2g | Sugar: 16g
And just like that, you’ve created a dessert that’s guaranteed to bring smiles. These Gluten Free Lemon Bars are proof that eating gluten-free doesn’t mean missing out on classic, beloved treats. They’re the perfect balance of sweet, tangy, and downright delicious. I’d love to hear how yours turned out—tag me on social media so I can see your beautiful creations!
Frequently Asked Questions
Can I make these lemon bars dairy-free?
Absolutely! This recipe is naturally dairy-free if you use coconut oil instead of butter in the crust. The filling is already dairy-free, so no substitutions are needed there.
How should I store leftover lemon bars?
Store any leftovers in an airtight container in the refrigerator for up to 5 days. The powdered sugar will slowly dissolve into the bars, so you may want to give them a fresh dusting right before serving again.
Can I freeze gluten free lemon bars?
Yes, they freeze beautifully! Place the cooled and cut bars in a single layer on a parchment-lined baking sheet and freeze until solid. Then, transfer them to a freezer-safe bag or container. They’ll keep for up to 3 months. Thaw in the refrigerator overnight before serving.
My filling didn’t set. What happened?
This usually means it needed a bit more time in the oven. The filling should not jiggle loosely when you shake the pan; it should be more of a unified, firm jiggle. If you underbake, just pop them back in for a few more minutes. Also, make sure you’re using the correct amount of flour or cornstarch, as this is the thickening agent. For more on the science of thickening agents, Serious Eats has a great guide.