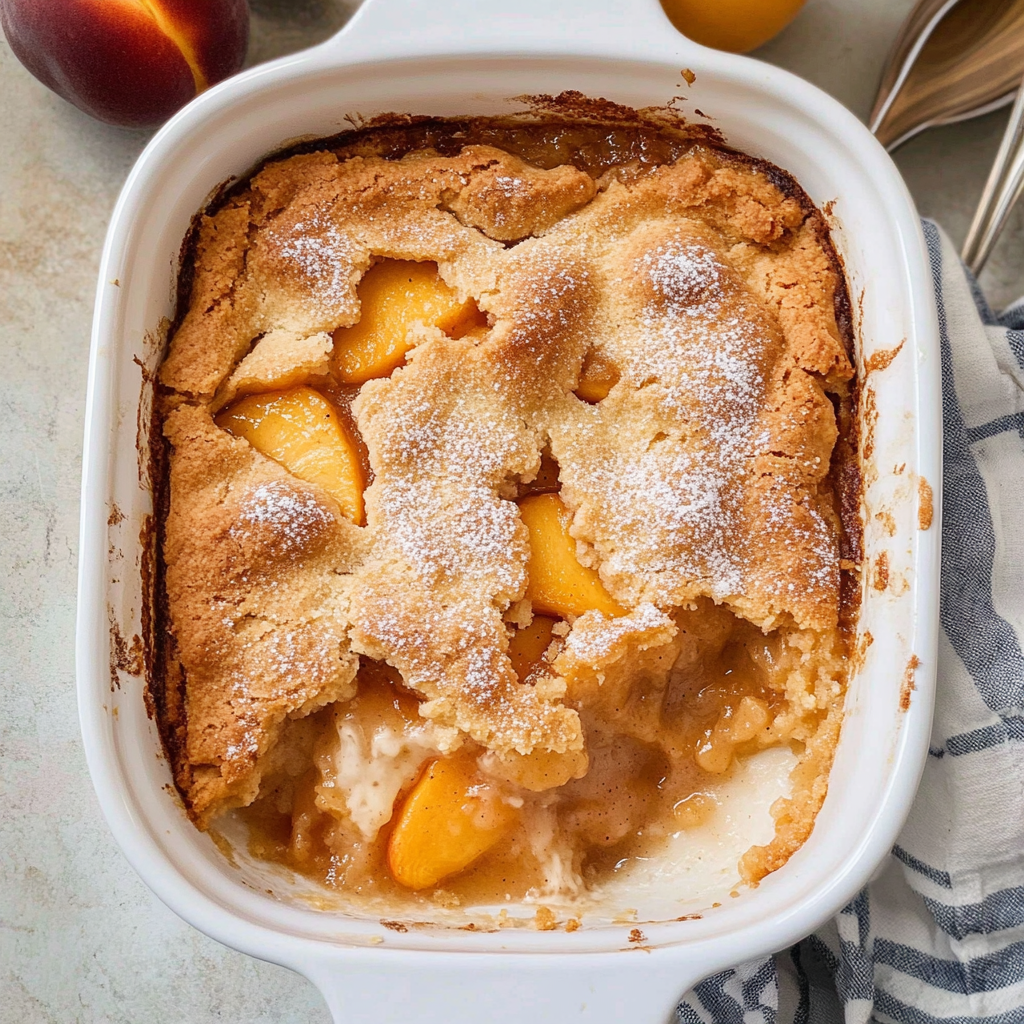
There’s something magical about the smell of peaches and butter baking together that just feels like home. This gluten free peach cobbler has become my summer staple – the kind of dessert that makes everyone gather around the kitchen, spoons at the ready. Whether you’re hosting a backyard barbecue or just need a little comfort on a Tuesday night, this recipe is your new best friend.
Why Your Family Will Fall in Love With This Cobbler
- No fancy ingredients needed – uses pantry staples you probably already have
- Perfect for summer’s juicy peaches but works with frozen too
- Naturally gluten-free without tasting like it’s “missing” anything
- One-bowl wonder that comes together in minutes
The Simple Ingredients That Make Magic Happen
For the Cobbler Crust
- 1 stick unsalted butter
- 2 cups gluten-free all-purpose flour
- 1 tablespoon fresh baking powder
- ½ teaspoon salt
- 1 ¾ cups granulated sugar
- 2 cups milk of choice
For the Cobbler Filling
- 3-4 cups sliced peaches
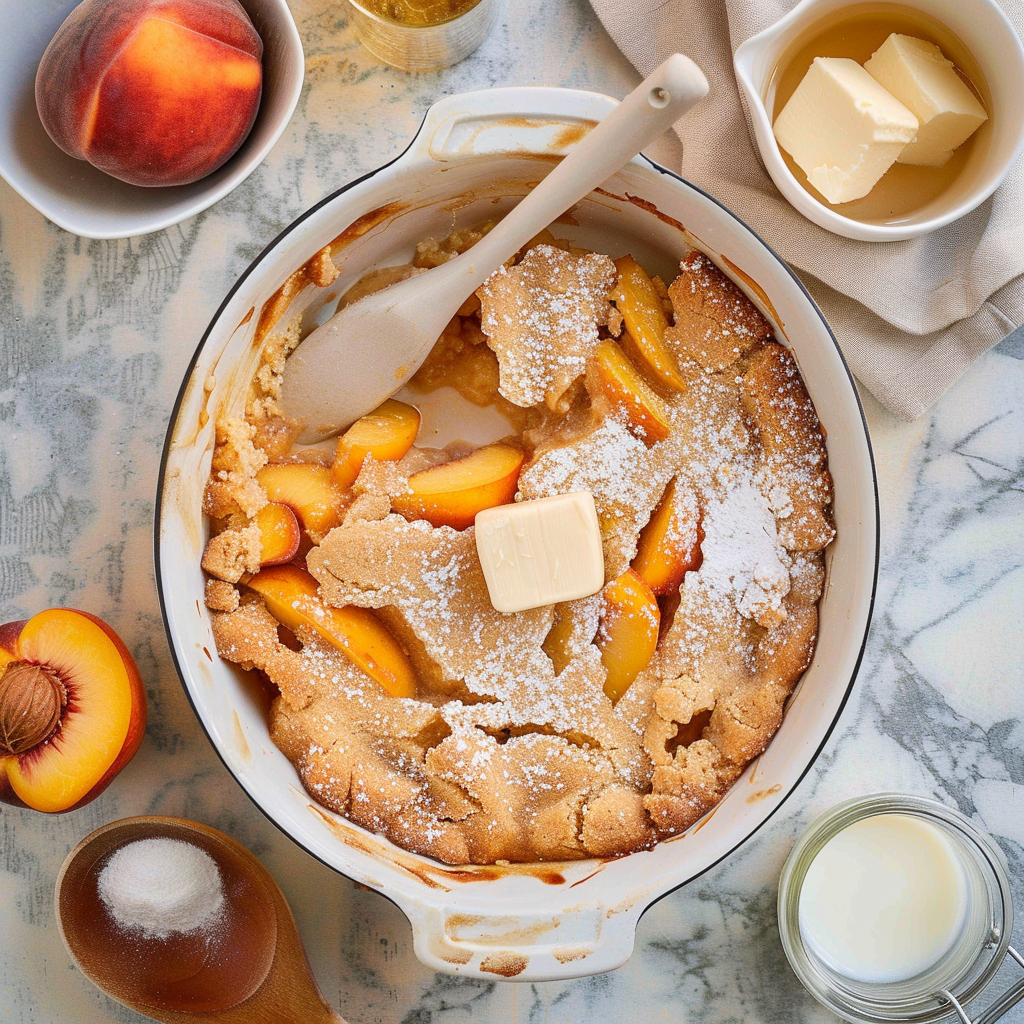
- 1 stick unsalted butter, cut into small pieces
- ¼ cup granulated sugar
Let’s Make Some Cobbler Magic
- Preheat your oven to 350°F. Place 1 stick of butter in your baking dish and pop it in the oven for about 5 minutes while it preheats – the butter will melt perfectly.
- While that’s working, whisk together your gluten-free flour, baking powder, salt, and sugar in a large bowl. Slowly add the milk, whisking until you have a smooth batter without any lumps.
- Carefully pull the hot baking dish from the oven (remember that handle is hot!) and pour your batter right over the melted butter. Don’t stir – trust me on this.
- Arrange your peach slices evenly over the batter, gently pressing them in. Scatter the butter pieces over the peaches, then sprinkle with that final ¼ cup of sugar.
- Bake for about 25 minutes until the crust is golden and your kitchen smells like heaven. Let it rest for 30 minutes – I know it’s hard to wait, but it’s worth it!
The Tools You’ll Need
- 9×13 inch baking dish
- Large mixing bowl
- Whisk
- Measuring cups and spoons
My Secret Tips for Cobbler Perfection
I learned the hard way that using fresh baking powder makes all the difference in gluten-free baking. And don’t panic if your batter seems thin – it’s supposed to be that way! The peaches will sink into it beautifully as it bakes. If you’re using frozen peaches, just pat them dry with a paper towel first to avoid a soggy bottom.
This recipe reminds me of the first time I made it for my book club – they swore they’d never believe it was gluten-free. Now it’s my most requested dessert whenever peaches are in season!
What to Serve With Your Cobbler
While this gluten free peach cobbler is fantastic on its own, a scoop of vanilla ice cream turns it into pure magic. For a lighter option, try it with a dollop of whipped cream or even some Greek yogurt. It pairs beautifully with my grilled lemon herb chicken for a complete summer meal.
Nutrition Information
Per serving: Approximately 320 calories, 12g fat, 52g carbohydrates, 3g protein. Remember that nutritional values can vary based on your specific ingredients.
Your Gluten Free Peach Cobbler Questions Answered
Can I use frozen peaches?
Absolutely! Just thaw and pat them dry first to prevent extra moisture.
What’s the best gluten-free flour to use?
I’ve had great results with King Arthur’s gluten-free flour blend, but any all-purpose gluten-free mix should work.
How long does this keep?
Covered at room temperature for 2 days, or refrigerated for up to 5 days. It reheats beautifully!
Can I make this dairy-free?
Yes! Use plant-based butter and your favorite non-dairy milk. The results are just as delicious.
More Summer Desserts You’ll Love
If you enjoyed this gluten free peach cobbler, you might want to try my gluten-free berry crisp or these easy no-bake lemon bars for your next gathering.
There you have it – a gluten free peach cobbler that’s as easy to make as it is delicious to eat. The first time I brought this to a potluck, three people asked for the recipe before dessert was even served. I have a feeling this might become your secret weapon too. Happy baking!