Is there anything more comforting than a steaming plate of soft, pillowy perogies? For years, I thought my gluten-free kitchen would have to go without this classic comfort food. Those store-bought gluten-free versions just never hit the spot—they were either too gummy or fell apart in the pot. But after plenty of experimentation (and a few delicious mishaps), I’ve perfected a homemade gluten free perogie recipe that’s a total game-changer. This dish brings all the cozy, carb-y goodness you crave, perfect for a quiet family dinner or a fun weekend cooking project.
Table of Contents
Table of Contents
Why You’ll Fall in Love With These Gluten Free Perogies
- Dreamy, Pillowy Dough: Forget everything you know about finicky gluten-free dough. This one is surprisingly easy to work with and boils up soft and tender.
- Surprisingly Simple: Don’t be intimidated! Making perogies from scratch is easier than you think, and it’s a fantastic activity to get the whole family involved in.
- Completely Customizable: Fill them with classic mashed potatoes and cheese, or get creative with your favorite ingredients. The possibilities are endless!
- Freezer-Friendly Goldmine: Make a big batch and freeze them for a future easy weeknight meal. It’s like having a secret stash of homemade comfort food ready to go.
Gathering Your Ingredients
Let’s talk about what you’ll need to create this magic. The beauty of this dough is in a simple, balanced blend of gluten-free flours. For the filling, I’m sharing the classic potato and cheddar version, but feel free to dream up your own creations :
Print
Gluten Free Perogies
- Total Time: 1 hour 45 minutes
- Yield: 24 perogies 1x
Description
Learn to make Gluten Free Perogies from scratch. Our recipe & folding tech yields warm, cozy comfort food perfect for any dietary needs
Ingredients
- 2 cups (280g) gluten-free all-purpose flour blend
- 1/2 teaspoon salt
- 1 large egg
- 1/2 cup (120g) sour cream, at room temperature
- 4 tablespoons (56g) unsalted butter, melted and slightly cooled
- 2–4 tablespoons warm water, as needed
- 2 medium russet potatoes, peeled and cubed
- 1 cup shredded sharp cheddar cheese
- 2 tablespoons sour cream
- 2 tablespoons unsalted butter
- 1/4 teaspoon garlic powder
- Salt and black pepper to taste
Instructions
- Make the Filling: Boil the potatoes in salted water until fork-tender, about 15-20 minutes. Drain and mash with the butter, sour cream, cheddar cheese, garlic powder, salt, and pepper. Let the filling cool completely.
- Prepare the Dough: Whisk together the gluten-free flour and salt. In a separate bowl, whisk the egg, then stir in the sour cream and melted butter. Pour wet ingredients into dry and mix until a shaggy dough forms. If dry, add warm water one tablespoon at a time.
- Knead and Rest: Turn dough onto a floured surface and knead for 1-2 minutes until smooth. Wrap in plastic and let rest for 30 minutes.
- Roll and Cut: Divide dough in half. Roll one half out to 1/8-inch thickness. Use a 3-inch round cutter to cut out circles.
- Fill and Seal: Place 1-2 teaspoons of cooled filling in the center of each circle. Fold in half to create a half-moon shape. Pinch edges firmly to seal, then crimp with a fork.
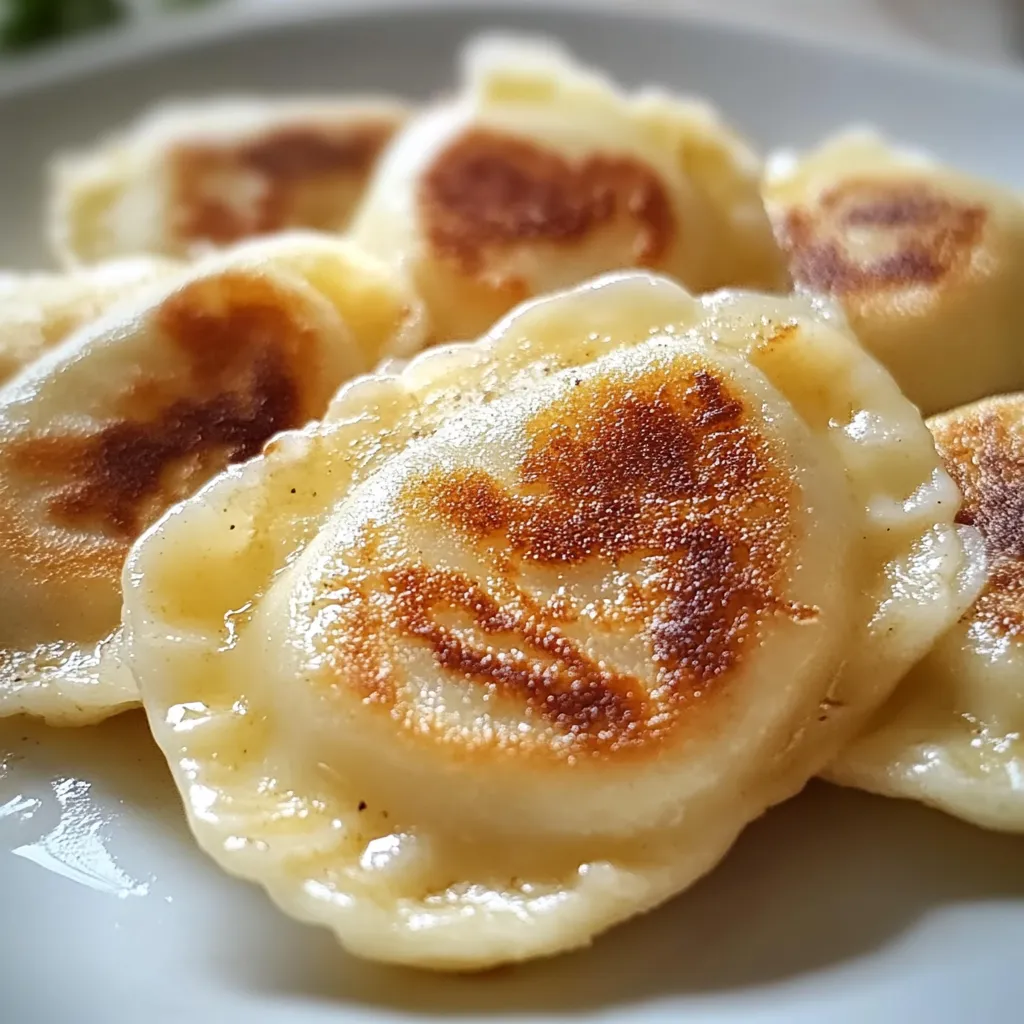
- Cook to Perfection: Boil perogies in salted water for 3-4 minutes until they float. Remove with a slotted spoon. For a classic finish, pan-fry in butter until golden brown.
Notes
A guide to making perfect homemade gluten-free perogies with a dreamy, pillowy dough and a classic potato and cheddar filling. This comforting, freezer-friendly recipe is easier than you think.
- Prep Time: 45 minutes
- Cook Time: 30 minutes
- Category: Main Course
- Cuisine: Polish
Nutrition
- Serving Size: 24 perogies
- Calories: 85 kcal
- Sugar: 0.4 g
- Fat: 4 g
- Carbohydrates: 11 g
- Fiber: 1 g
- Protein: 2 g
For the Gluten Free Perogie Dough:
- 2 cups (280g) gluten-free all-purpose flour blend (I recommend one with xanthan gum)
- 1/2 teaspoon salt
- 1 large egg
- 1/2 cup (120g) sour cream, at room temperature
- 4 tablespoons (56g) unsalted butter, melted and slightly cooled
- 2-4 tablespoons warm water, as needed
For the Classic Potato & Cheddar Filling:
- 2 medium russet potatoes, peeled and cubed
- 1 cup shredded sharp cheddar cheese
- 2 tablespoons sour cream
- 2 tablespoons unsalted butter
- 1/4 teaspoon garlic powder
- Salt and black pepper to taste
Let’s Make Some Perogies!
Ready to roll up your sleeves? This process is so satisfying. Just take it one step at a time, and you’ll have a beautiful batch of perogies before you know it.
- Make the Filling: Start by boiling the peeled, cubed potatoes in a pot of salted water until they are fork-tender, about 15-20 minutes. Drain them well, then return them to the warm pot. Mash the potatoes with the butter, sour cream, cheddar cheese, garlic powder, salt, and pepper until smooth. Let the filling cool completely—this is key for easy filling!
- Prepare the Dough: In a large bowl, whisk together the gluten-free flour and salt. In a separate small bowl, whisk the egg, then stir in the room-temperature sour cream and melted butter. Pour the wet ingredients into the dry ingredients and mix with a spoon until a shaggy dough forms. If it’s too dry, add warm water, one tablespoon at a time, until the dough comes together.
- Knead and Rest: Turn the dough out onto a surface lightly dusted with gluten-free flour. Knead it gently for a minute or two until it becomes smooth. Wrap the dough in plastic wrap and let it rest for about 30 minutes. This helps the flours hydrate and makes the dough much easier to roll out.
- Roll and Cut: Divide the dough in half. On your floured surface, roll one half out to about 1/8-inch thickness. Use a round cookie cutter or the rim of a glass (about 3 inches wide) to cut out as many circles as you can.
- Fill and Seal: Place a small spoonful (about 1-2 teaspoons) of the cooled potato filling in the center of each dough circle. Fold the circle in half to create a half-moon shape. Pinch the edges firmly to seal, and then you can crimp them with a fork for a pretty, secure edge. Place the finished perogie on a parchment-lined baking sheet and cover with a towel while you repeat with the remaining dough and filling.
- Cook to Perfection: Bring a large pot of salted water to a gentle boil. Carefully drop the perogies in, working in batches so you don’t overcrowd the pot. They are done when they float to the top, which usually takes 3-4 minutes. Remove them with a slotted spoon. For a classic finish, pan-fry the boiled perogies in a little butter until golden brown and crispy on the outside.
My Best Tips for Perogie Success
I’ve made my fair share of perogies, and I’ve learned a trick or two along the way. Here’s how to make sure yours turn out perfectly every single time.
- Keep that Filling Cool: A warm filling will make the dough sticky and difficult to seal. Letting the potato mixture cool completely is the number one tip for easy assembly.
- Don’t Overfill: It’s tempting to pack in the filling, but too much will cause the perogies to burst during boiling. A modest teaspoon is all you need.
- Seal it Right: Take your time pinching the edges. If the dough seems dry, you can dab a little water on the edge with your finger to help it stick.
- Freeze Them Flat: To freeze, place the uncooked, assembled perogies in a single layer on a baking sheet. Once frozen solid, transfer them to a zip-top bag. You can boil them straight from the freezer—just add a minute or two to the cooking time.
What to Serve With Your Homemade Perogies
These gluten free perogies are a superstar side dish or a satisfying main course. I love serving them topped with a generous dollop of sour cream and a handful of crispy fried onions. They’re also fantastic alongside a simple fresh green salad to balance the richness, or with some sautéed onions and mushrooms for an extra layer of savory flavor. If you’re looking for another gluten-free comfort food idea, you have to try my Creamy Gluten-Free Chicken Casserole next!
A Little Note from My Kitchen
The first time I successfully made these, it was a gray, drizzly Sunday. My kitchen was warm, flour was everywhere, and the smell of potatoes and butter was just heavenly. It reminded me so much of my grandmother’s kitchen, but with a gluten-free twist that meant I could enjoy every single bite without a worry. That’s the magic of recipes like this—they keep traditions alive and adapt them for our lives today. I hope this recipe brings as much joy to your table as it does to mine.
Gluten Free Perogies FAQs
Can I make the dough ahead of time?
Absolutely! You can prepare the dough, wrap it tightly in plastic wrap, and keep it in the refrigerator for up to 24 hours before you plan to roll it out. Let it sit at room temperature for about 15 minutes to soften slightly before using.
What’s the best way to reheat leftover perogies?
The best way to bring back that delicious texture is to reheat them in a skillet with a little butter or oil over medium heat. You can also reheat them in the air fryer at 375°F for 3-4 minutes until they’re crispy and hot. Microwaving can make them a bit soft.
Can I use a different filling?
Of course! This dough is a perfect blank canvas. Try a filling of sautéed sauerkraut and mushrooms, sweet farmer’s cheese, or even a sweet version with mashed sweet potatoes and a touch of brown sugar. For more inspiration on fillings and sides, check out this guide to creative perogie fillings from Bon Appétit.
My dough is tearing. What should I do?
Don’t panic! This can happen if the dough is a bit dry. Try kneading in another tablespoon of warm water. Also, make sure you’re rolling the dough on a well-floured surface and not stretching it too thin. If a tear happens, you can often patch it with a tiny bit ofextra dough.
Nutrition Information (Approximate, per perogie)
Calories: 85kcal | Carbohydrates: 11g | Protein: 2g | Fat: 4g | Saturated Fat: 2g | Cholesterol: 15mg | Sodium: 65mg | Fiber: 1g | Sugar: 0.4g
So there you have it! Your guide to creating incredibly cozy gluten free perogies that are sure to become a new favorite. Whether you’re cooking for a crowd or just treating yourself, this recipe is all about bringing comfort and joy right to your plate. Happy cooking