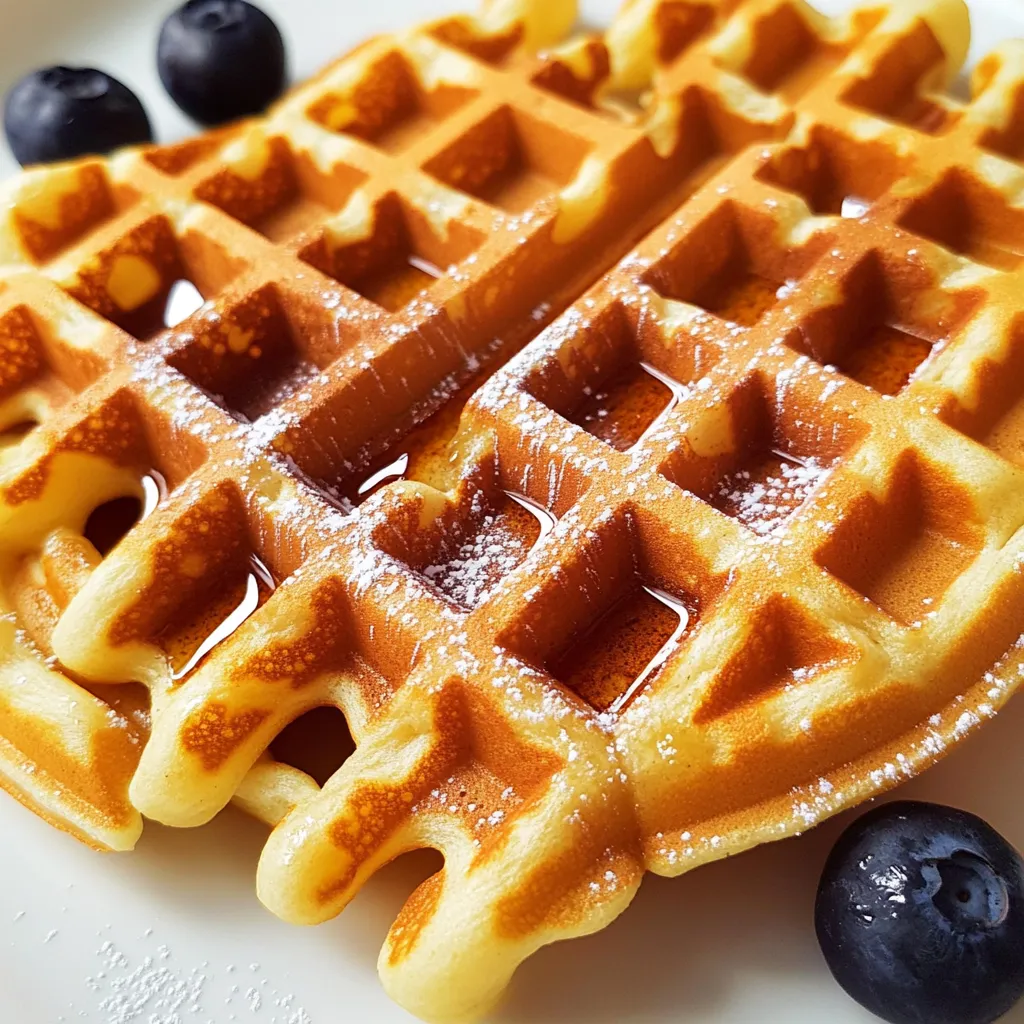
Is there anything better than the smell of waffles wafting through the house on a lazy weekend morning? I think not. But for those of us navigating a gluten-free lifestyle, that classic, crispy-on-the-outside, fluffy-on-the-inside waffle can feel like a distant dream. Well, dream no more! These gluten-free waffles are here to bring that joy right back to your kitchen. They’re the perfect solution for a special family breakfast or when you just need a comforting, homemade treat that everyone can enjoy.
Table of Contents
Table of Contents
Why You’ll Love These Gluten-Free Waffles
This recipe isn’t just about being free of gluten; it’s about being full of flavor and utterly delightful. Here’s why it’s about to become your new favorite:
- Incredibly Easy: The batter comes together in minutes with simple ingredients.
- Family-Friendly: Even the pickiest eaters (yes, I’m looking at you, kiddos) won’t suspect they’re gluten-free.
- Perfectly Crispy & Fluffy: Achieves that golden-brown, crispy exterior and a tender, light interior we all crave.
- Endlessly Customizable: Serve them with classic maple syrup, fresh berries, or even a dollop of whipped cream.
Ingredients
Gather these simple, wholesome ingredients to get started. This recipe is a testament to how you don’t need a long list of complicated items to create something magical.
Print
Gluten-Free Waffles Recipe
- Total Time: 30 minutes
- Yield: 6 waffles 1x
Description
Master gluten-free waffles with our ultimate recipe Achieve perfect fluffy crisp results every time using our pro tech Your new favorite breakfast
Ingredients
- 2 cups gluten-free all-purpose flour blend (with xanthan gum)
- 1 tablespoon baking powder
- 0.25 teaspoon salt
- 2 tablespoons granulated sugar
- 2 large eggs
- 1.75 cups milk
- 0.5 cup vegetable oil or melted butter
- 1 teaspoon vanilla extract
Instructions
- Preheat your waffle iron according to its manufacturer’s instructions. A hot iron is the secret to a crispy start.
- In a large bowl, whisk together your dry ingredients: the gluten-free flour, baking powder, salt, and sugar.
- In a separate medium bowl, beat the eggs lightly. Then, add the milk, oil (or melted butter), and vanilla extract. Whisk until everything is nicely combined.
- Pour the wet ingredients into the dry ingredient bowl. Gently stir them together until just combined. A few lumps in the batter are totally okay—overmixing is the enemy of fluffy waffles!
- Lightly grease the preheated waffle iron with a little oil or non-stick spray. Pour the recommended amount of batter onto the iron (this varies by machine, so check your manual). Close the lid and cook until the waffles are golden brown and crisp, usually about 4-5 minutes.
- Carefully remove the waffle and repeat with the remaining batter. Serve immediately with your favorite toppings!
Notes
A foolproof recipe for incredibly easy, crispy, and fluffy gluten-free waffles. Perfect for a family-friendly weekend breakfast or a comforting homemade treat.
- Prep Time: 10 minutes
- Cook Time: 20 minutes
- Category: Breakfast
- Cuisine: American
Nutrition
- Serving Size: 6 waffles
- Calories: 320 kcal
- Sugar: 8 g
- Fat: 18 g
- Carbohydrates: 35 g
- Fiber: 3 g
- Protein: 7 g
- 2 cups gluten-free all-purpose flour blend (with xanthan gum)
- 1 tablespoon baking powder
- 1/4 teaspoon salt
- 2 tablespoons granulated sugar
- 2 large eggs
- 1 3/4 cups milk (dairy or non-dairy both work great!)
- 1/2 cup vegetable oil or melted butter
- 1 teaspoon vanilla extract
Step-by-Step Instructions
Let’s turn these ingredients into the best gluten-free waffles you’ve ever had. It’s so simple!
- Preheat your waffle iron according to its manufacturer’s instructions. A hot iron is the secret to a crispy start.
- In a large bowl, whisk together your dry ingredients: the gluten-free flour, baking powder, salt, and sugar.
- In a separate medium bowl, beat the eggs lightly. Then, add the milk, oil (or melted butter), and vanilla extract. Whisk until everything is nicely combined.
- Pour the wet ingredients into the dry ingredient bowl. Gently stir them together until just combined. A few lumps in the batter are totally okay—overmixing is the enemy of fluffy waffles!
- Lightly grease the preheated waffle iron with a little oil or non-stick spray. Pour the recommended amount of batter onto the iron (this varies by machine, so check your manual). Close the lid and cook until the waffles are golden brown and crisp, usually about 4-5 minutes.
- Carefully remove the waffle and repeat with the remaining batter. Serve immediately with your favorite toppings!
My Best Tips for Waffle Success
After making more batches of these than I can count, I’ve picked up a few tricks. For the absolute best gluten-free waffles, don’t skip these tips!
- Do Not Peek! I know it’s tempting, but resist the urge to lift the lid during cooking. You’ll let out all the precious steam that helps cook the waffle evenly.
- Keep them warm and crispy by placing cooked waffles in a single layer on a wire rack in a 200°F (95°C) oven. This prevents them from getting soggy while you finish the batch.
- If your batter seems too thick, you can thin it out with a tablespoon or two of extra milk. The consistency should be pourable but not runny.
- For a fun twist, try adding a handful of chocolate chips or blueberries to the batter right after you pour it onto the iron.
What To Serve With Your Waffles
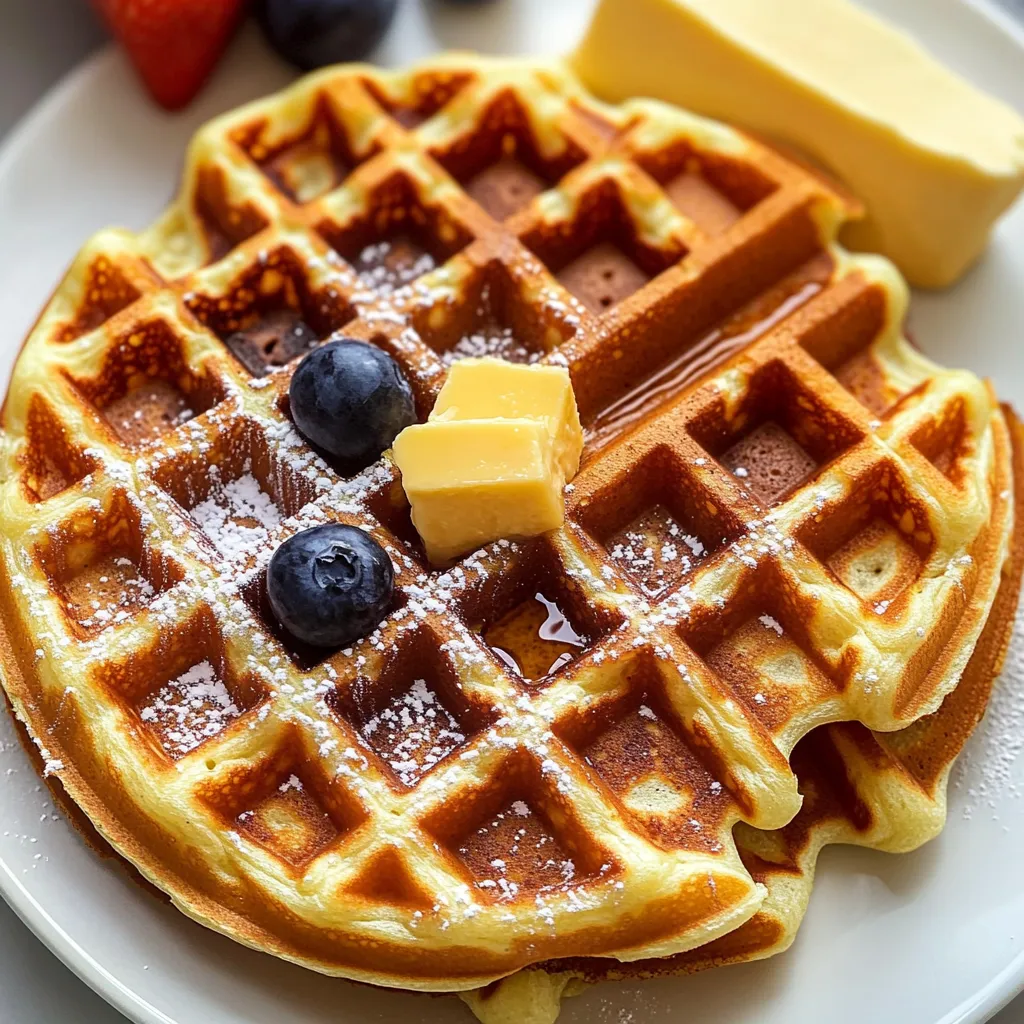
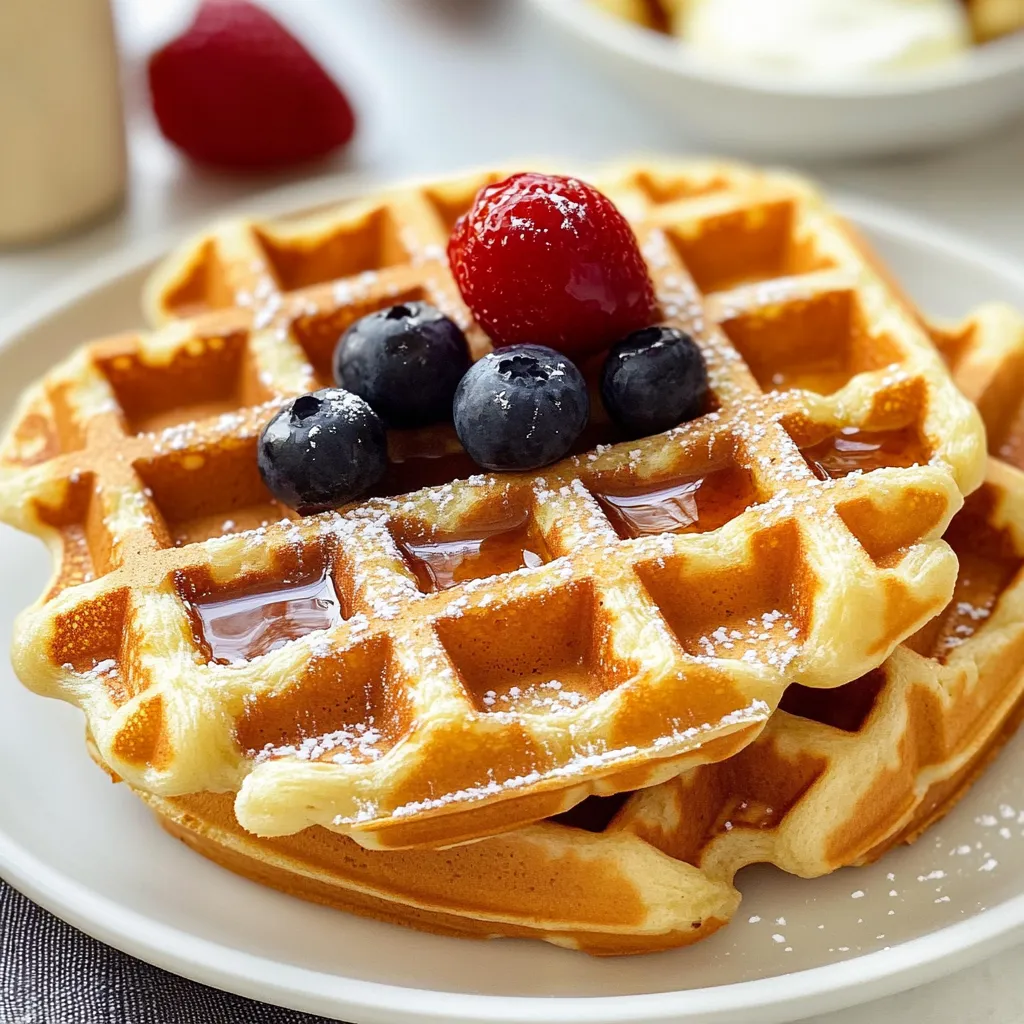
This is the best part! While these waffles are fantastic on their own, they’re a blank canvas for your breakfast dreams. I love serving them with a classic pour of pure maple syrup and a pat of butter. For a fresh twist, top them with a pile of seasonal berries and a dusting of powdered sugar. Feeling decadent? A scoop of vanilla ice cream turns them into an unforgettable dessert. They also pair beautifully with a side of crispy bacon or breakfast sausage for the ultimate sweet and savory plate.
Answers to Your Gluten-Free Waffle Questions
Can I make this waffle batter ahead of time?
You can! Mix the dry ingredients and wet ingredients separately the night before. In the morning, just combine them and you’re ready to cook. The batter is best used fresh, but it will keep for a few hours in the fridge if needed.
Can I freeze these waffles for later?
Absolutely. These waffles freeze beautifully. Let them cool completely, then place them in a single layer on a baking sheet to freeze solid. Once frozen, transfer them to a freezer bag. They’ll keep for up to 2 months. Reheat them straight from the freezer in a toaster or oven for a quick and easy breakfast.
What’s the best gluten-free flour to use?
I highly recommend using a 1:1 gluten-free all-purpose flour blend that includes xanthan gum. This blend is specifically formulated to mimic regular flour and the xanthan gum helps bind everything together, giving you that perfect waffle texture. My personal favorite is the Bob’s Red Mill brand.
My waffles are sticking to the iron. What did I do wrong?
Don’t worry, it happens to the best of us! The two most common culprits are not enough grease on the iron or trying to remove the waffle before it’s fully cooked and released naturally. Make sure to grease the iron well before each waffle and wait for the steam to significantly subside before you open it.
Nutrition Information
Approximate nutritional information per serving (1 waffle, recipe makes about 6 waffles): Calories: 320kcal | Carbohydrates: 35g | Protein: 7g | Fat: 18g | Saturated Fat: 3g | Cholesterol: 60mg | Sodium: 250mg | Fiber: 3g | Sugar: 8g.
There you have it—a foolproof recipe for gluten-free waffles that are guaranteed to bring smiles to your table. They’re the perfect way to turn an ordinary morning into something special, proving that eating gluten-free doesn’t mean missing out on life’s little pleasures. I love hearing about your kitchen adventures, so when you make these, be sure to share your masterpiece with me. Now, go preheat that iron! Your new breakfast favorite awaits.